The Making of Catto Plushie
Hello World!
This time, I'm excited to share the making of the very first Catto Plushie. It is completely handmade and this project made me really happy to work on. I was honestly so pleased with how it turned out, even if it's a little clumsy. Anyway! Let's just jump right into it.
The First step.
Not gonna lie, at the beginning I was pretty unsure about starting this project. It's technically not my first time making plushies from scratch, since I did some several years ago, but they weren't exactly great lol. So, in a way, this felt like my first proper attempt.
Before I could start, I had to answer two main questions:
-
What materials am I going to use?
-
How do I want the plushie to look like?
Prototypes
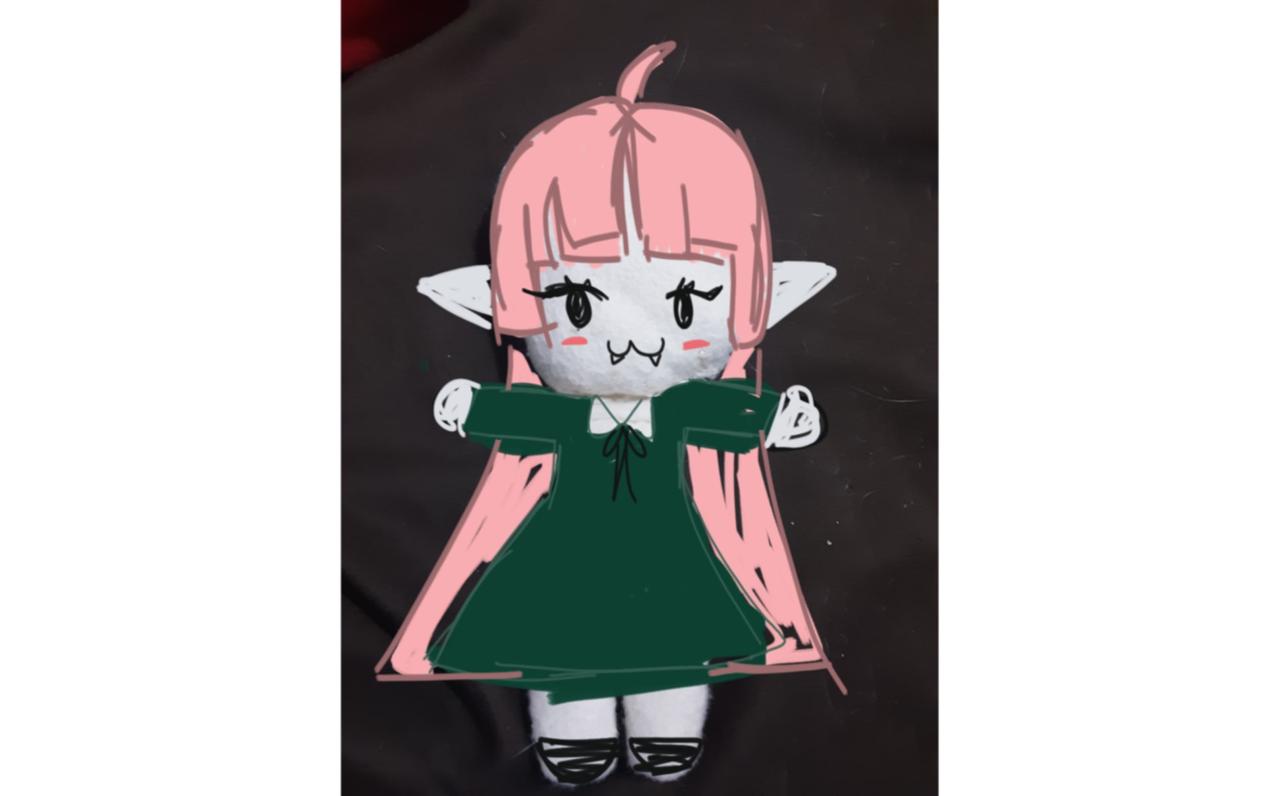
Let's start with the second question: How do I want the plushie to look like?
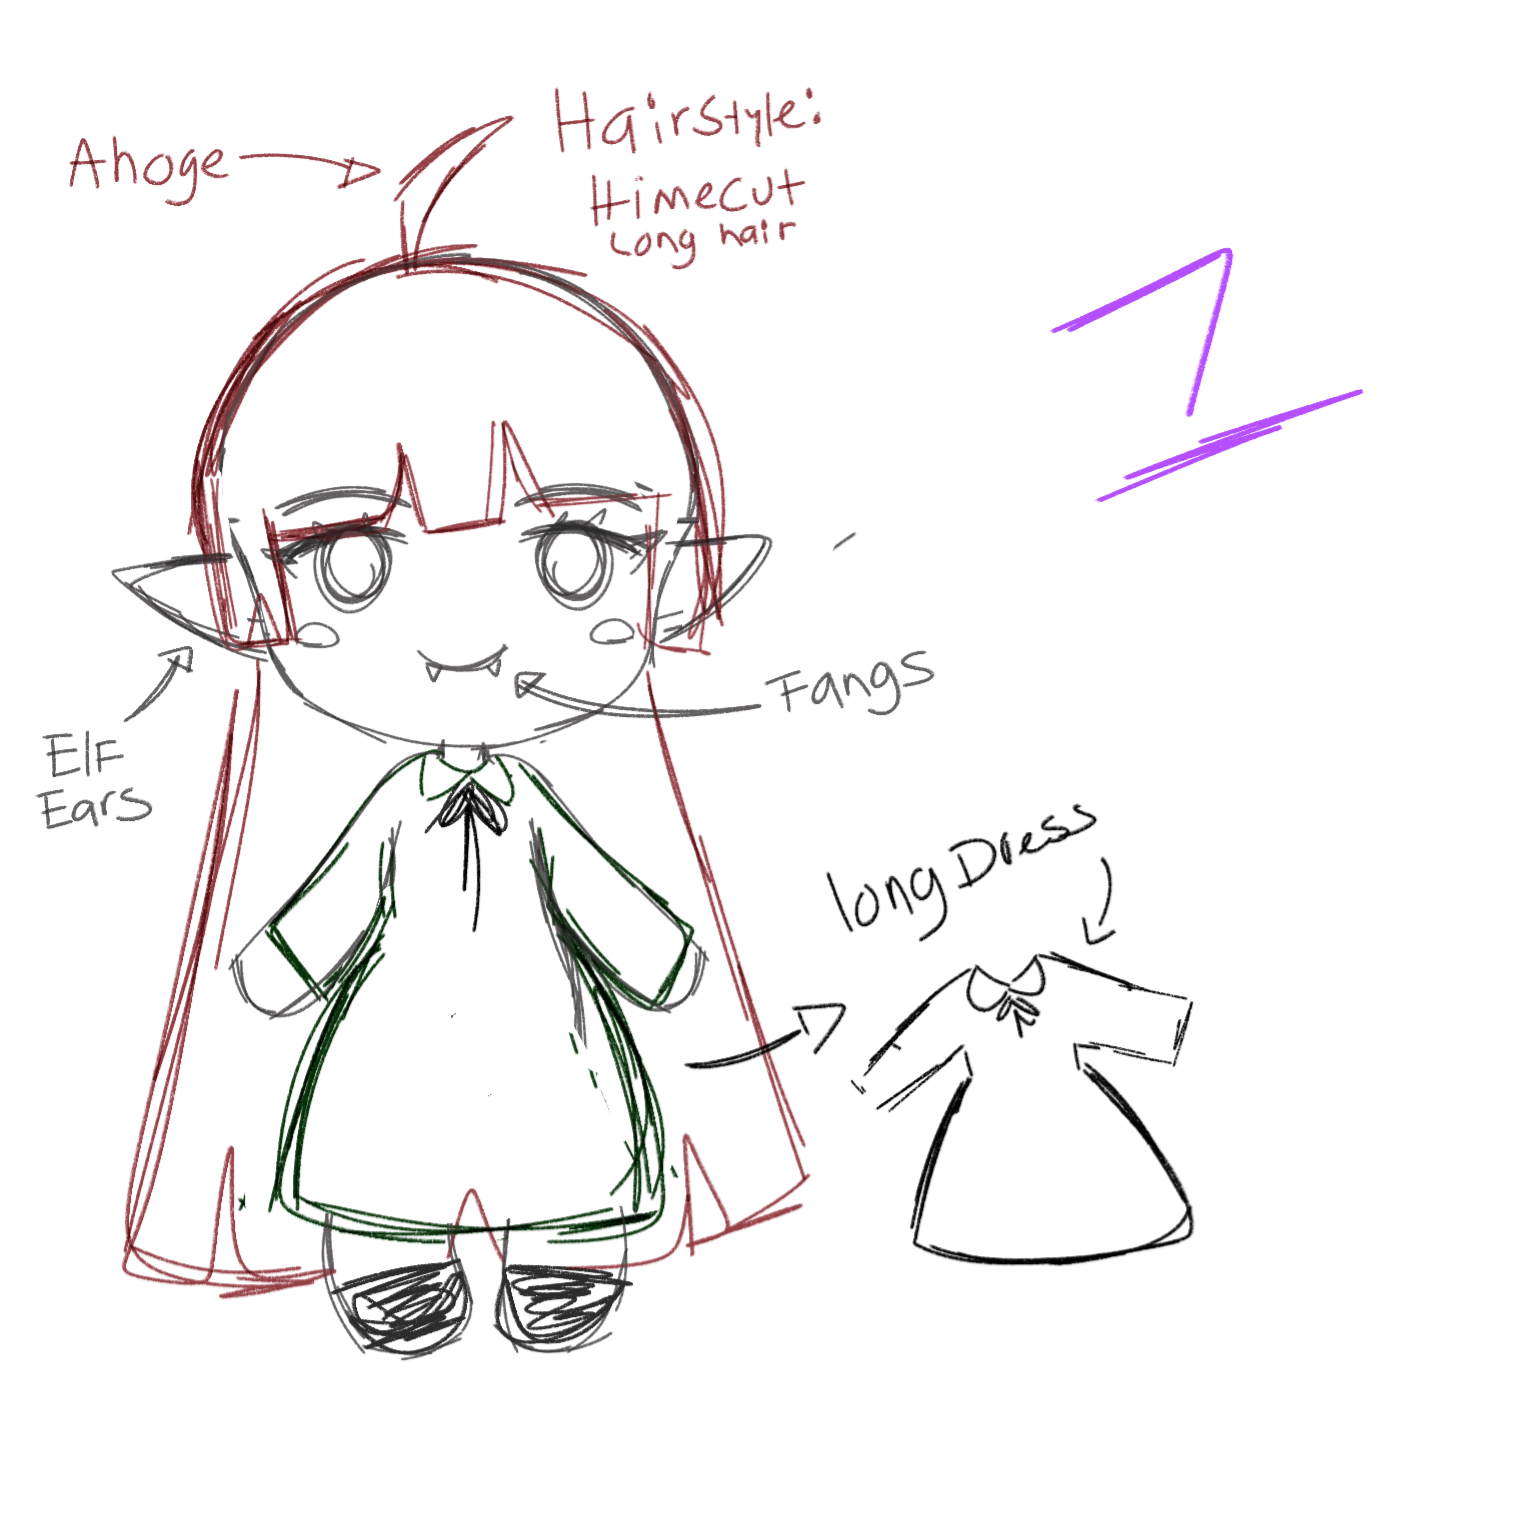
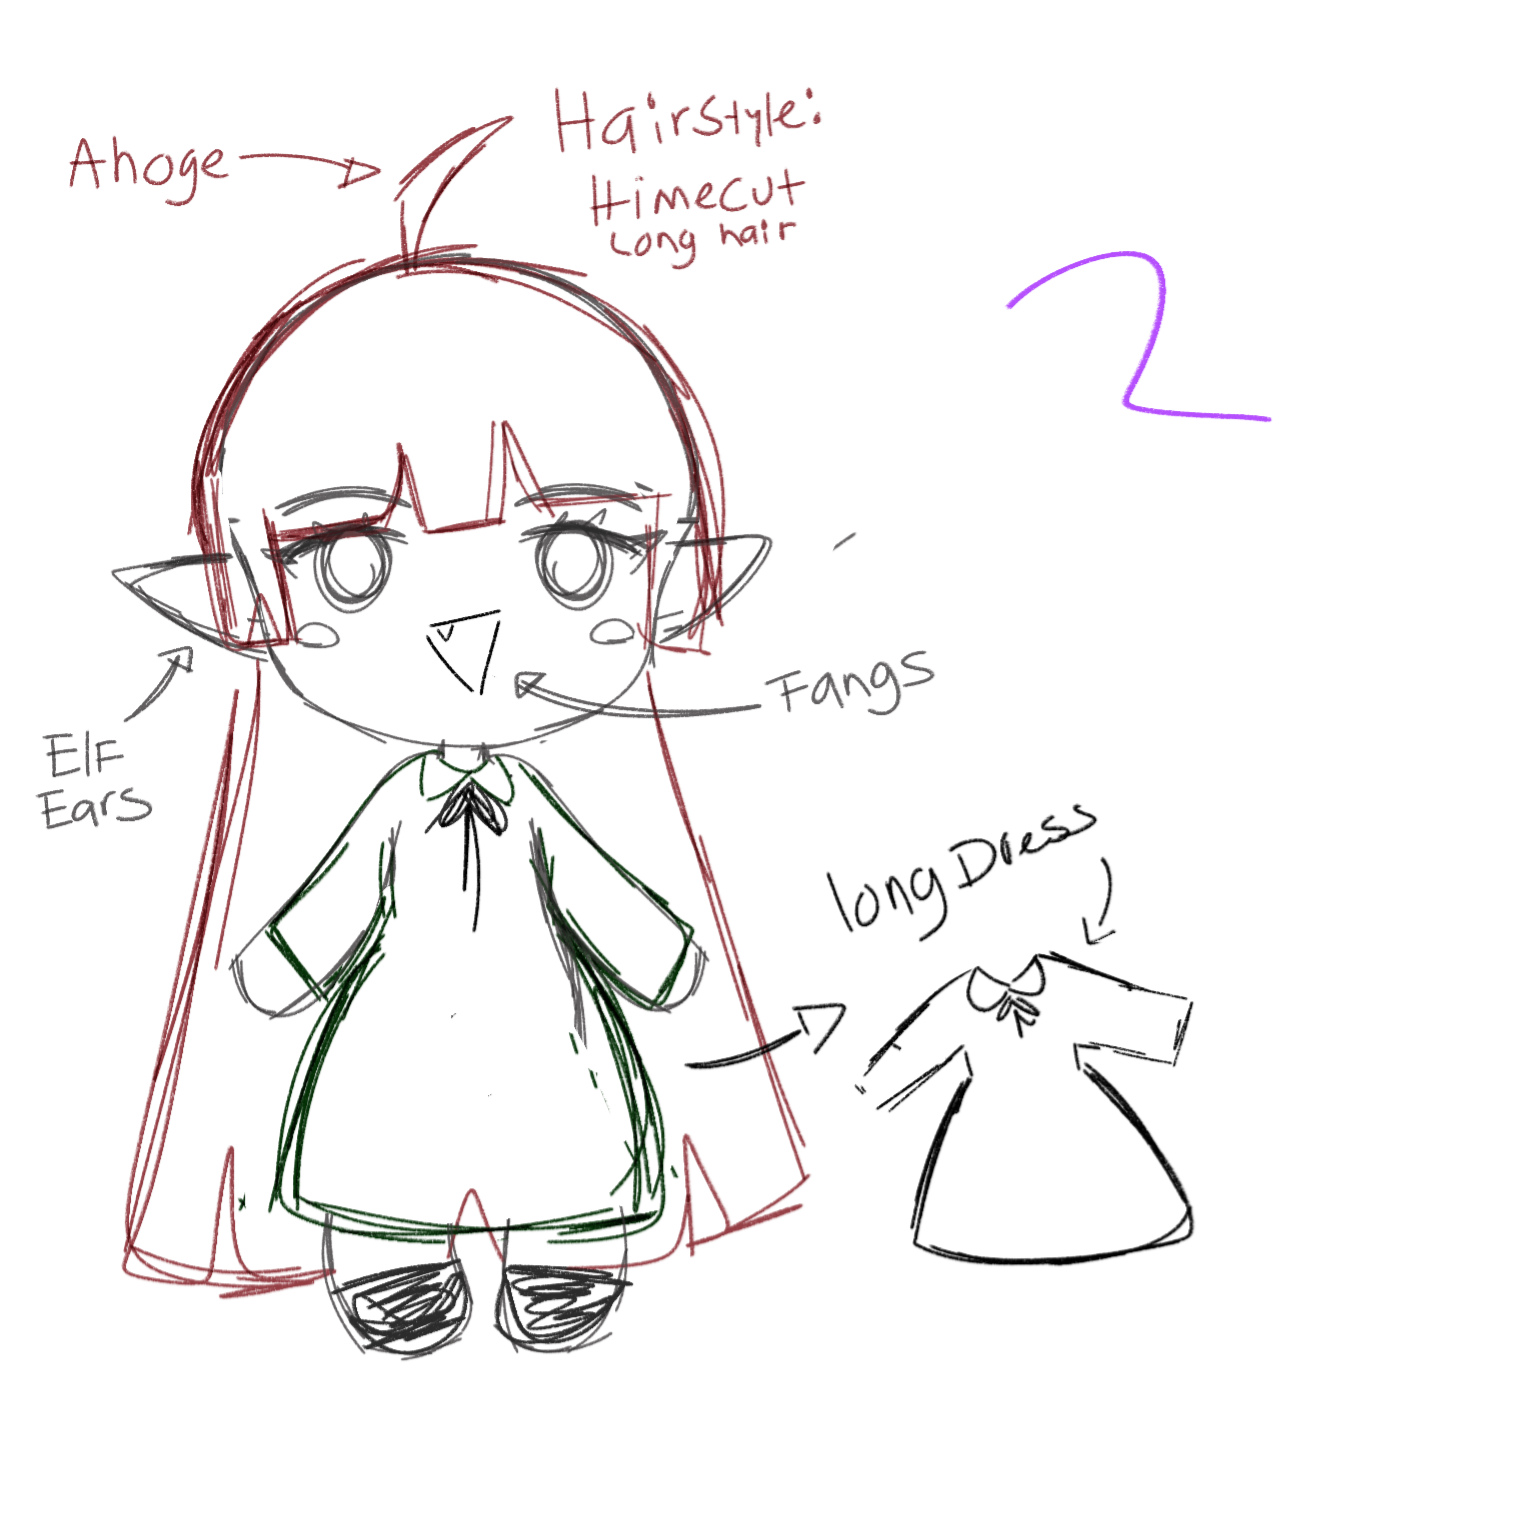
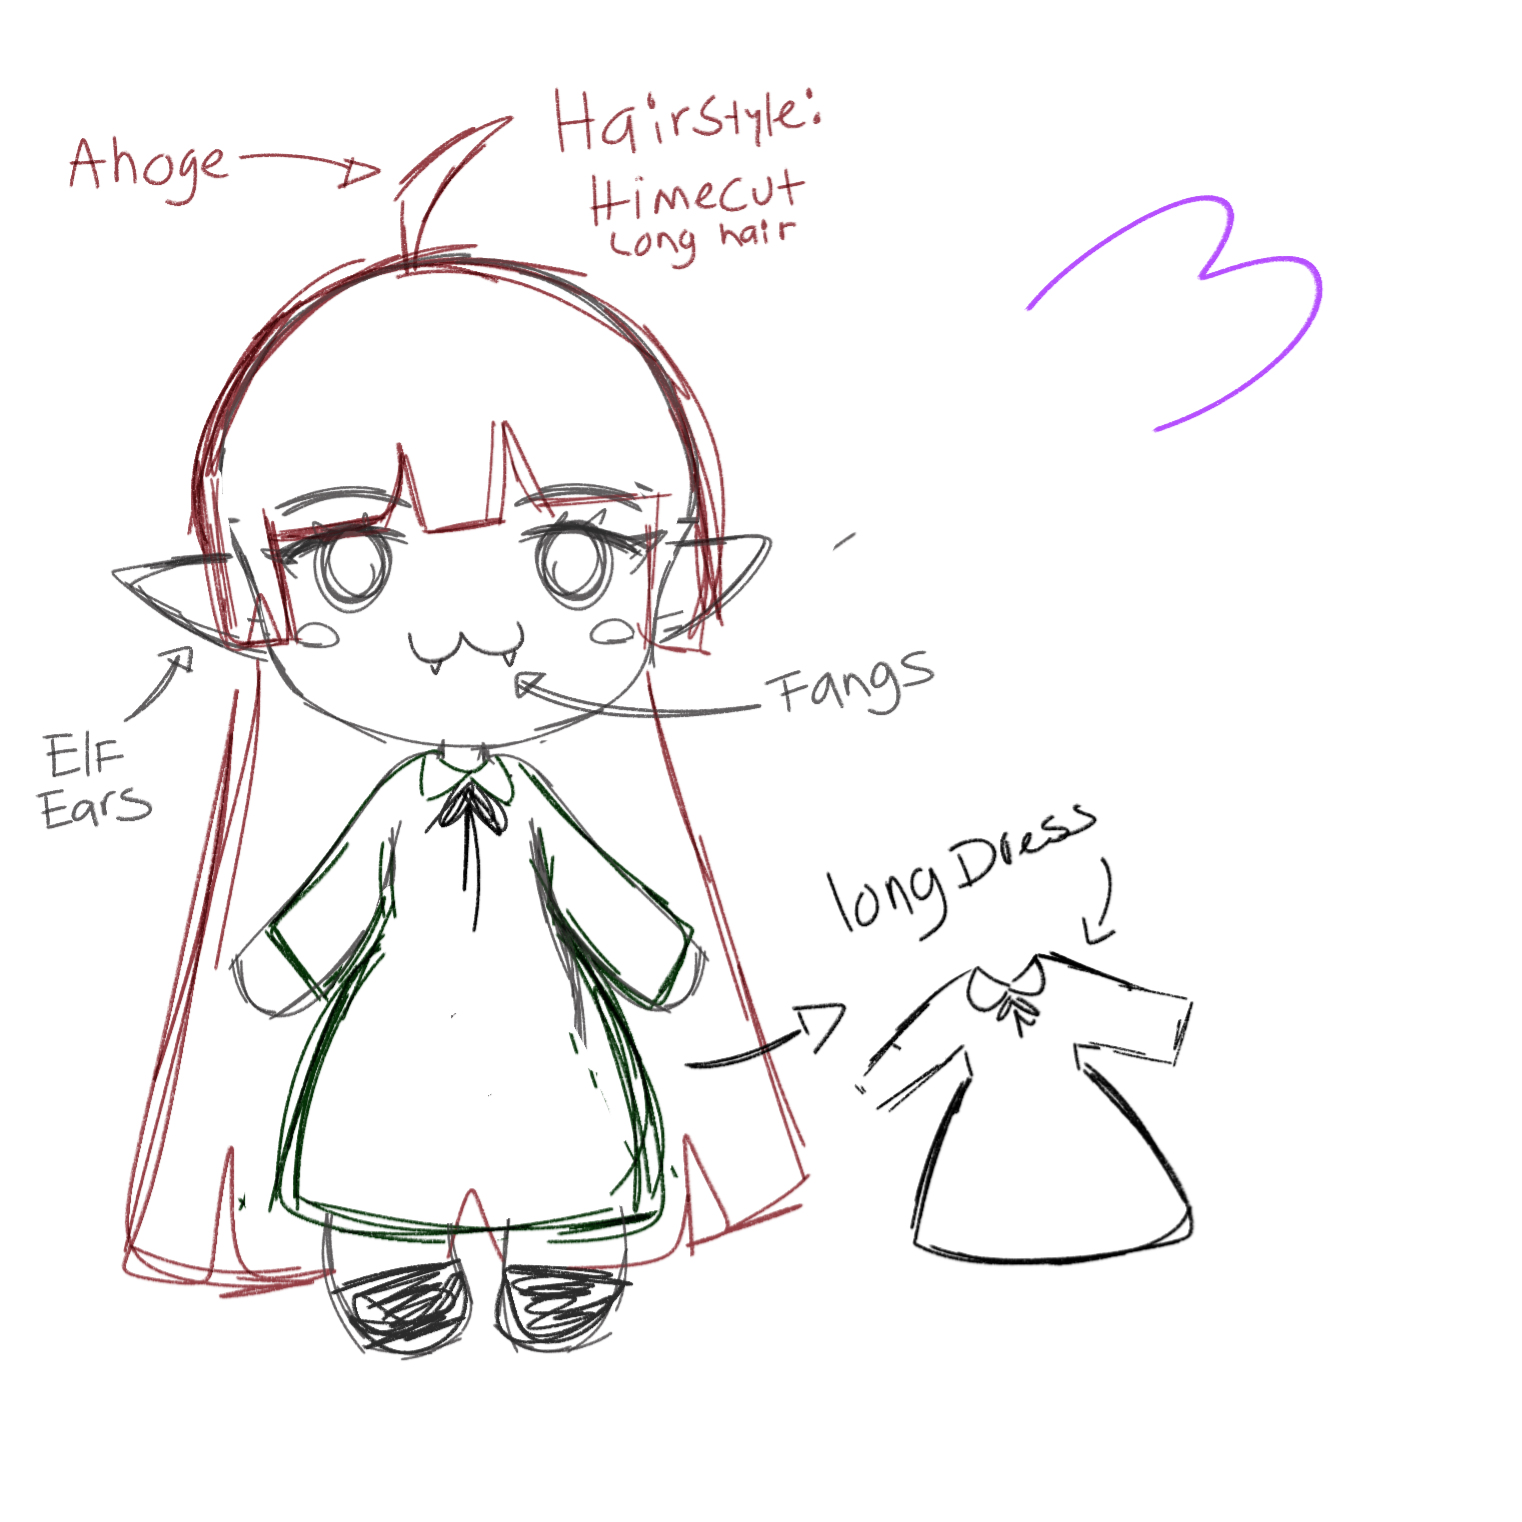
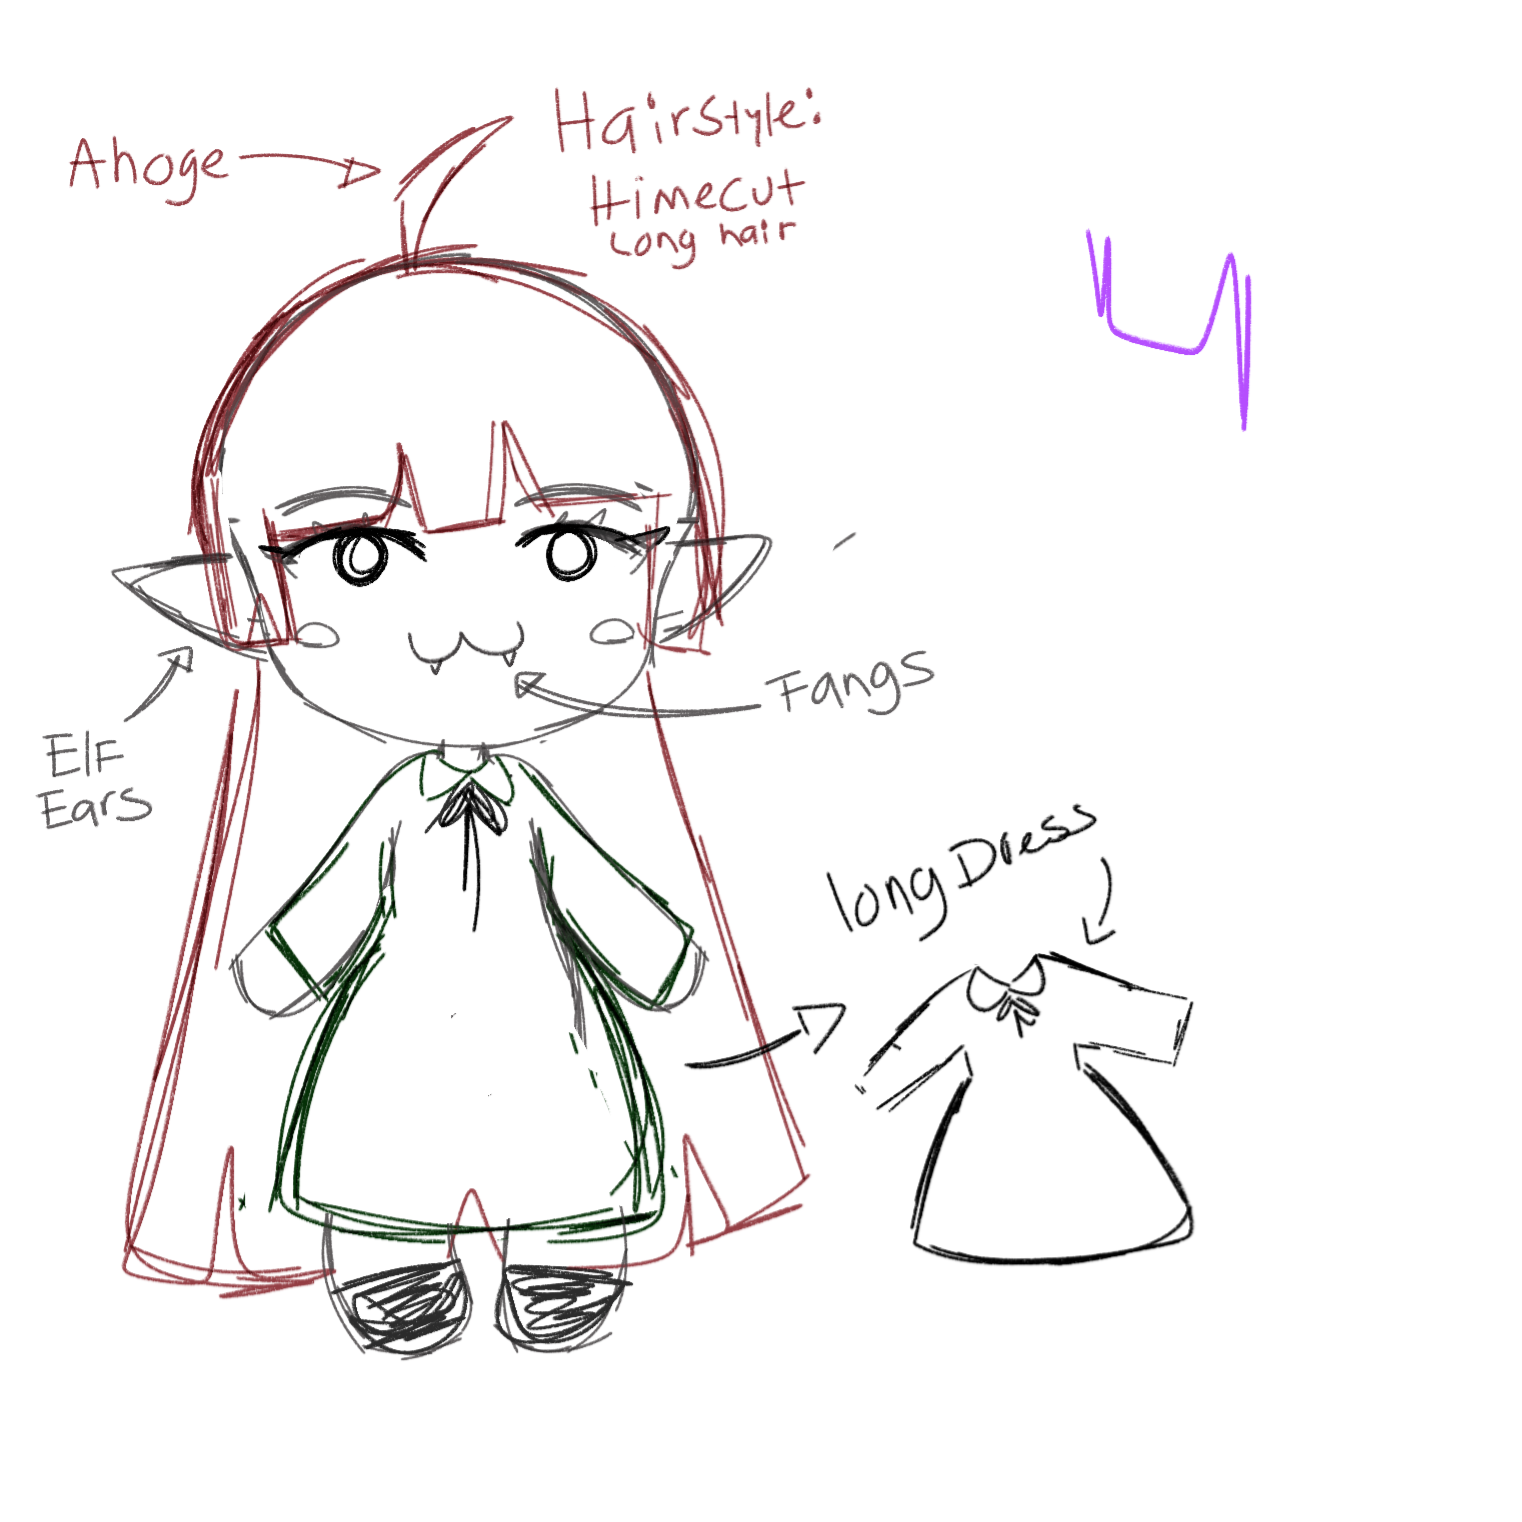
Catto's design is pretty simple, and by now it's basically engraved in my mind. But to be sure, I made four prototypes that just had different versions of the face.
To decide which one to go with, I asked a couple of my friends which face they liked best. They all voted for prototype #3 (which was later, unfortunately, discarded. I'll explain why later).
When designing these prototypes, I kept in mind that it had to be simple and easy to replicate in the future. You can now take a look at the prototypes I made:
Materials
Once the design was settled, it was time to answer the first question: Which materials am I going to use? I did a little online research and quickly figured out what would work best. My requirements were simple:
- Easy to work with and beginner-friendly (no fabrics that fray like crazy).
- Budget-friendly. (to not wreck my wallet)
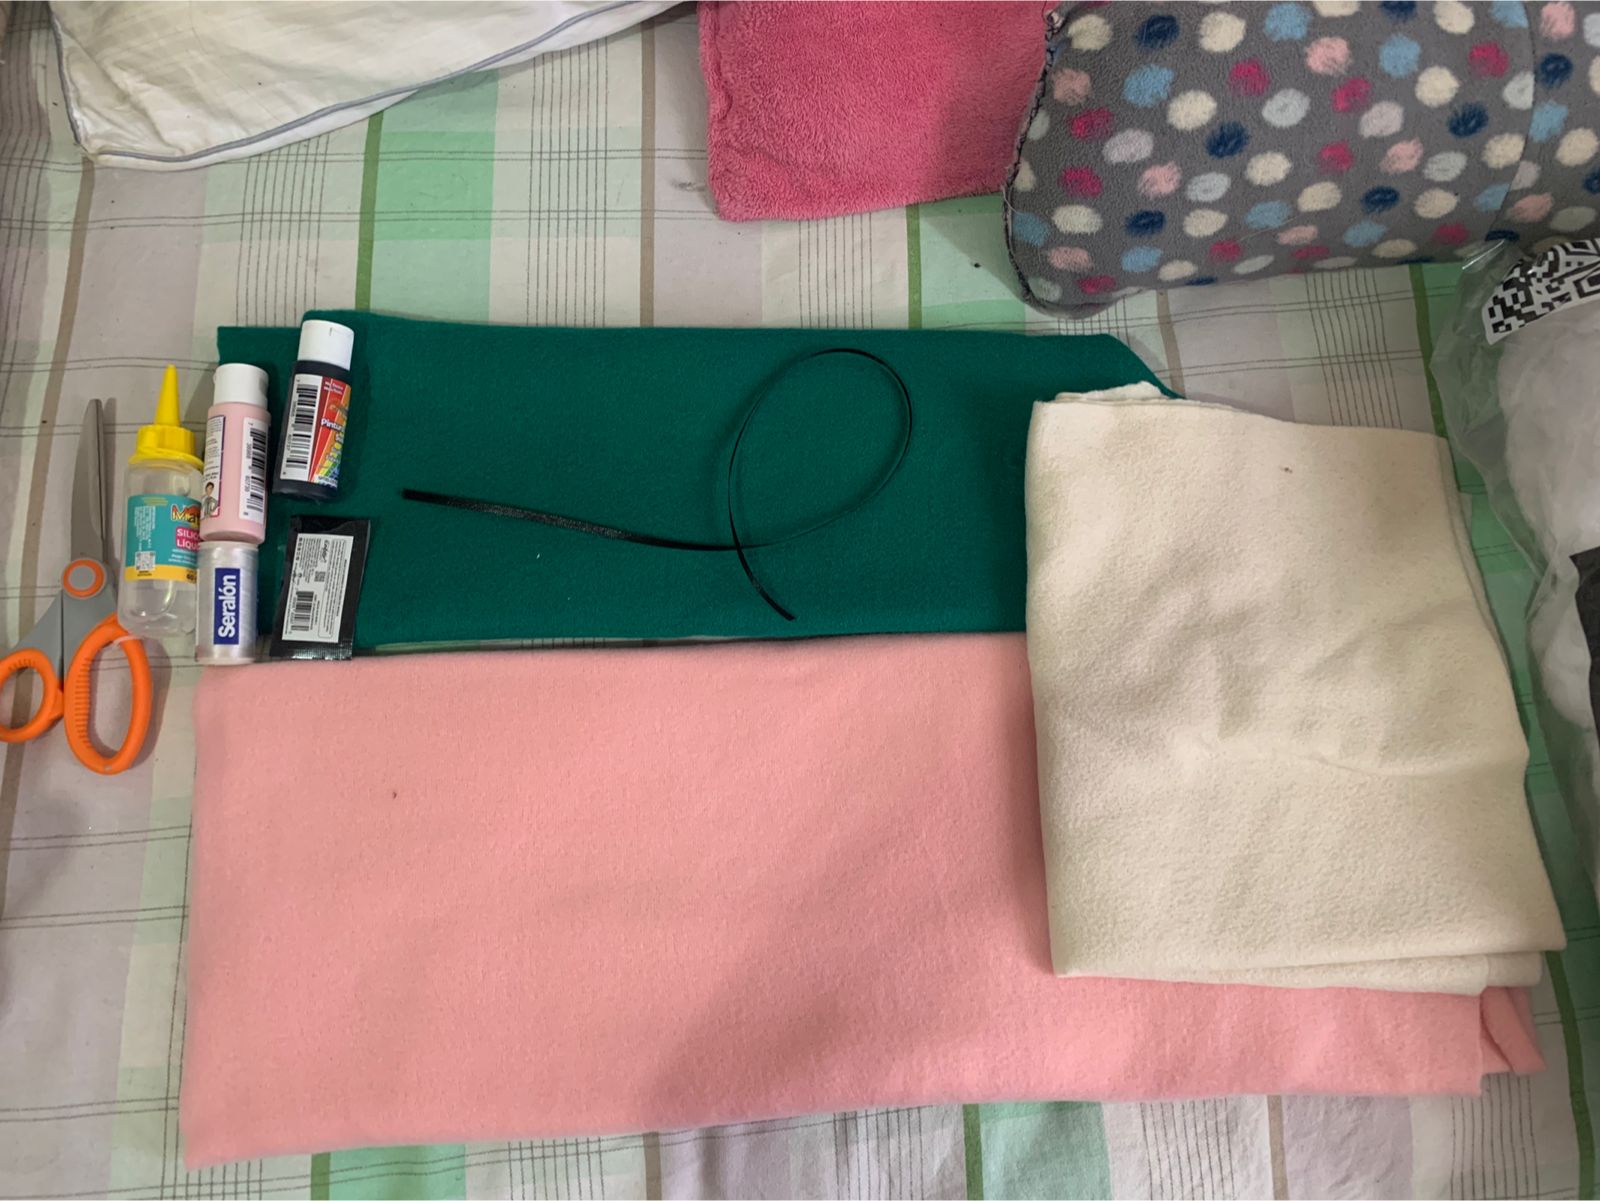
In the end, the Catto plusie was made with:
- Felt: for the body and dress
- Fleece fabric: for the hair
- Black ribbon: for the bow on the dress
- A random piece of white fabric I found in my room: for the dress collar (I totally didn't forget to buy white fabric)
- Textile paint: to paint the face, obviosly
- Plush filling: to stuff it!!! (idk the exact name of the material hehe)
The process: Pictures and some thoughts about it
I really wish I had taken more pictures, but here is the process.
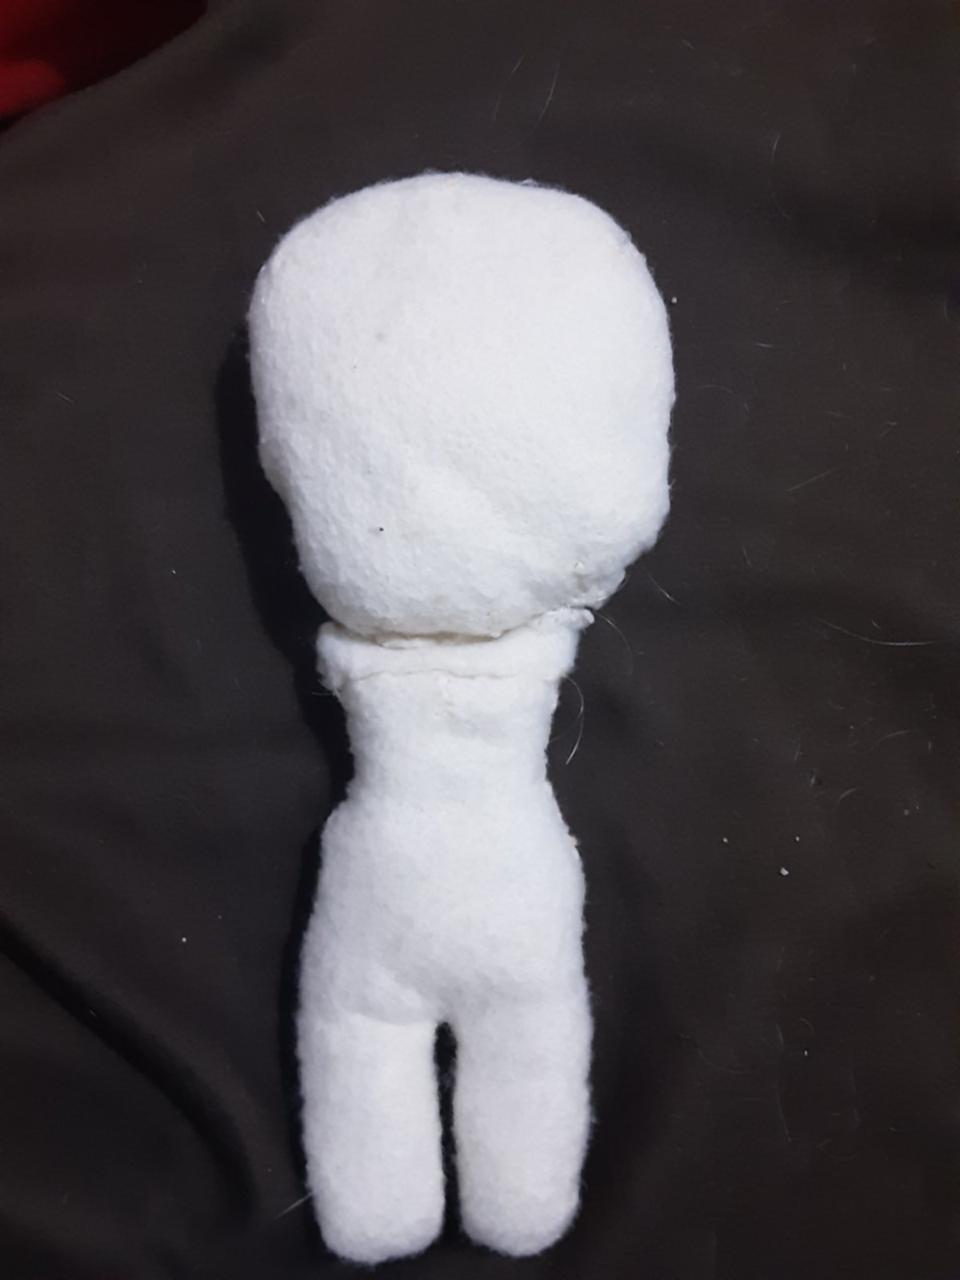
First, I made the body and the head... and immediately realized I didn't like the head shape. On top of that, the head was way too wobbly, so I ended up having to remake it. I also want to highlight that I made the sewing pattern (cut shapes) myself, and trust me, it was a lot of trial and error. After redoing the head and sewing it onto the body, I finally liked the result, and it was much less wobbly (so the head wasn't just flopping back and forth anymore).
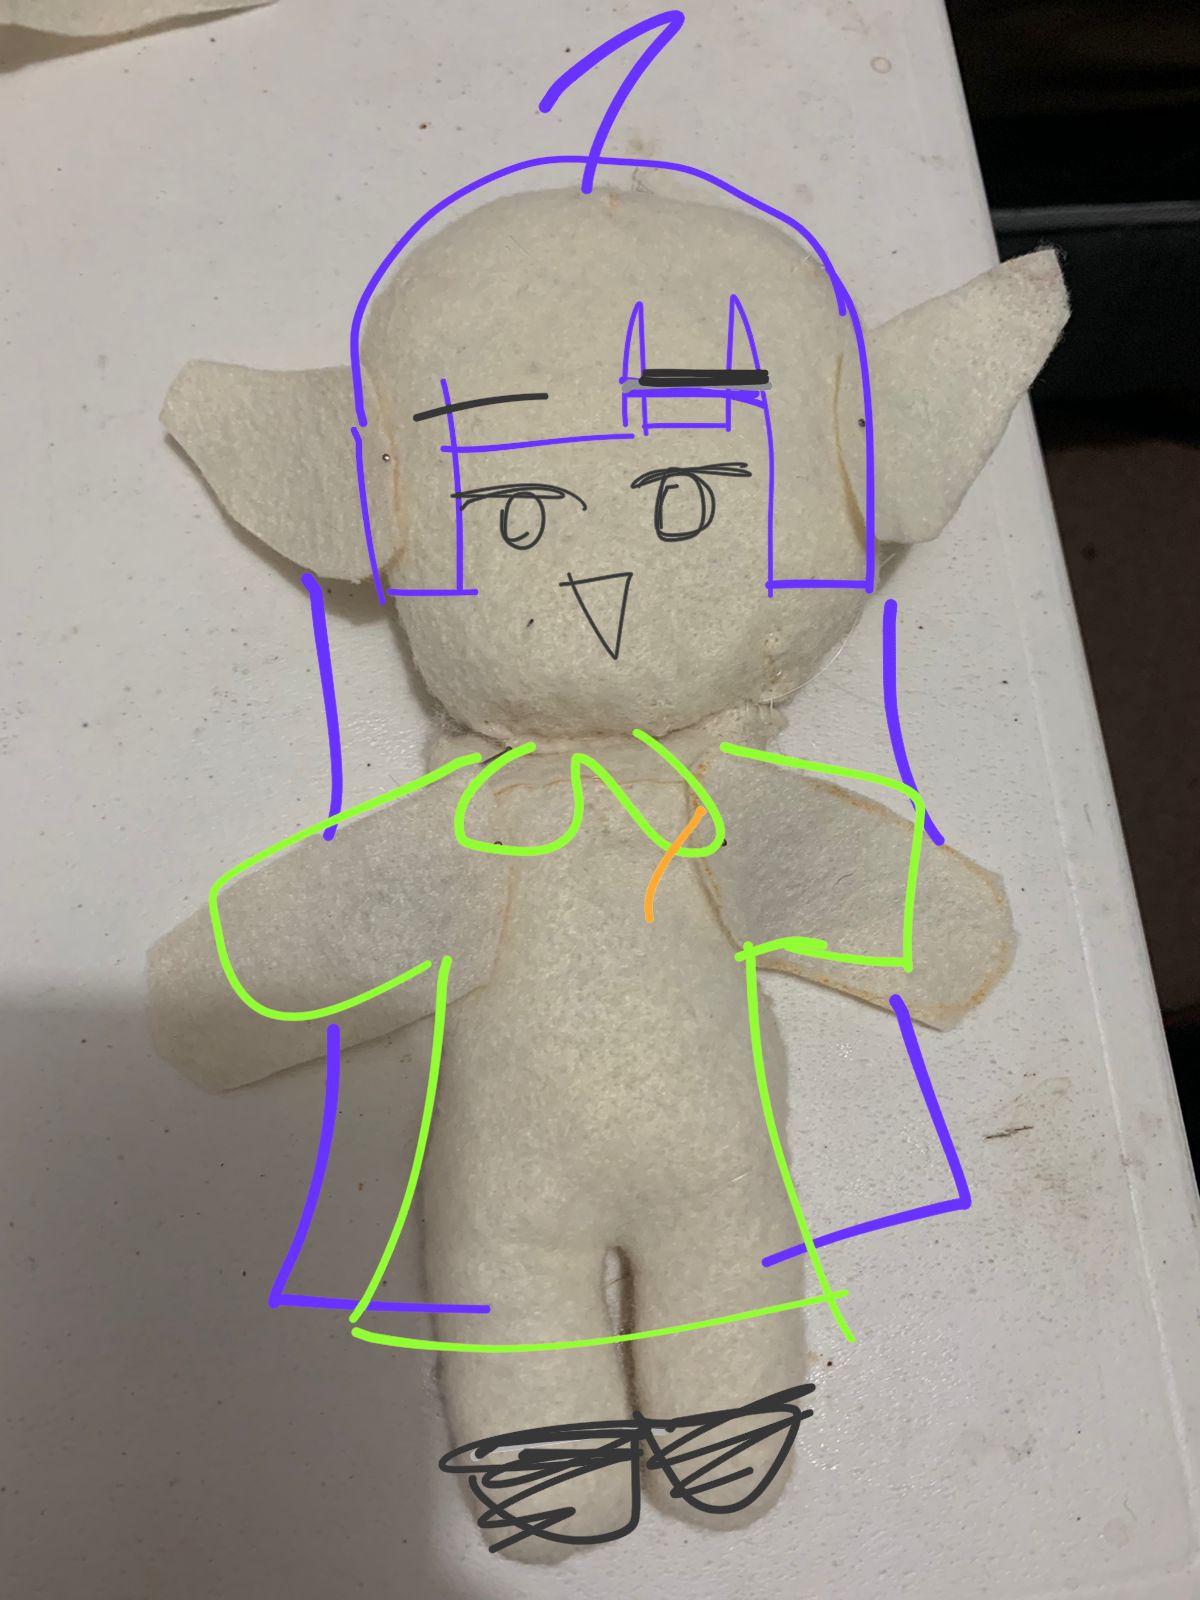
If you look at the pictures, you'll notice I doodled on top of them - that was my way of convincing myself to "trust the process." Honestly, I had no idea how things were going to turn out. Even though I had drawn prototypes, I was just basically hoping for the best.
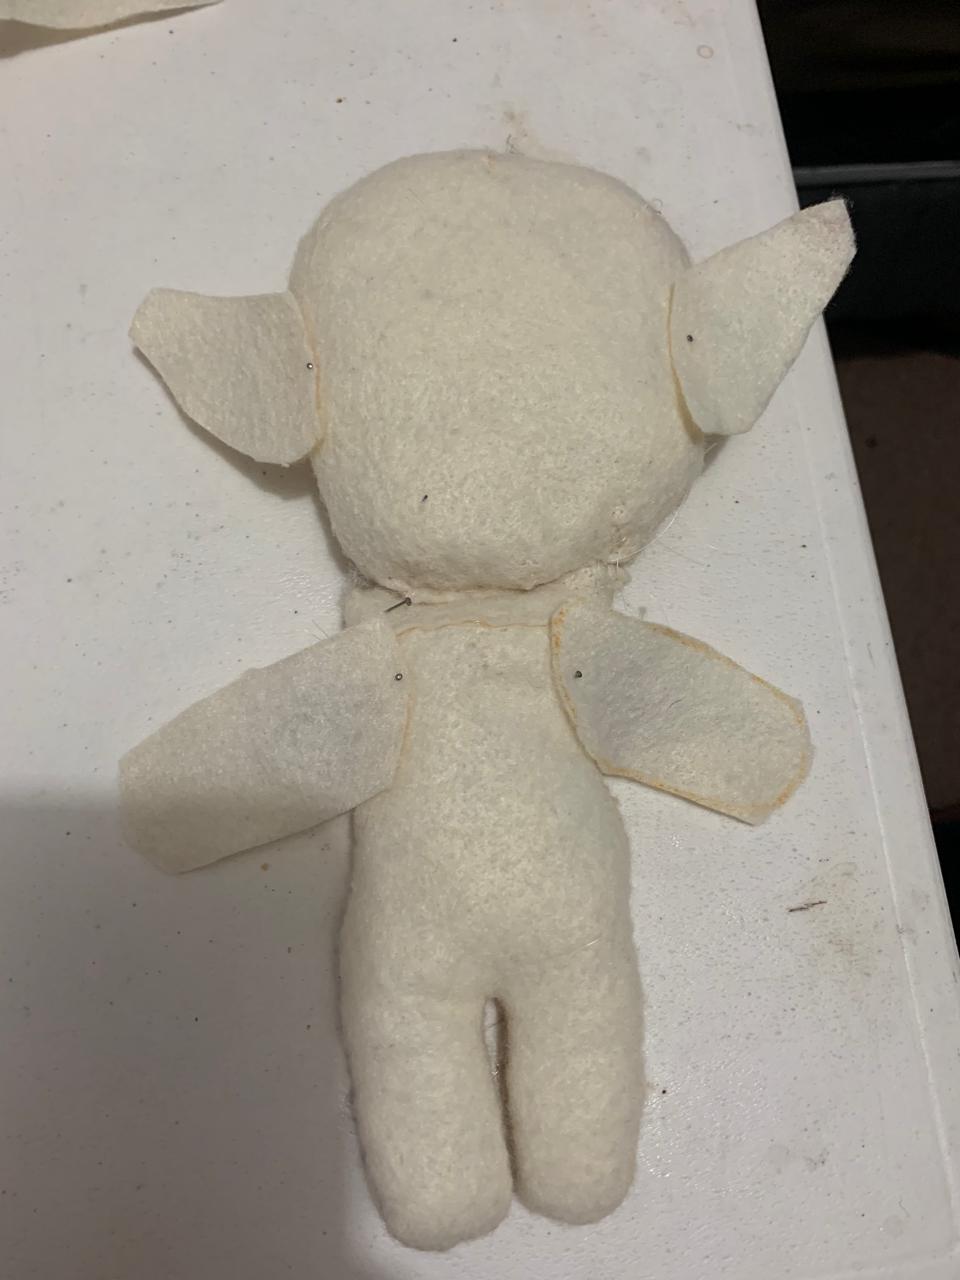
Once the body and head were done, it was time for the ears. Just like the head, my first attempt wasn't great, but after remaking them, I got a result I actually liked. The ears did end up a little on the bigger side, but I thought that made the design even cuter!
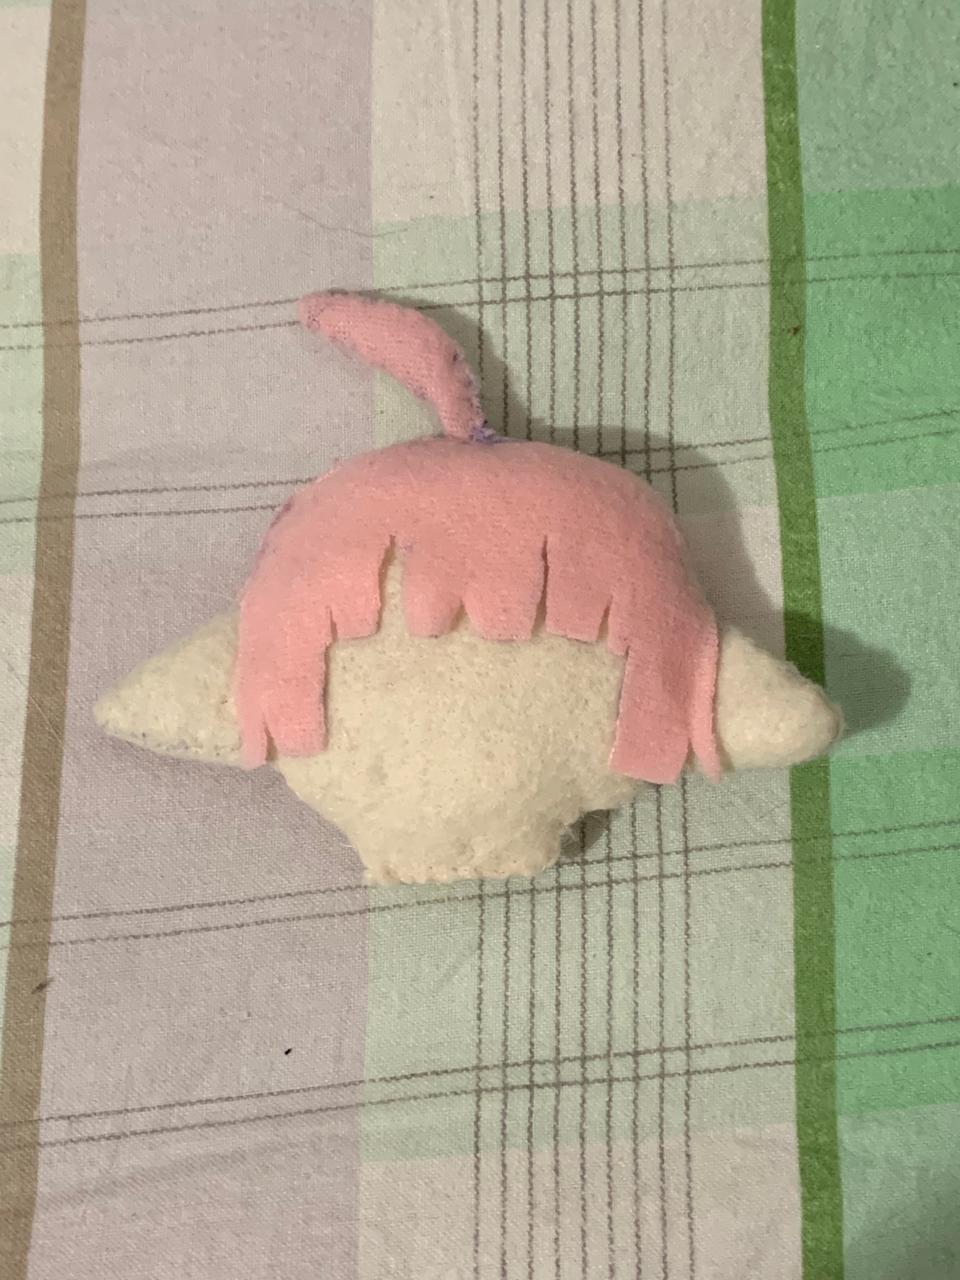
Then came the bangs: the iconic hime cut and, of course, the tiny ahoge! The ahoge was so small that it was a struggle to make and sew on, but to my surprise, it turned out really nice. After finishing the head, I finally started to trust the process more. I literally told myself, "Damn, this is actually looking good!" and I got super excited to keep going.
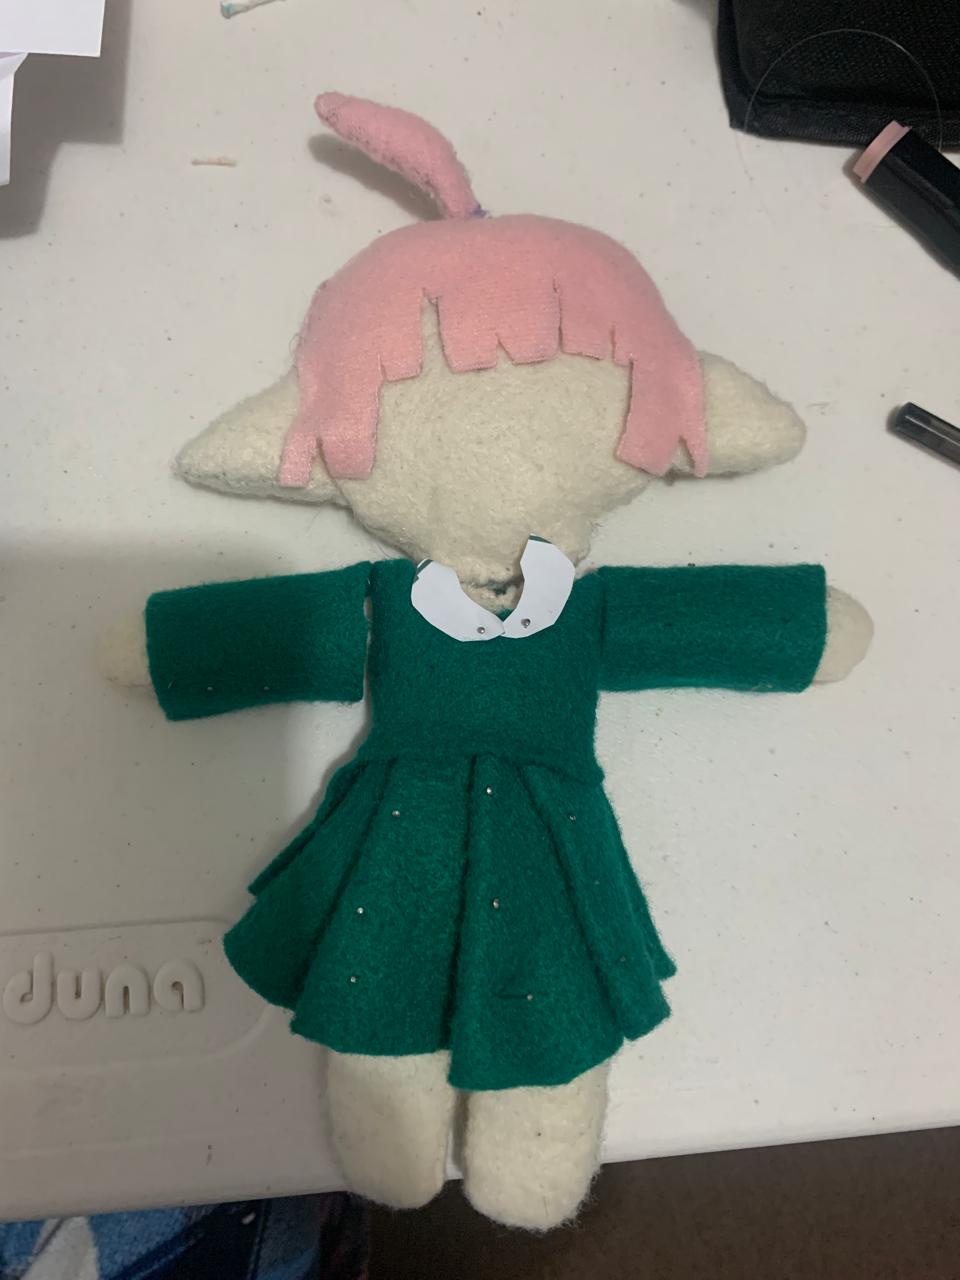
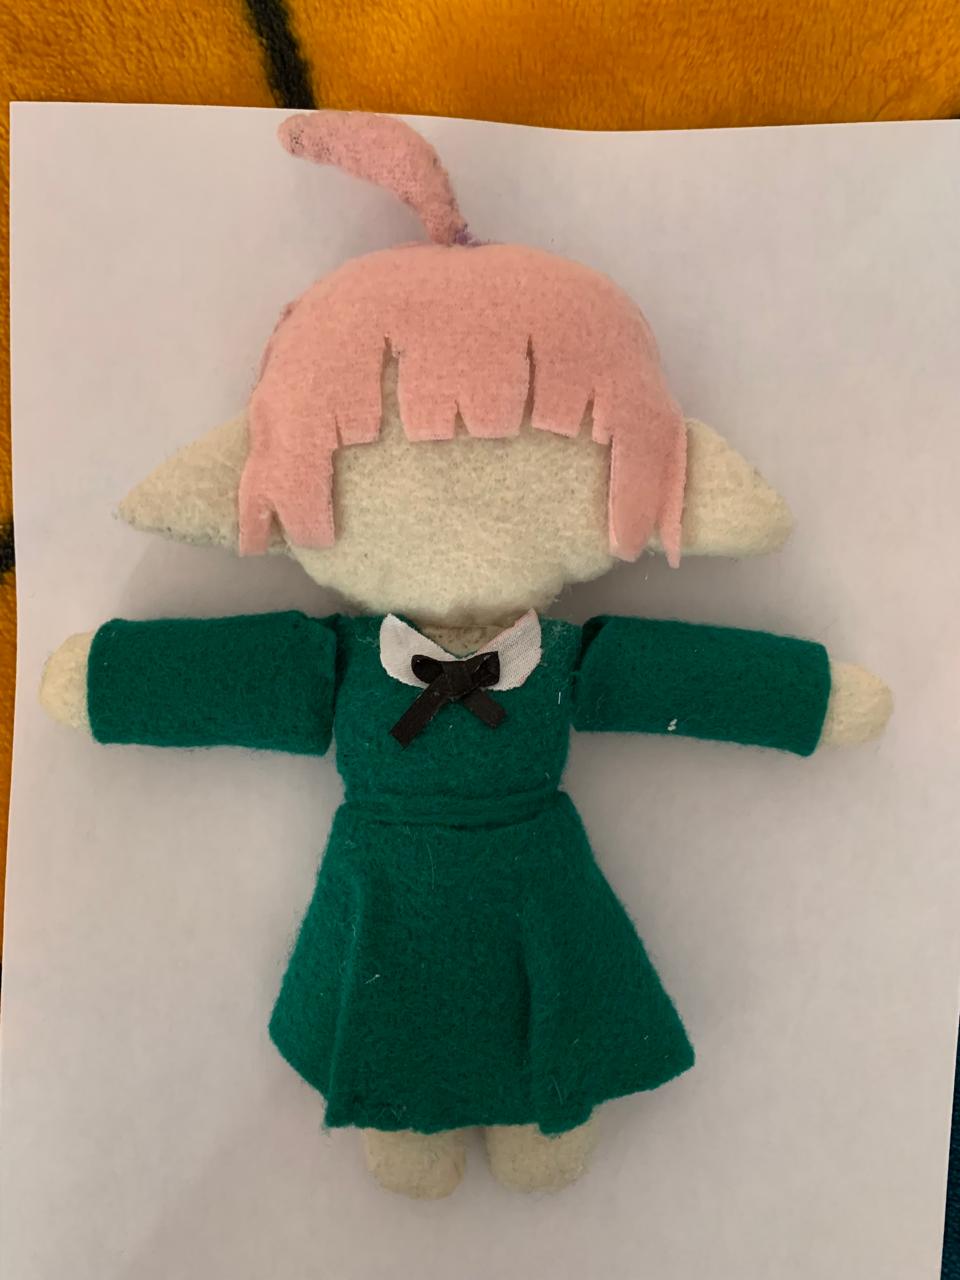
Next up: the dress. With the help of a lot of pins, I managed to figure out the shape I wanted. The pinned version looked a bit different from the final result, but I was still really happy with it. Once the dress was done, adding the collar and ribbon was a piece of cake and was the easiest part.
One last fun fact: at the very beginning, the Catto plushie was planned to have a "T-pose" design. In the next part of this blog, you'll see how that changed. Even though the T-pose idea was funny, I found a pose that I thought worked and looked way better.
Last comments
About the face: I should probably mention that I painted the face by hand, which was super scary! I used a really thin brush with the textile paint I had, but even the smallest mistake could have meant redoing most of the plushie, so I was extra careful.
Remember how I mentioned the face from the prototype that I ended up choosing got discarded? That was because the fabric itself wasn't smooth; it had little fluffy bits (like lint). Before painting the face on the actual plushie, I tested on a scrap of the same fabric and realized that small details like the eyelashes and fangs just weren't going to work. So, I went with a simpler version instead.
Sadly, the mouth was the one thing I messed up a little. It came out a bit crooked, but honestly, it's fine. It gives Catto some extra charm! Not a big deal at all. After that, I added the little blush, which was also kind of scary to paint, but was good all the same.
Finally, I sewed the rest of the hair, and... plushie finished!! Yay!! La creatura was alive!!
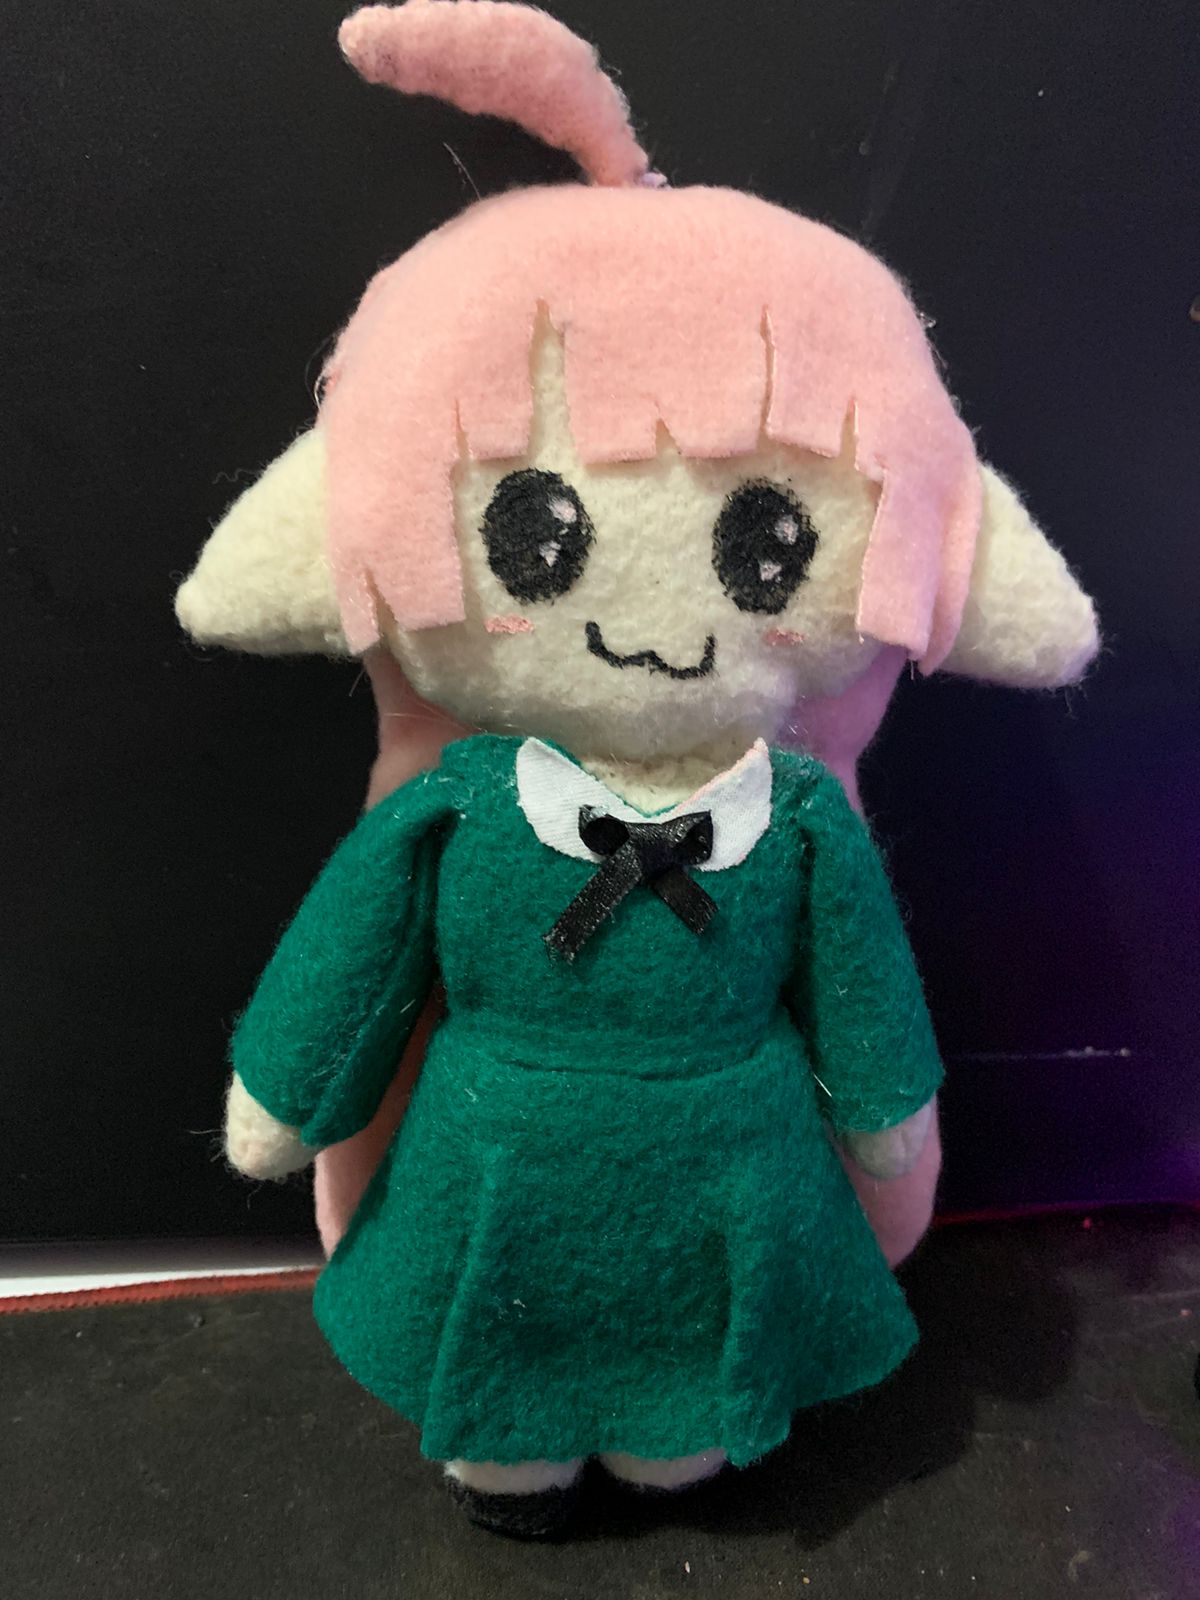
Now, it's time to reveal the Catto plushie and its final form!!
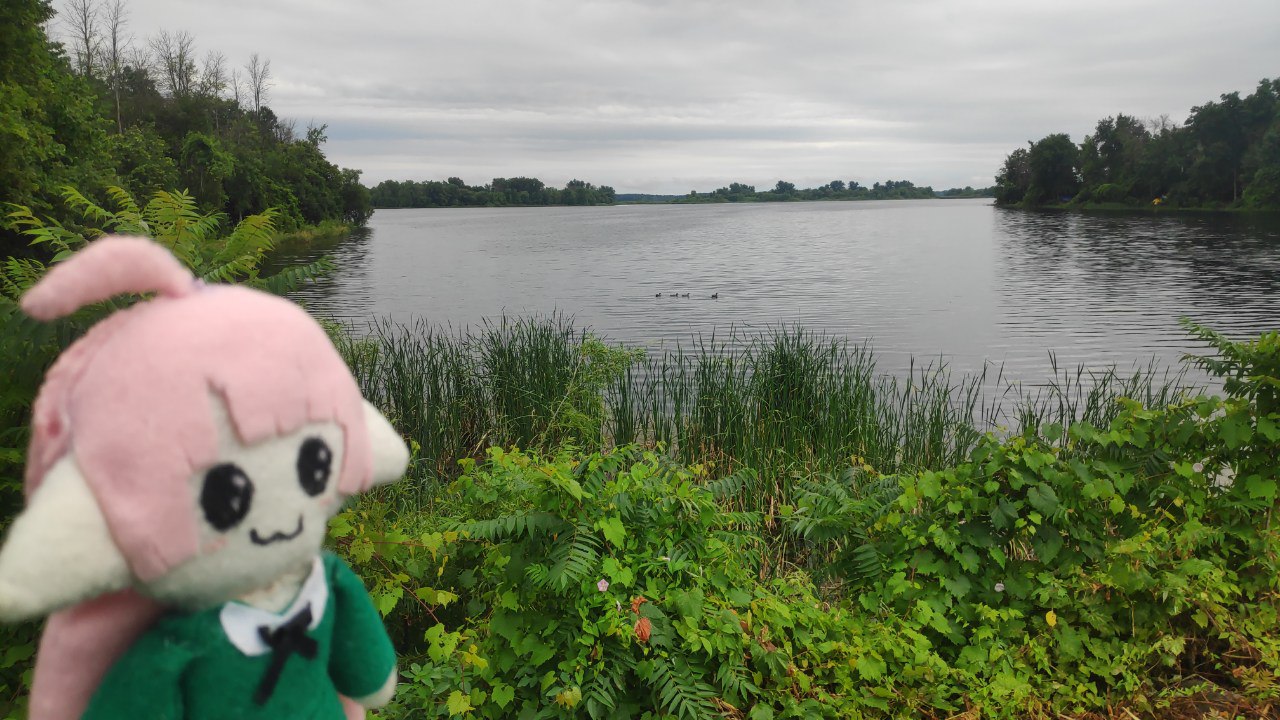
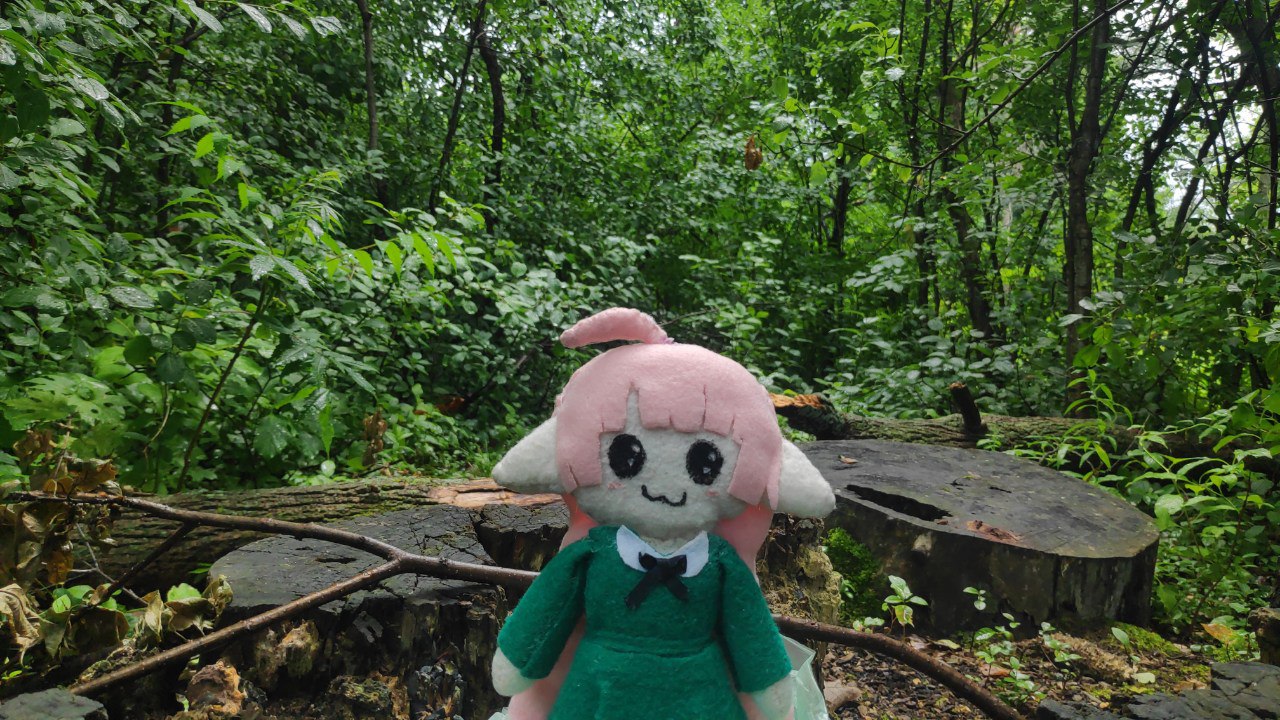
Final Reveal and some bonus pics
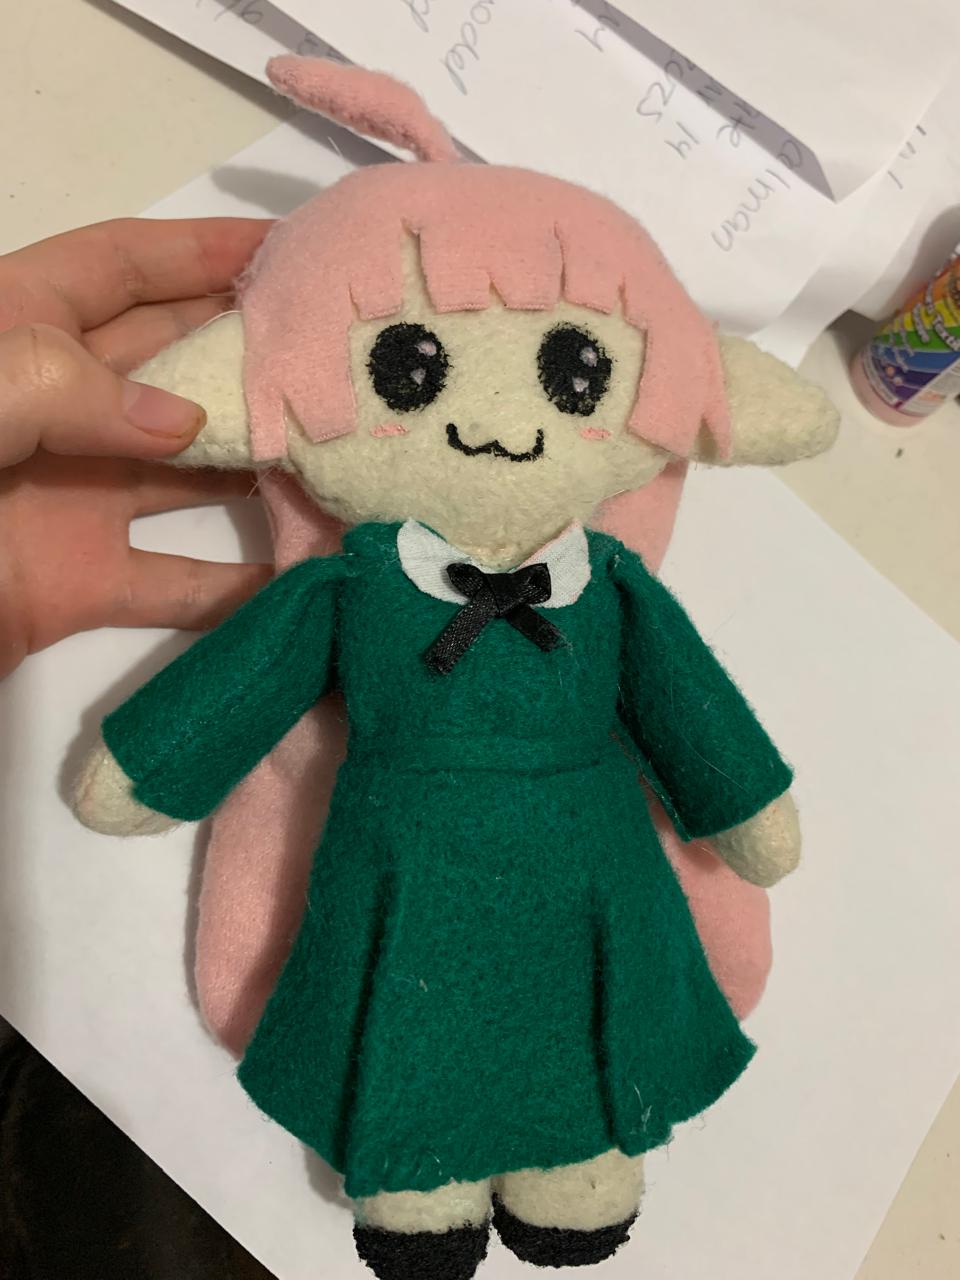
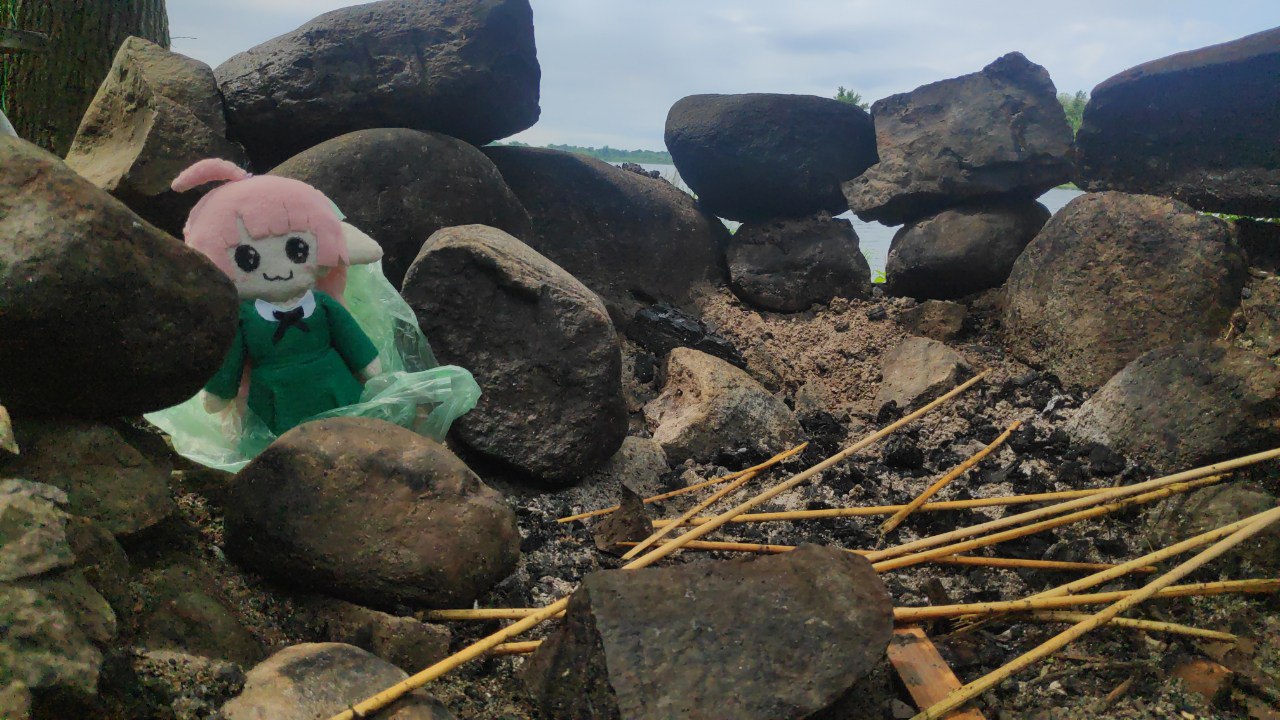
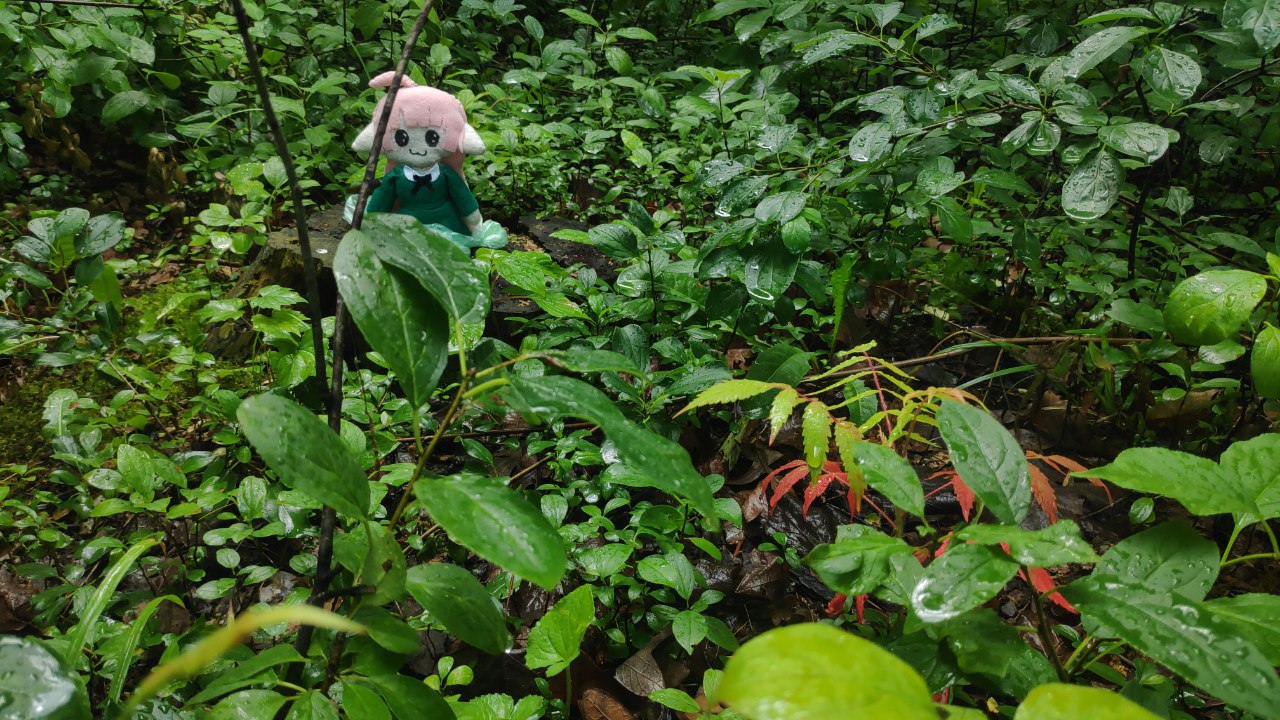
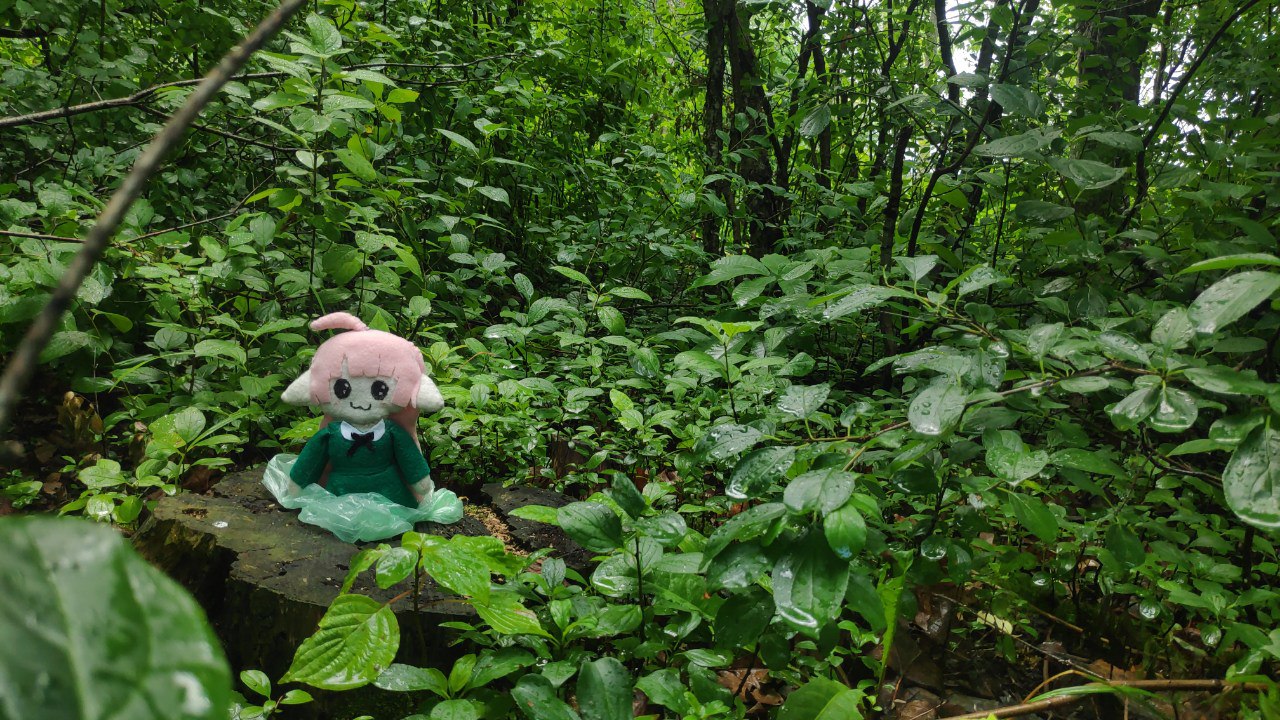
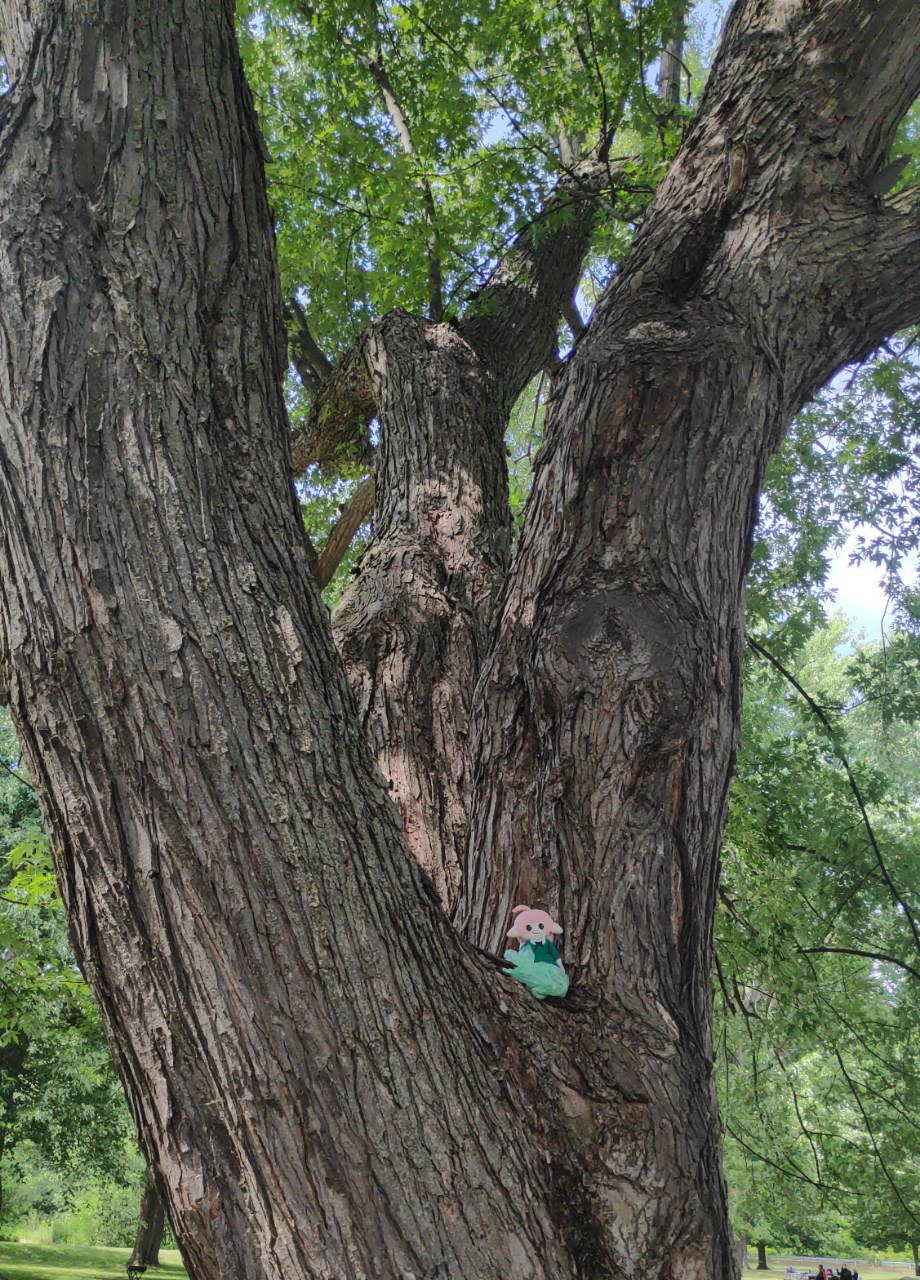
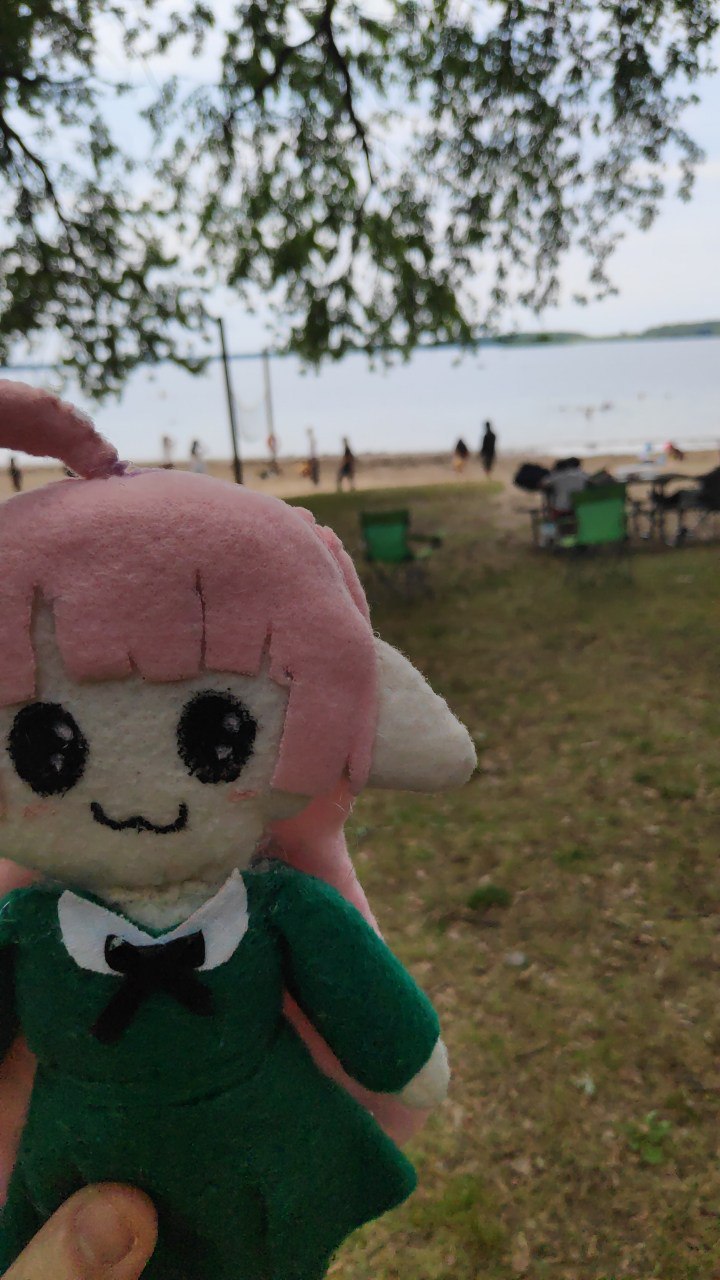
In the end, it was so much fun and a pleasure working on this project, and I really hope I can do something similar in the future.