I made new Plushies!!
Hellooo friends!!
Today, I’m back with a new post, and this time, I made two new plushies!!
A brand new Catto plushie, and a Becky plushie from the game Studio System Guardian Angel.
Just like in my previous post, I’ll use this space to talk more in-depth about the process, share some pictures along the way, and ramble about the things I learned while making them.
I wanna start with Becky!!
Becky
I really wanted to make another plushie besides Catto so I could experiment with different styles. Making my first plushie helped me figure out what I wanted to improve, especially when it came to stitching, but it also showed me a bunch of things I wanted to approach differently next time.
It’s honestly so much fun to work on these. The process can definitely be stressful, but it’s also really enjoyable and even kinda therapeutic...
So let’s get right into it!
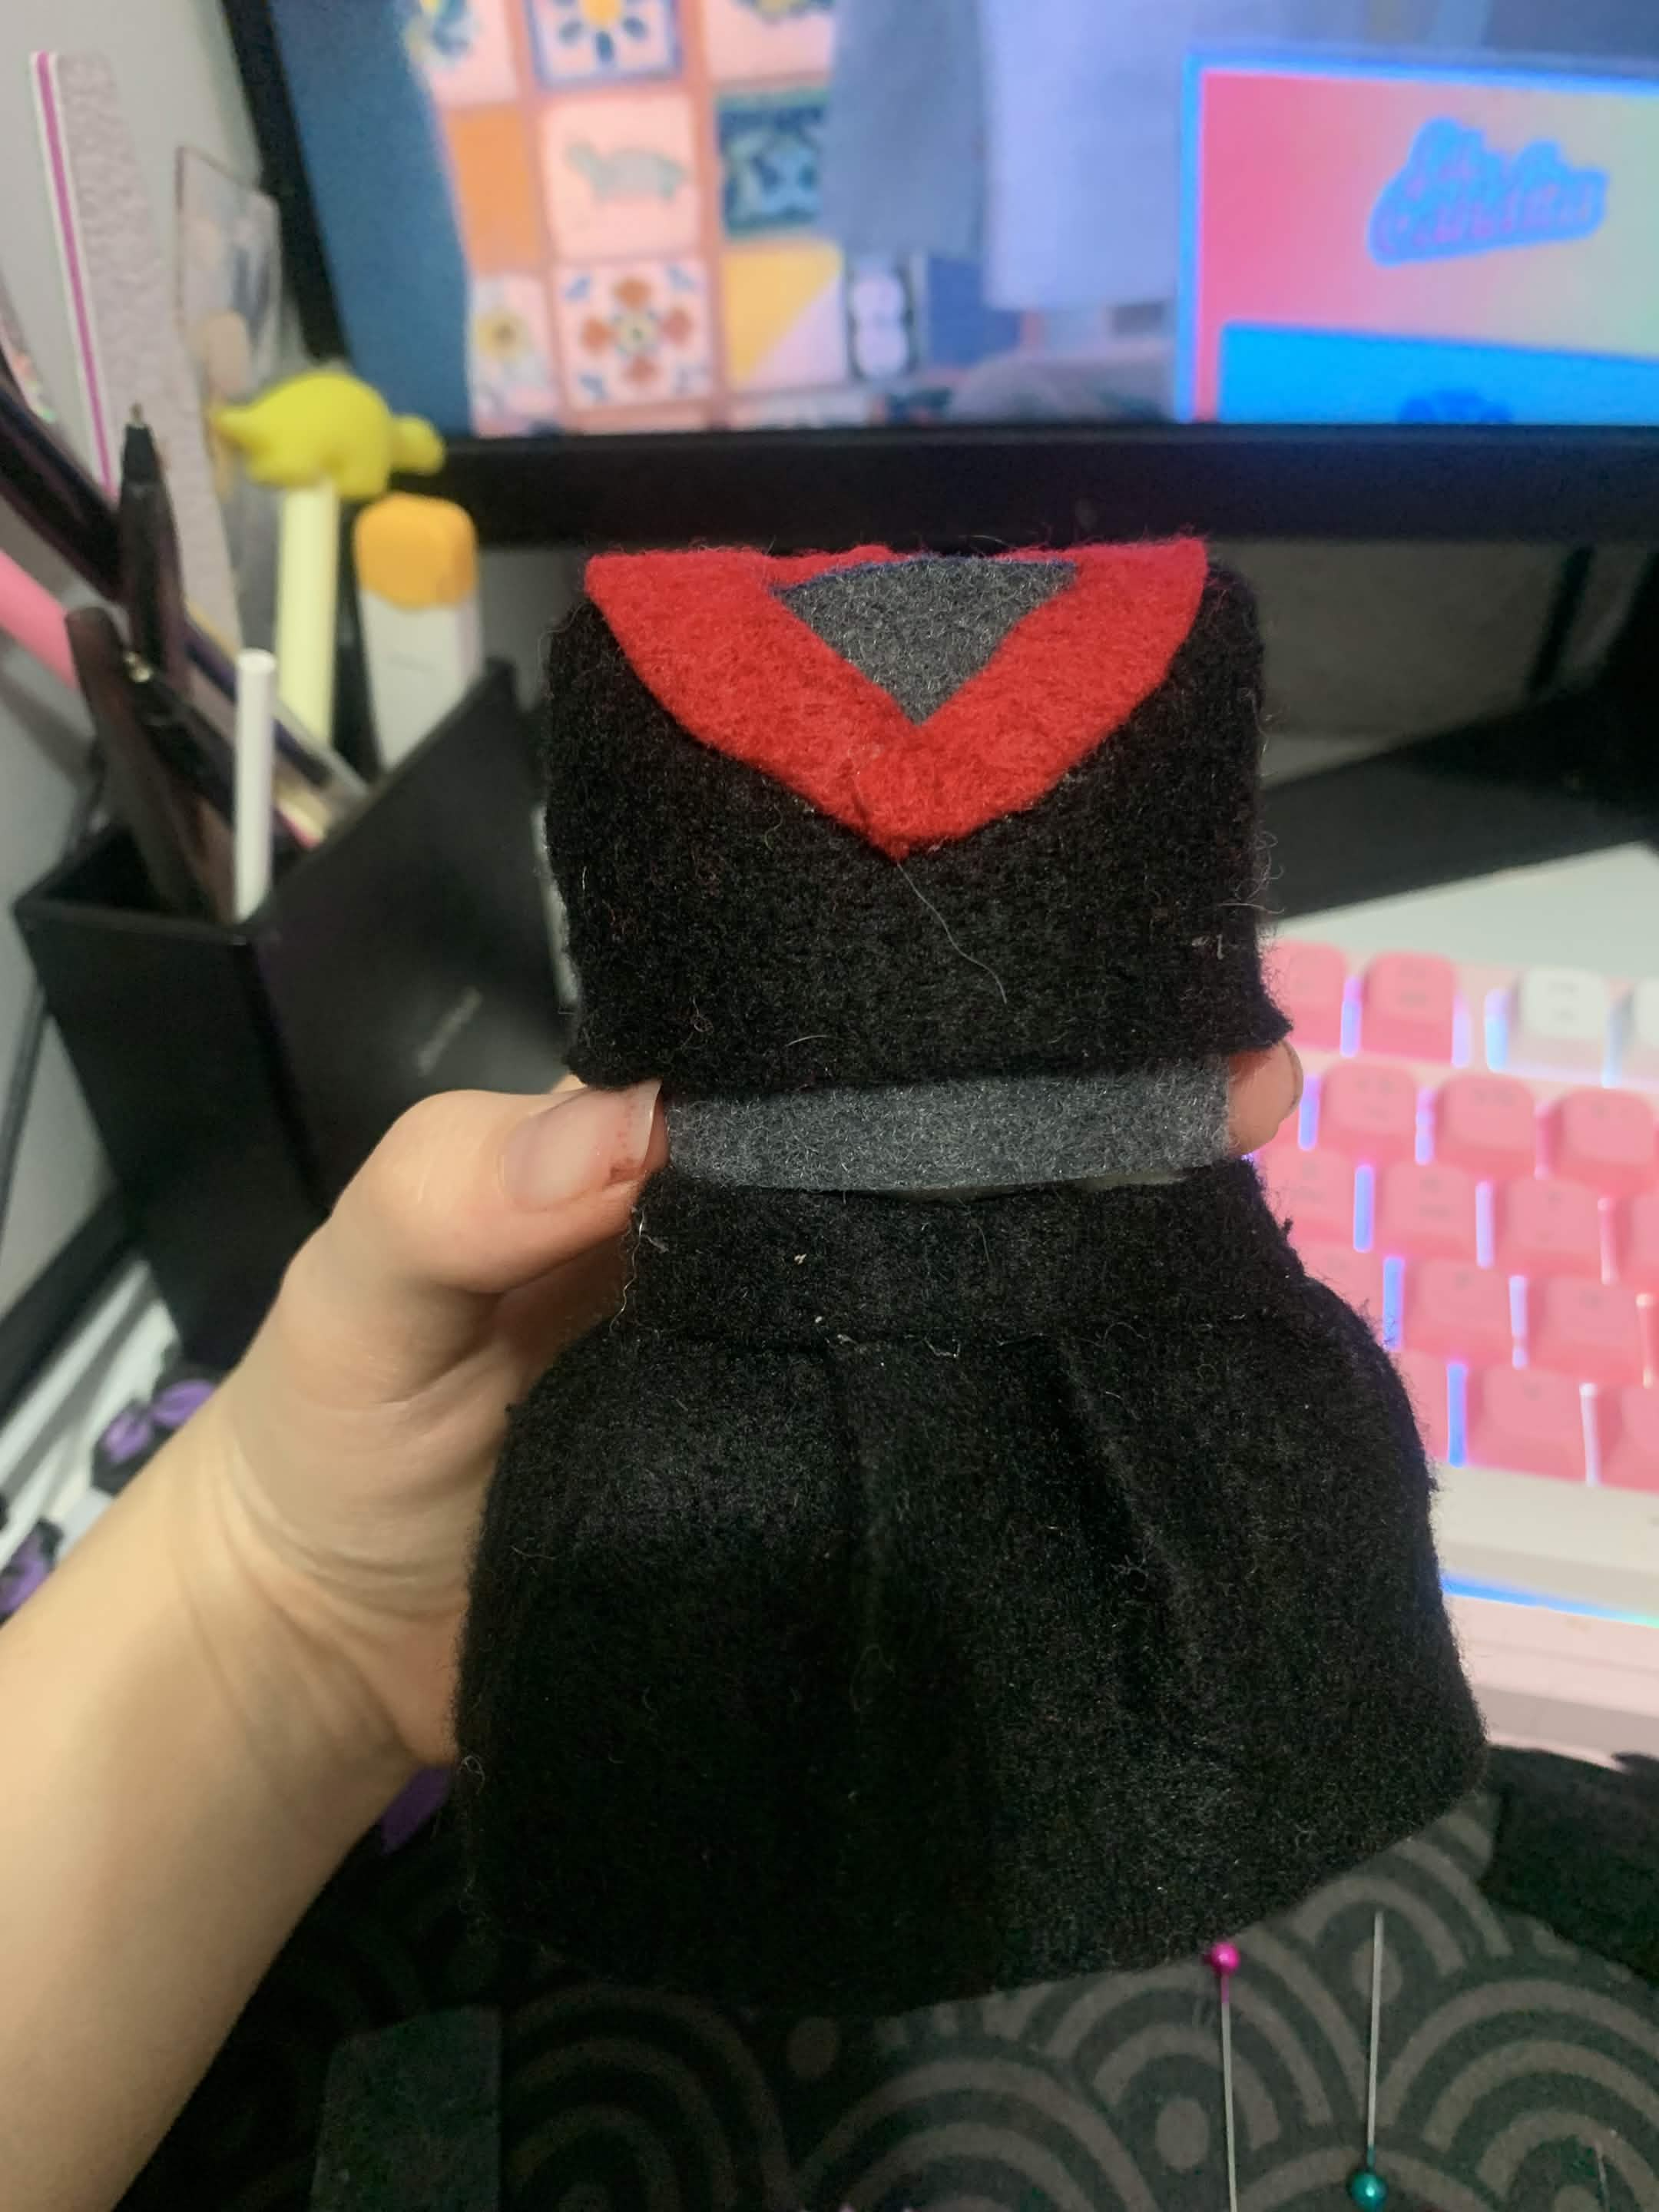
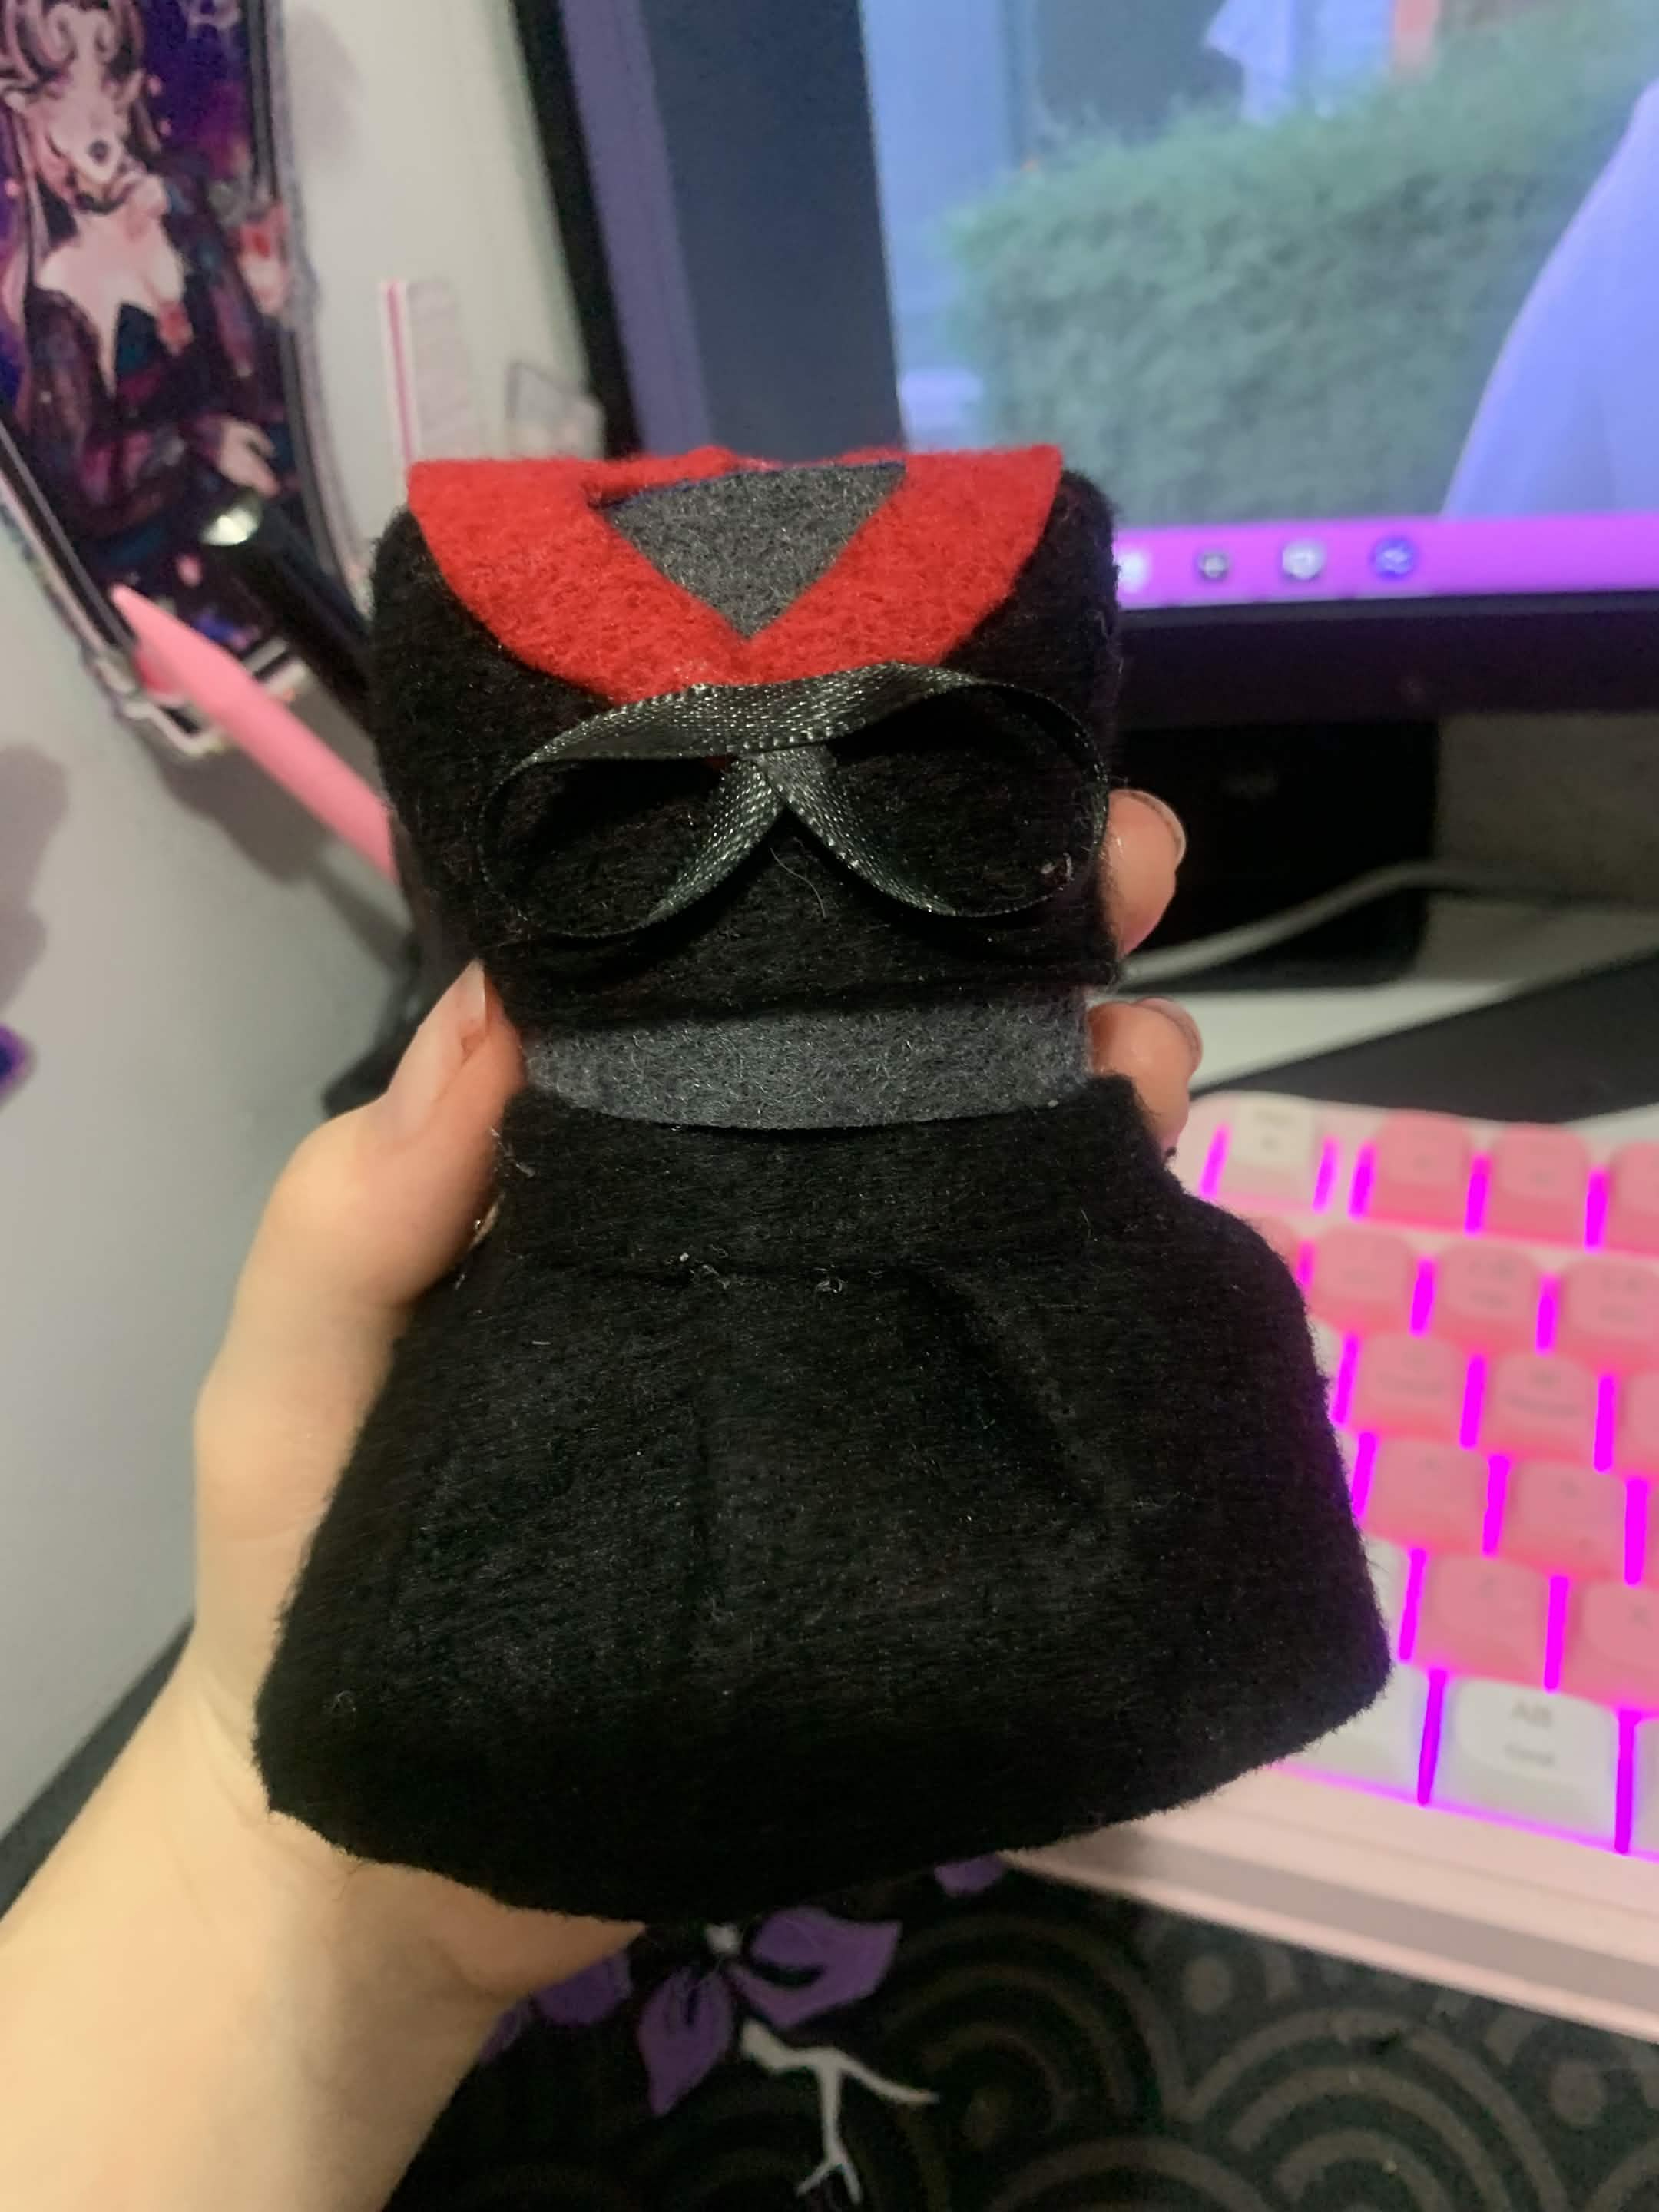
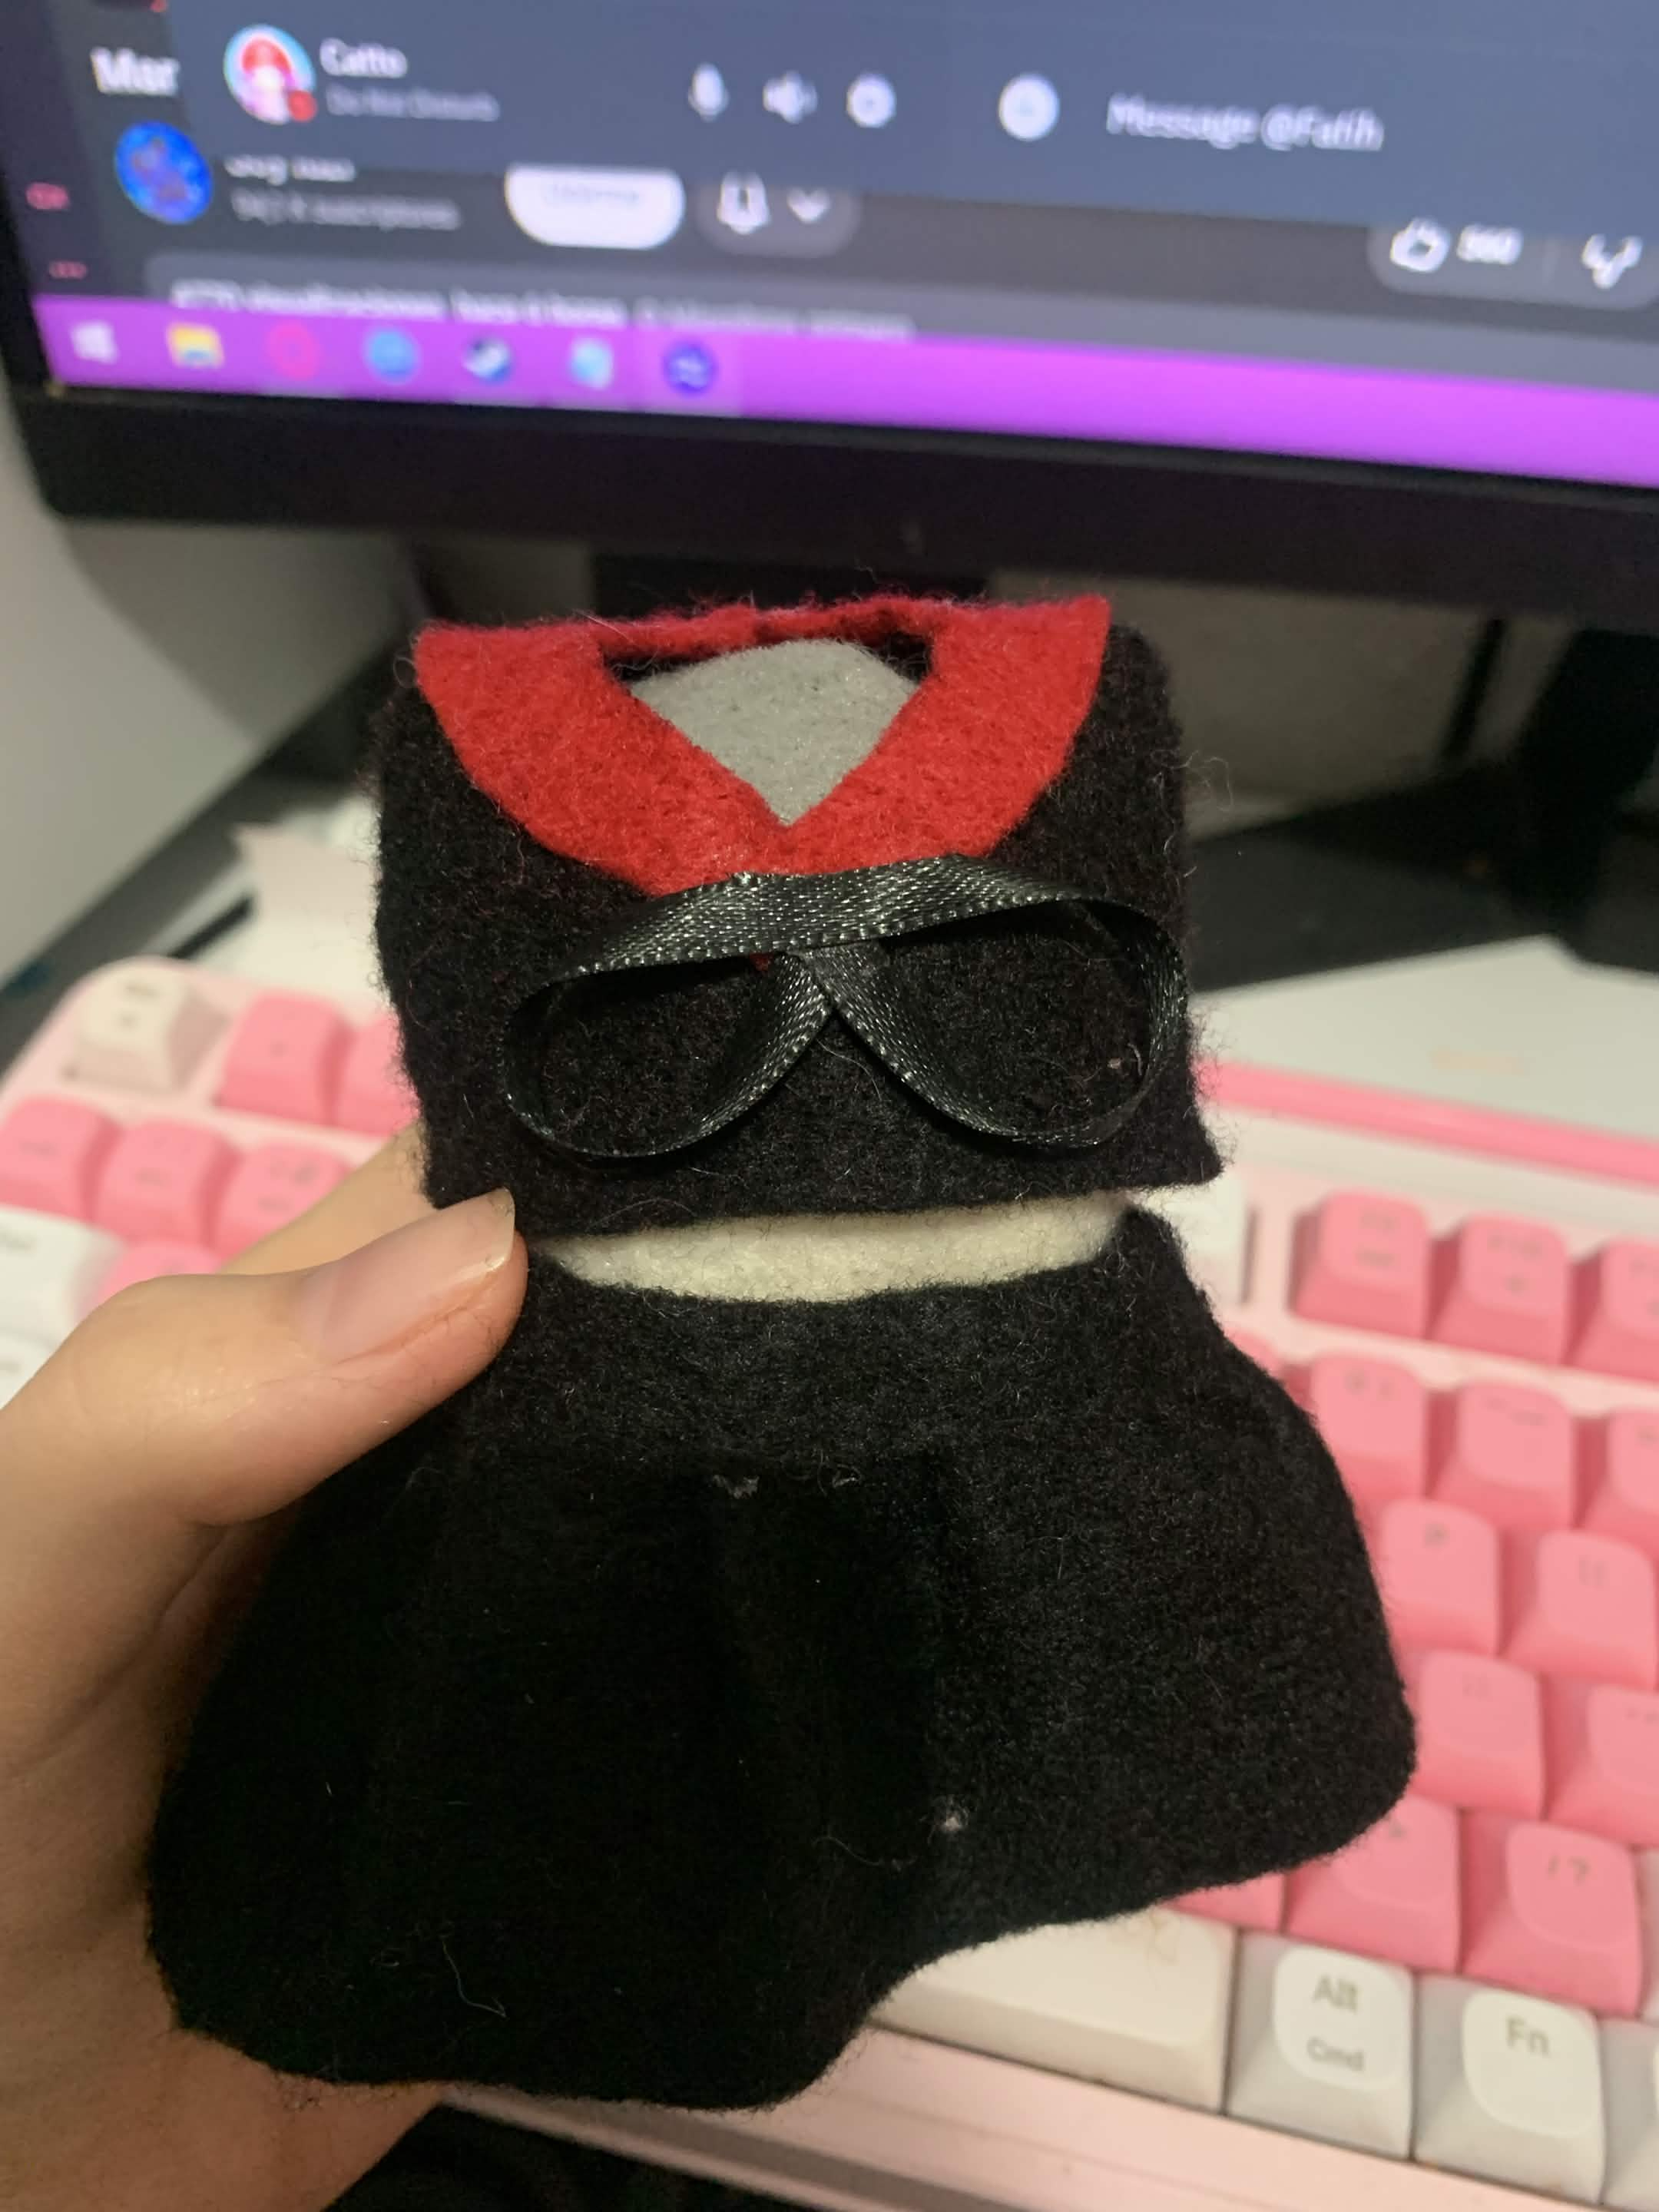
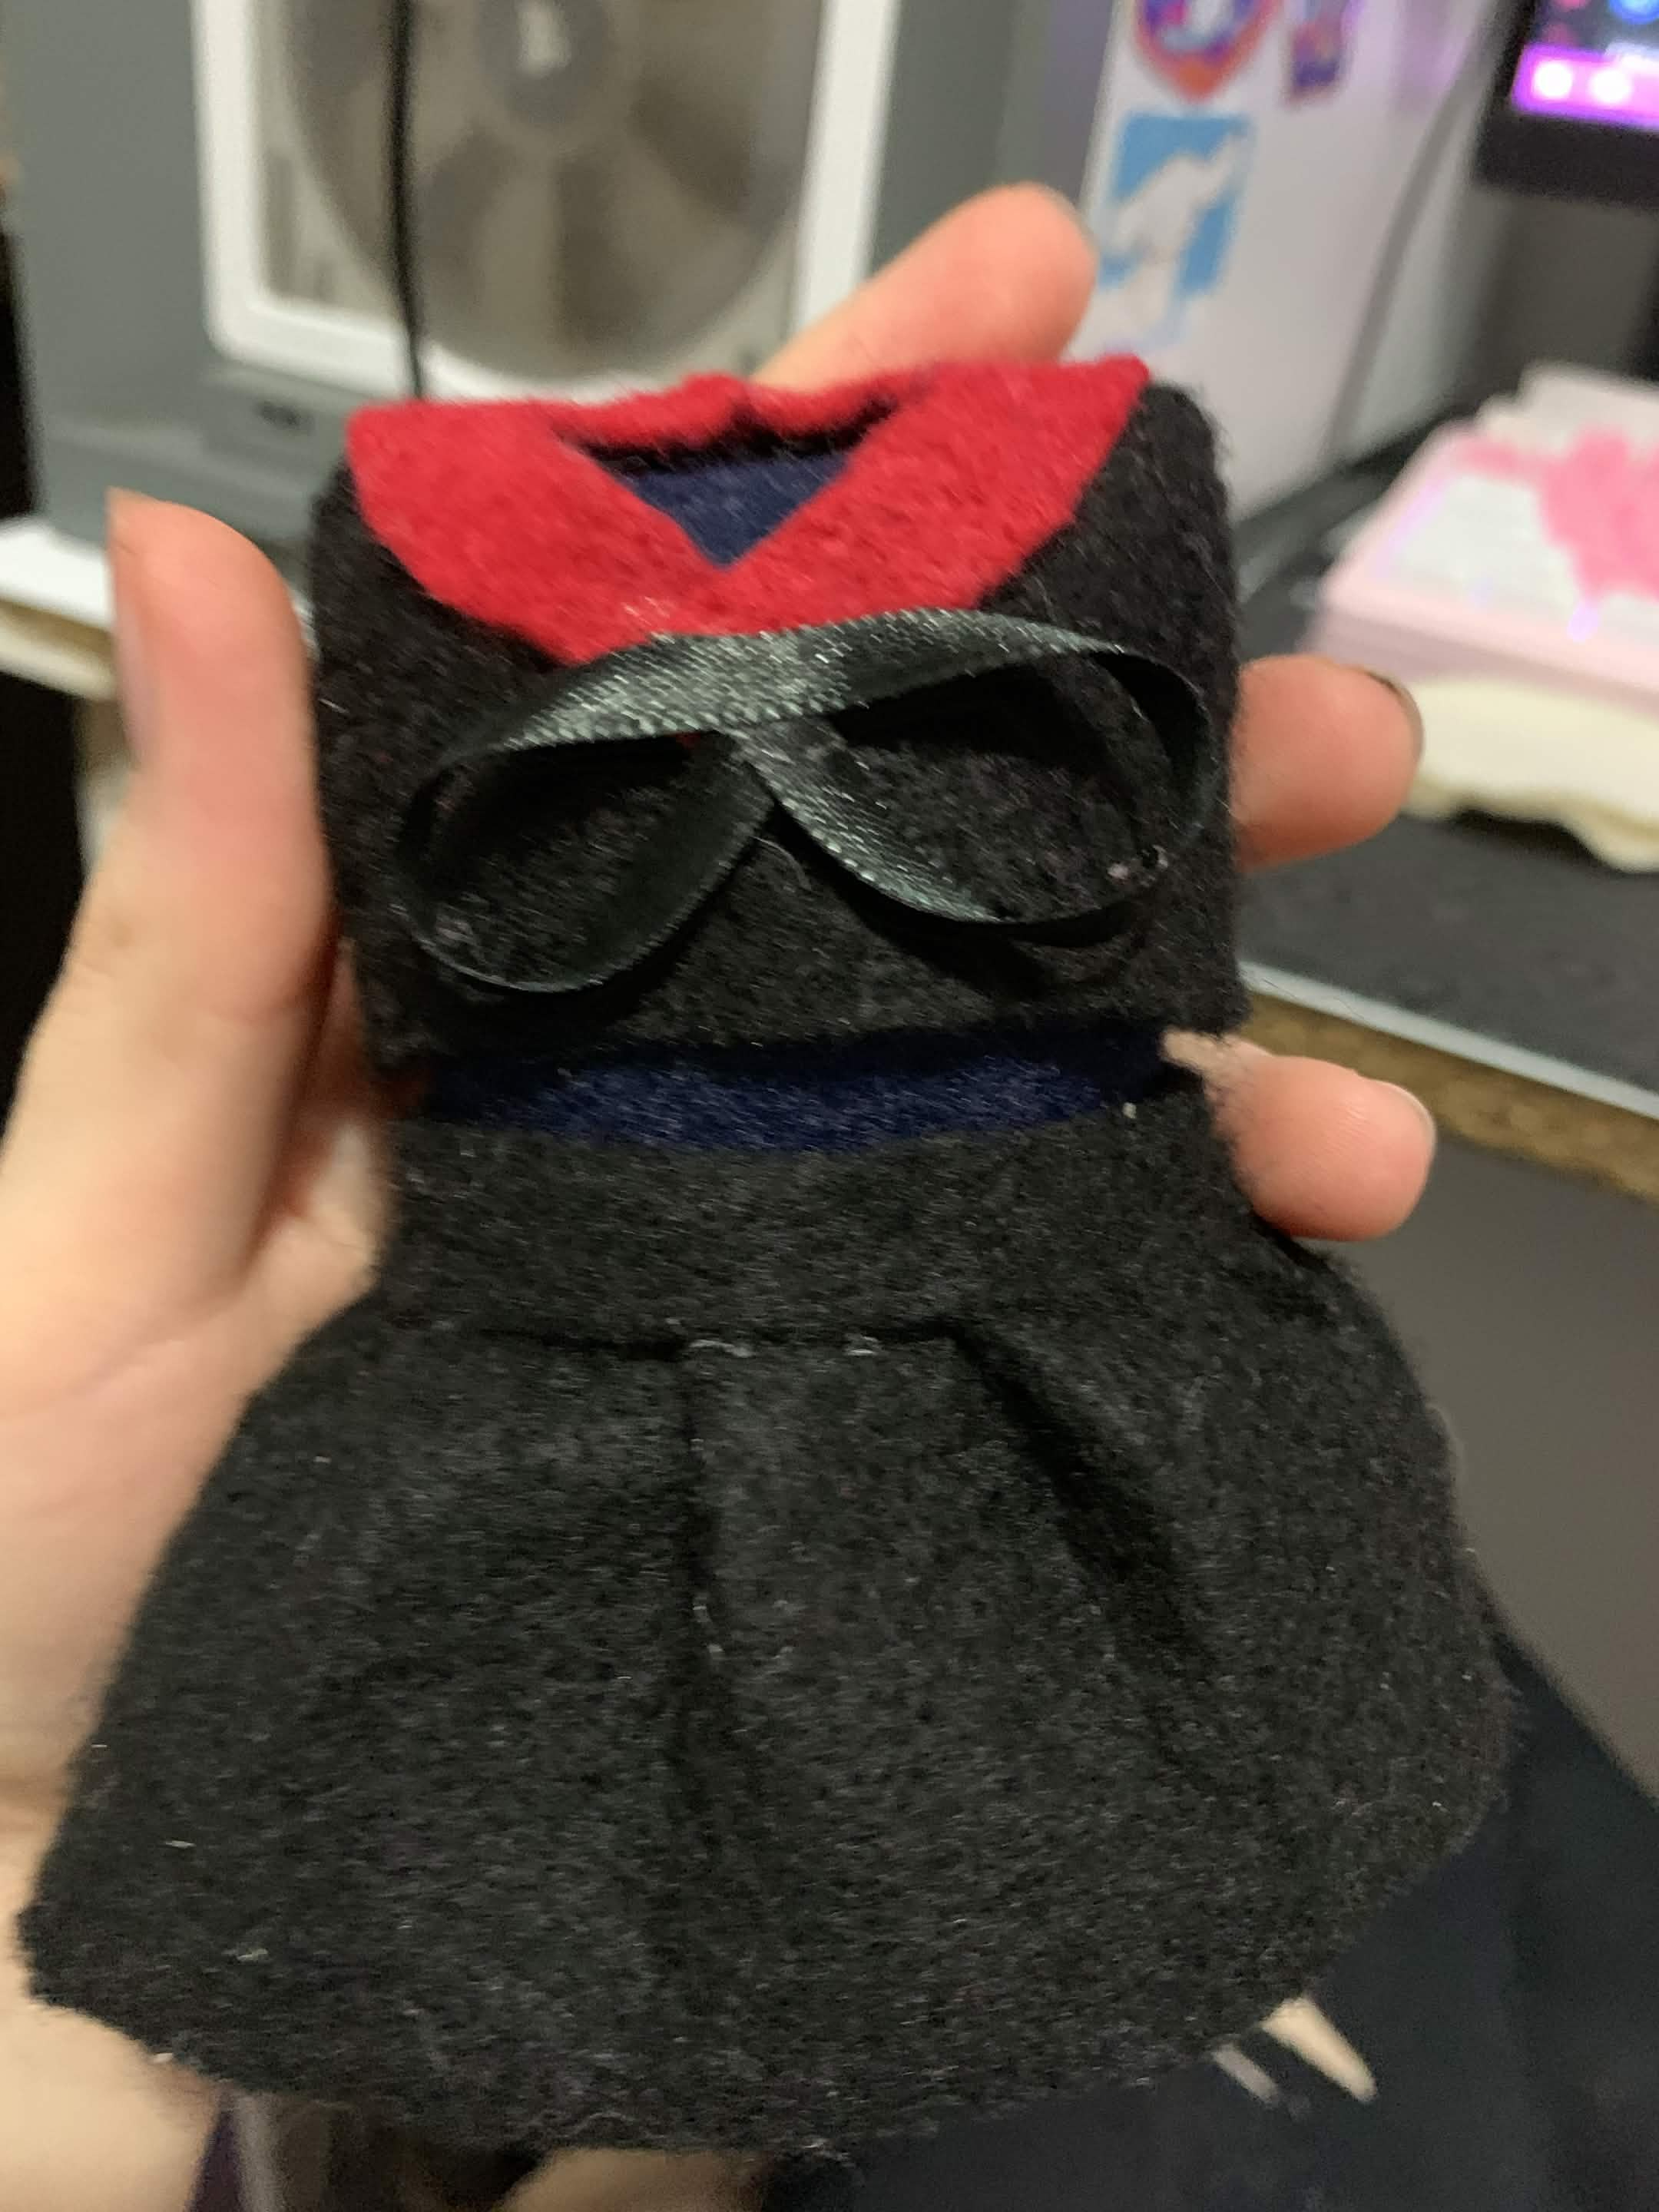
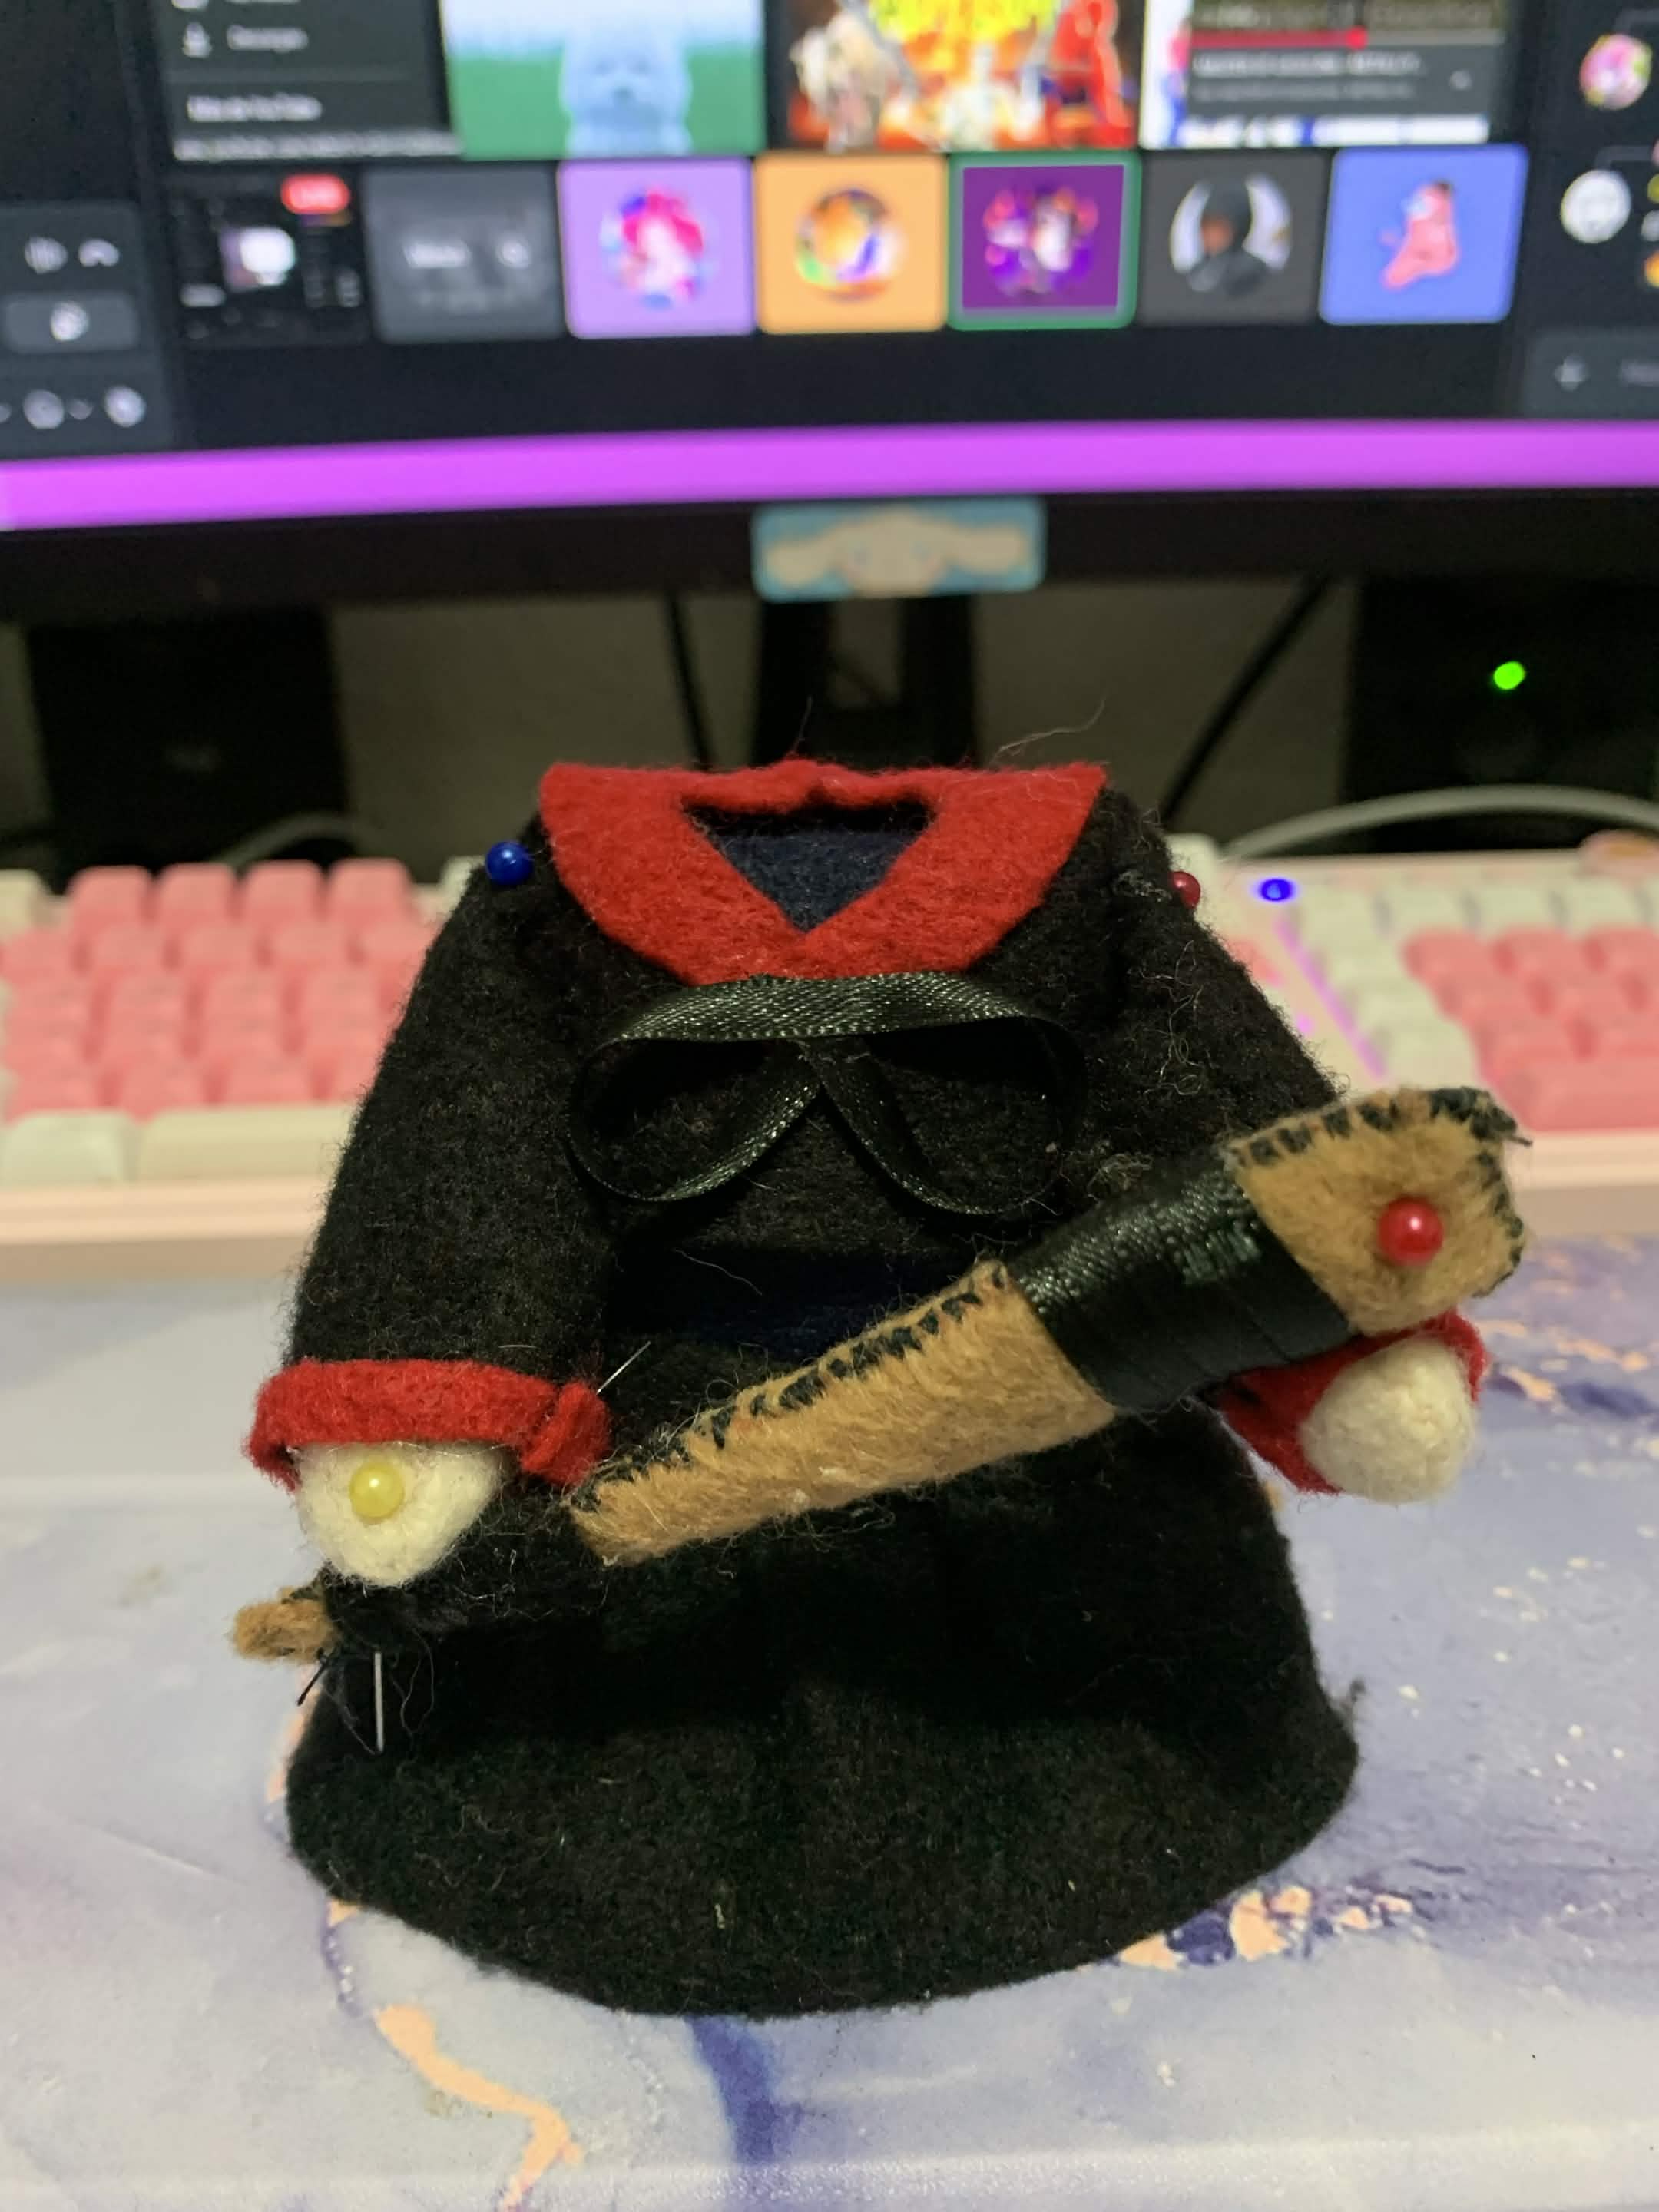
The first thing I worked on was the body and clothes. Sadly, I couldn’t find exactly the colors of fabric I wanted to use.
For example, I wanted a more gray shade for the character. After going to the fabric store like THREE TIMES and still not finding what I wanted, I eventually grabbed some white felt and painted it gray with fabric paint.
It actually looked great!!
BUT there was a problem.
Once the paint dried, the fabric became stiff, and I really didn’t like how it felt. On top of that, it became way too difficult to push a needle through it.
To this day, I’m still wondering what I could’ve done differently. I looked into what other plushie makers do and found out that maybe mixing fabric softener with the paint could have helped...
Or maybe I should’ve sewn the clothes first and painted them afterward.
Maybe none of that would’ve worked!!
So I ended up doing what I could and working with the materials I had. I tried another gray fabric too, but it was way too light for what I had in mind.
That meant the undershirt ended up being dark blue...
Another thing I wanted to do was give the plushie an actual neck so I could make her turtleneck properly.
I couldn’t figure out how to do that lol.
Aside from those problems, the clothes were actually pretty easy to make, ngl.
I don’t really have any experience making clothes, so I figured out most of it as I went. And since it’s a plushie, I can cheat the clothes in SO many ways!!!
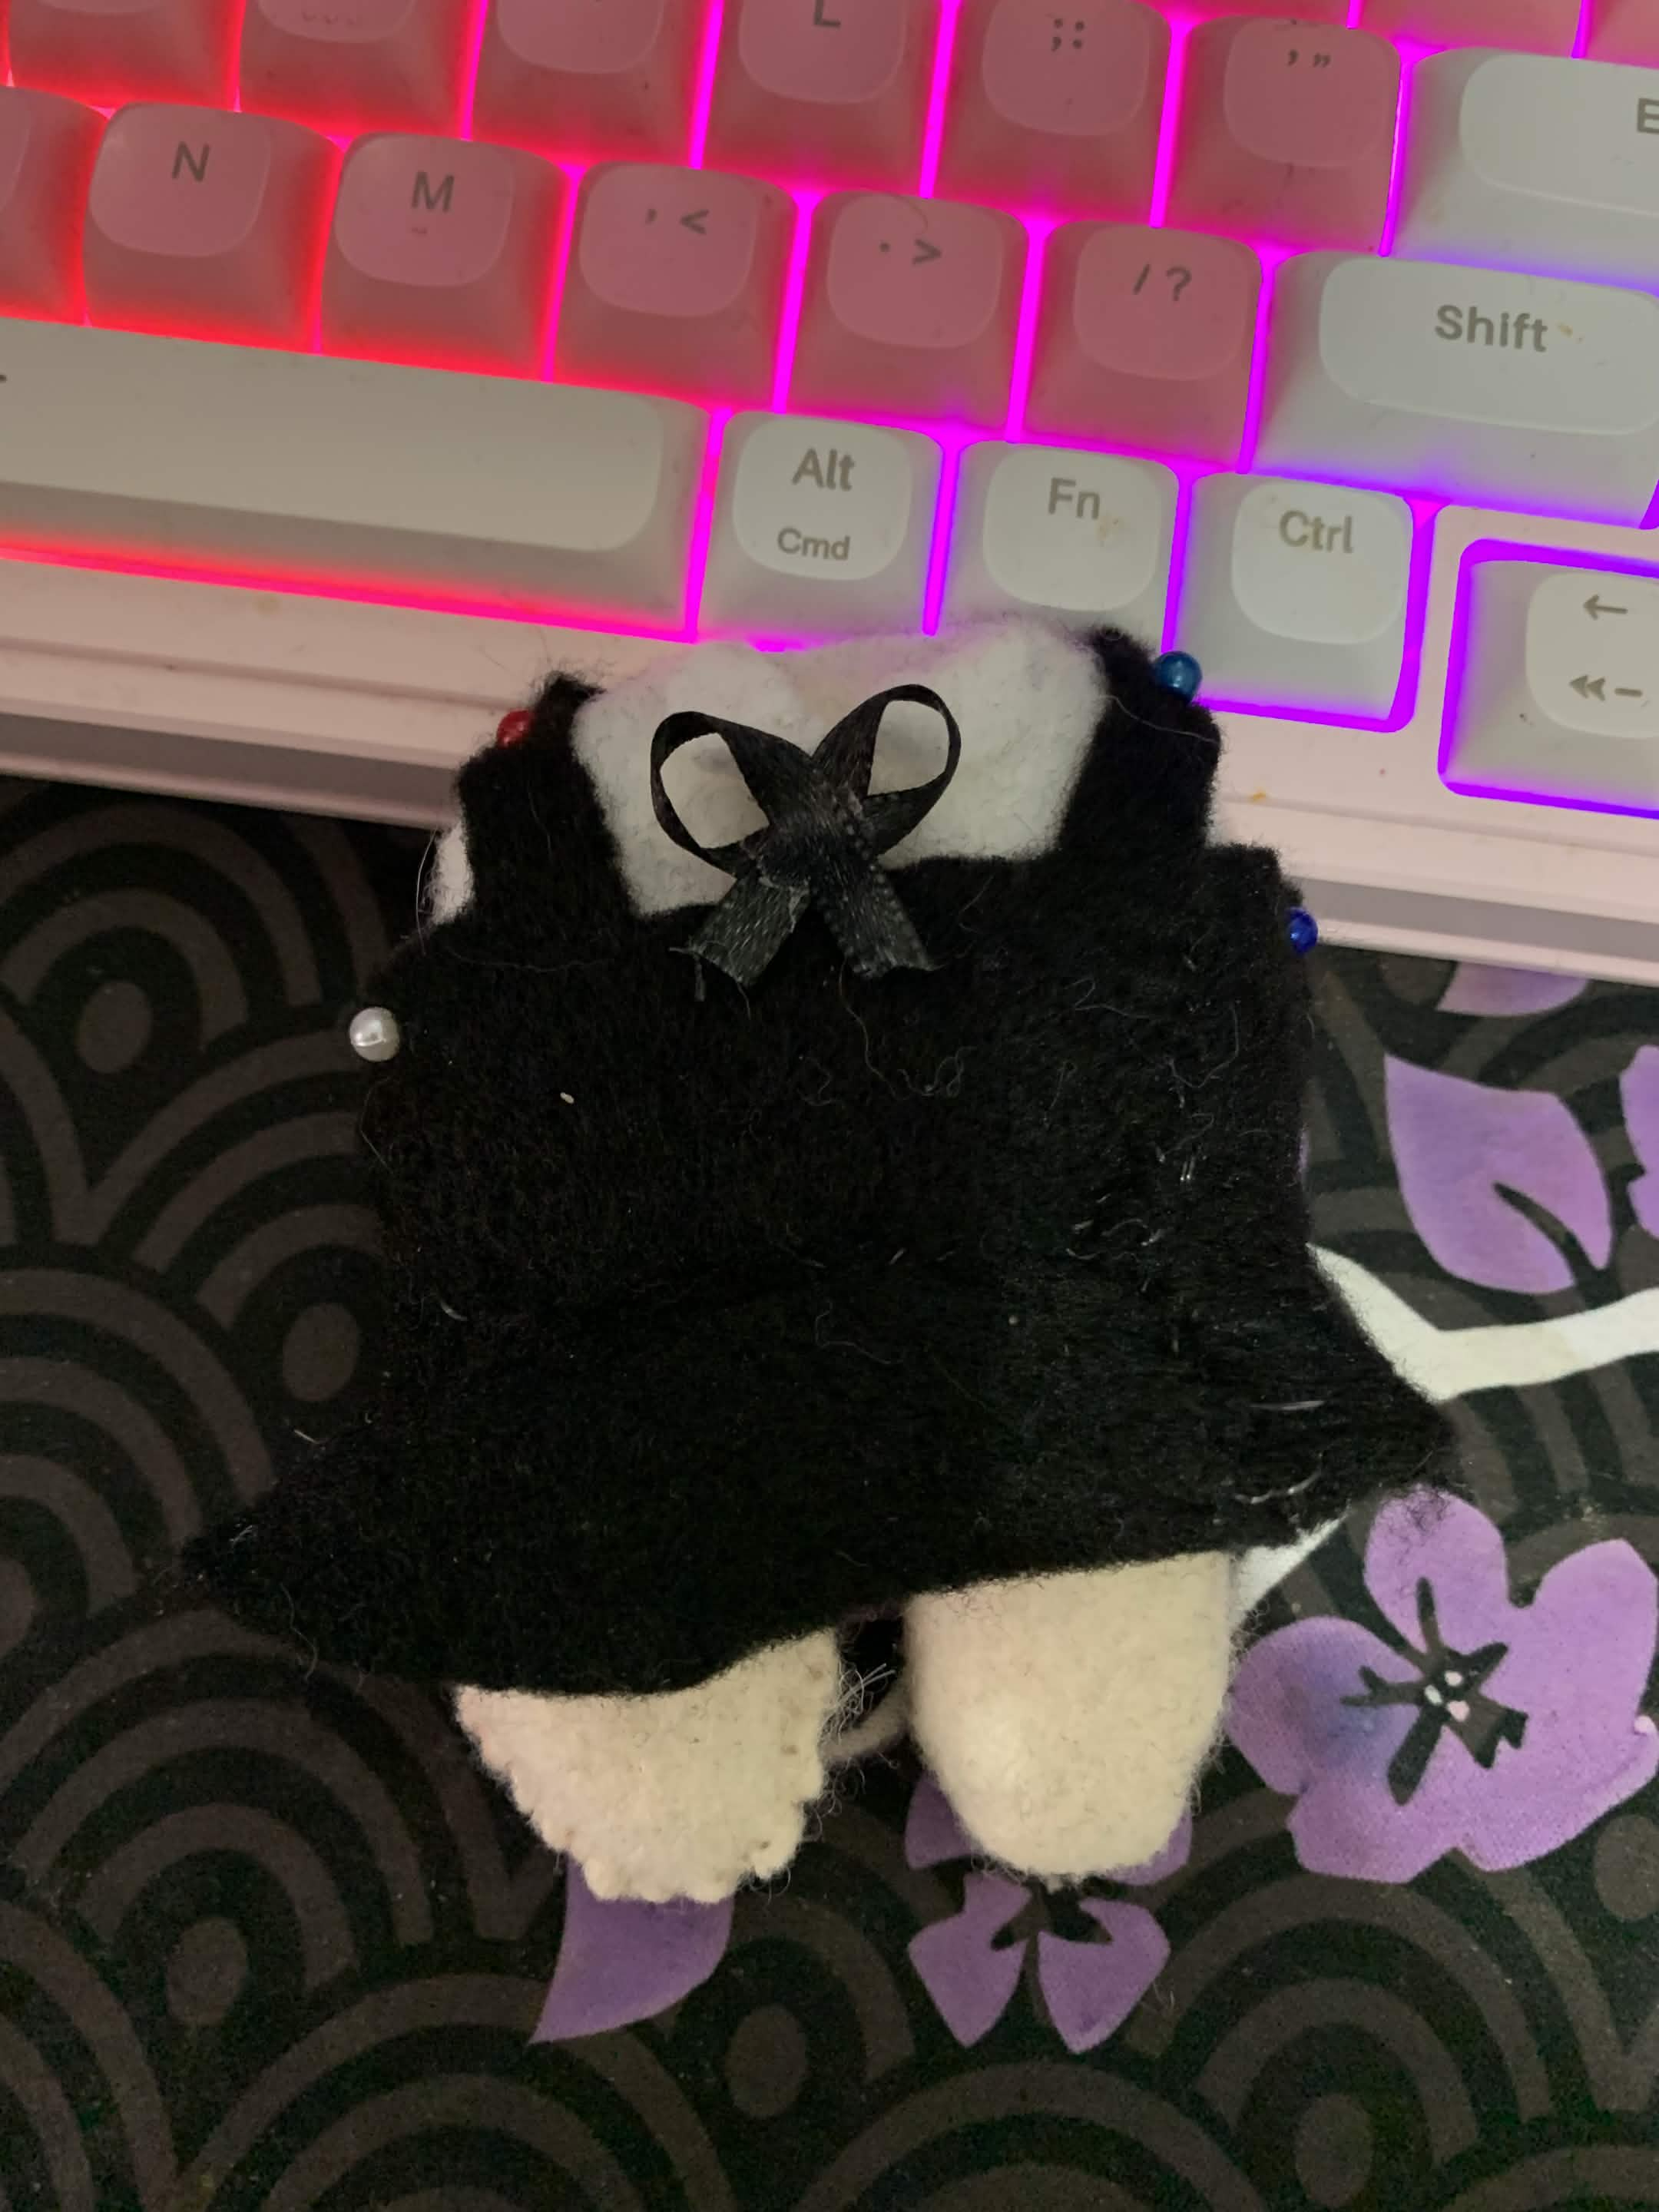
The tricky part was definitely the skirt.
It’s a pleated skirt!!
...I have no idea how to make a pleated skirt.
I watched a bunch of tutorials on YouTube, and they definitely helped with the final result, but I still felt like I didn’t completely understand what I was doing LOL.
It would be nice to have tutorials specifically for doll-sized clothes, because most of the ones I found were for actual human clothes. Trying to recreate those techniques at such a tiny scale was... complicated.
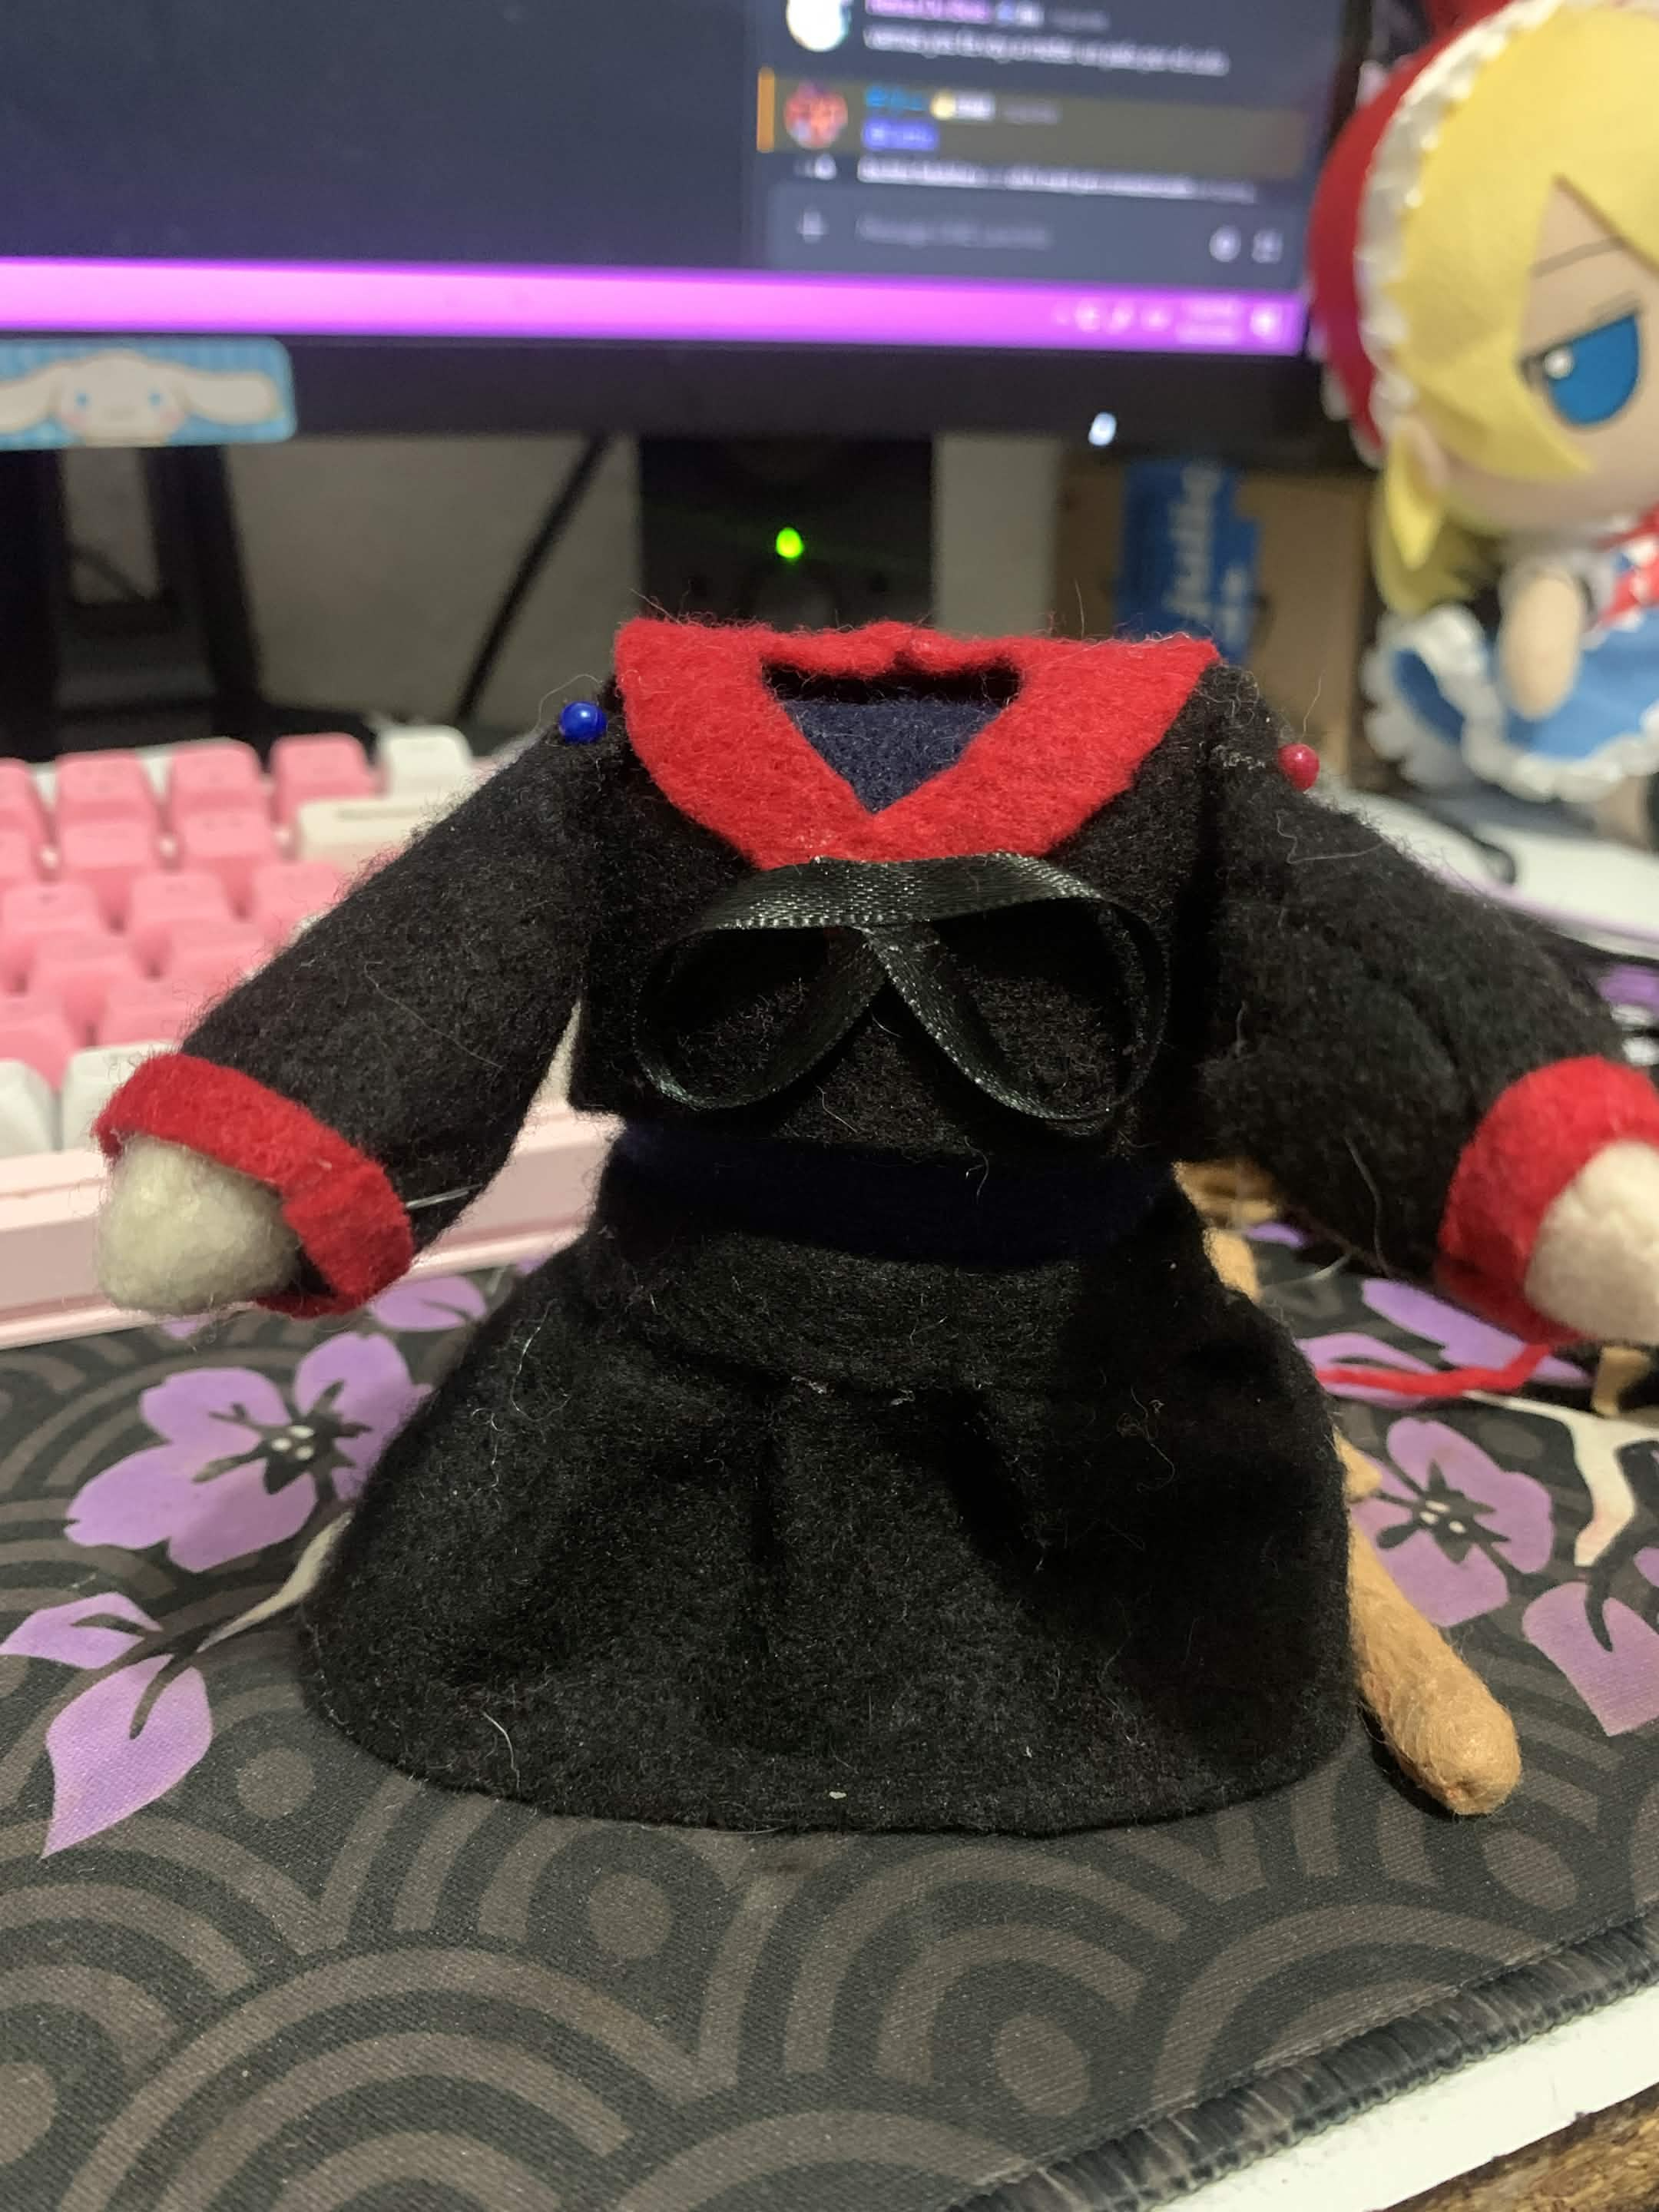
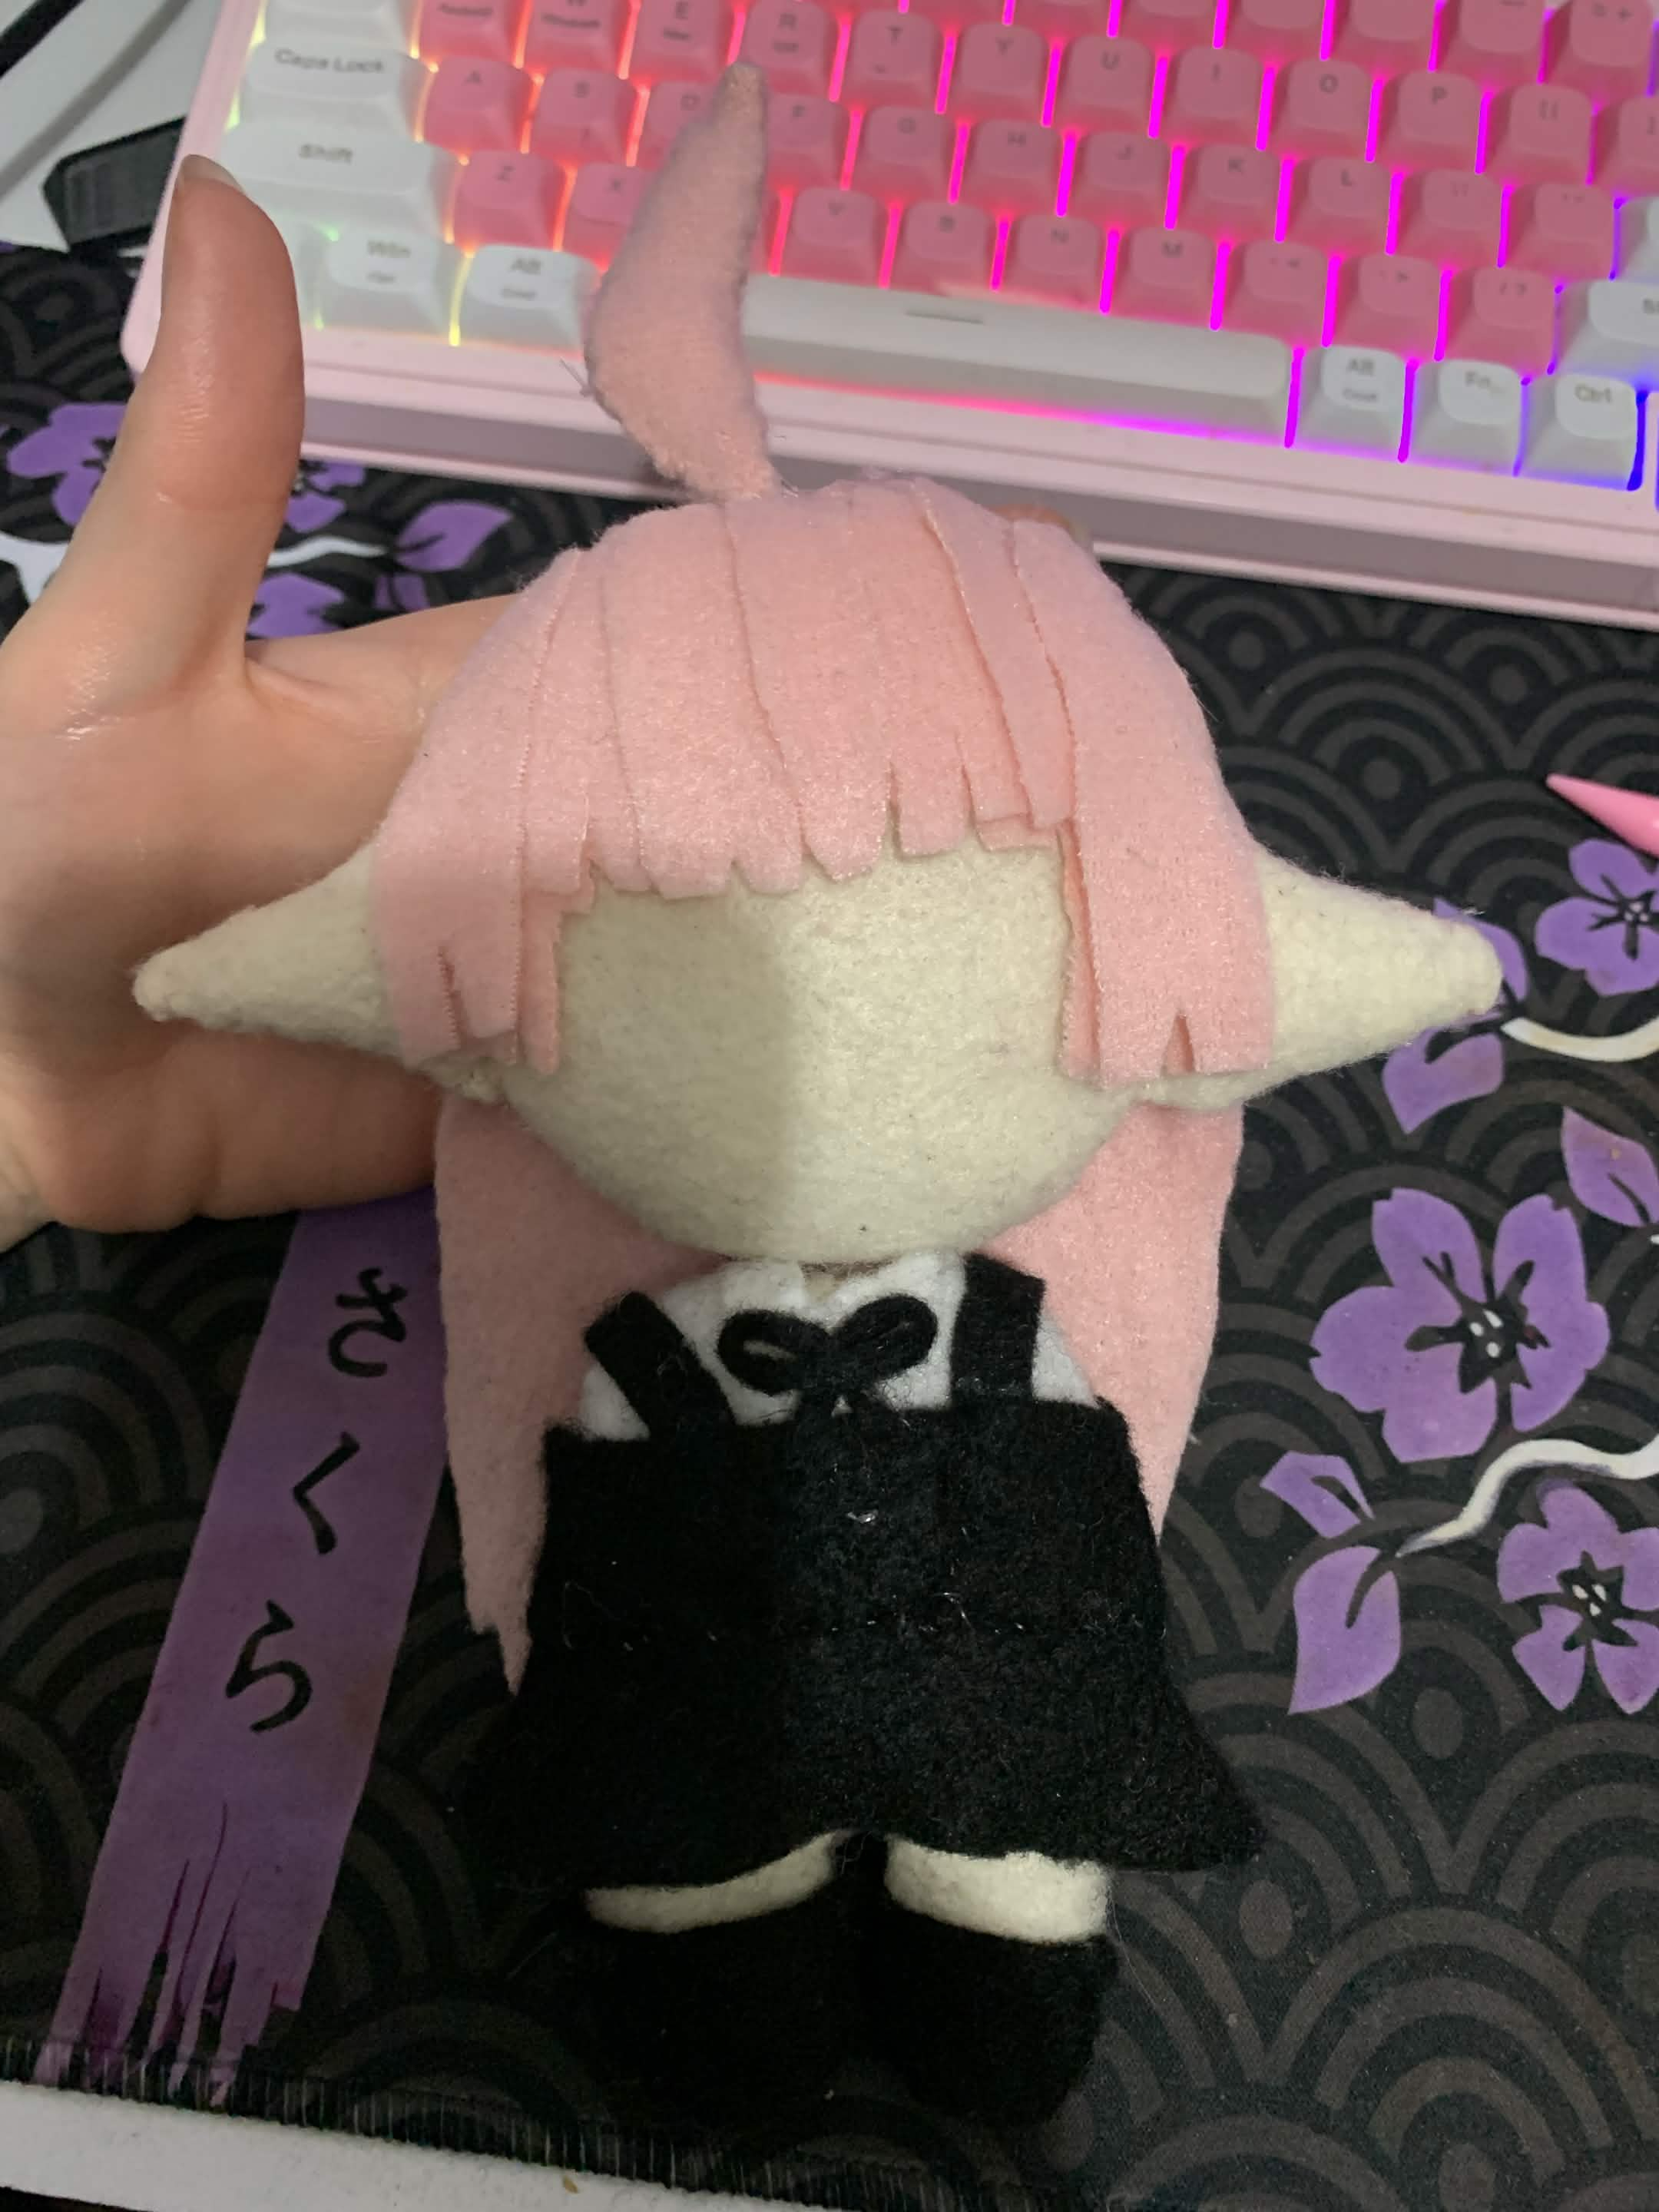
Then it was time for the head and hair.
I ended up making it twice. The first version just didn’t look right to me, but honestly, remaking it was probably a good thing because it helped me figure out what I actually wanted.
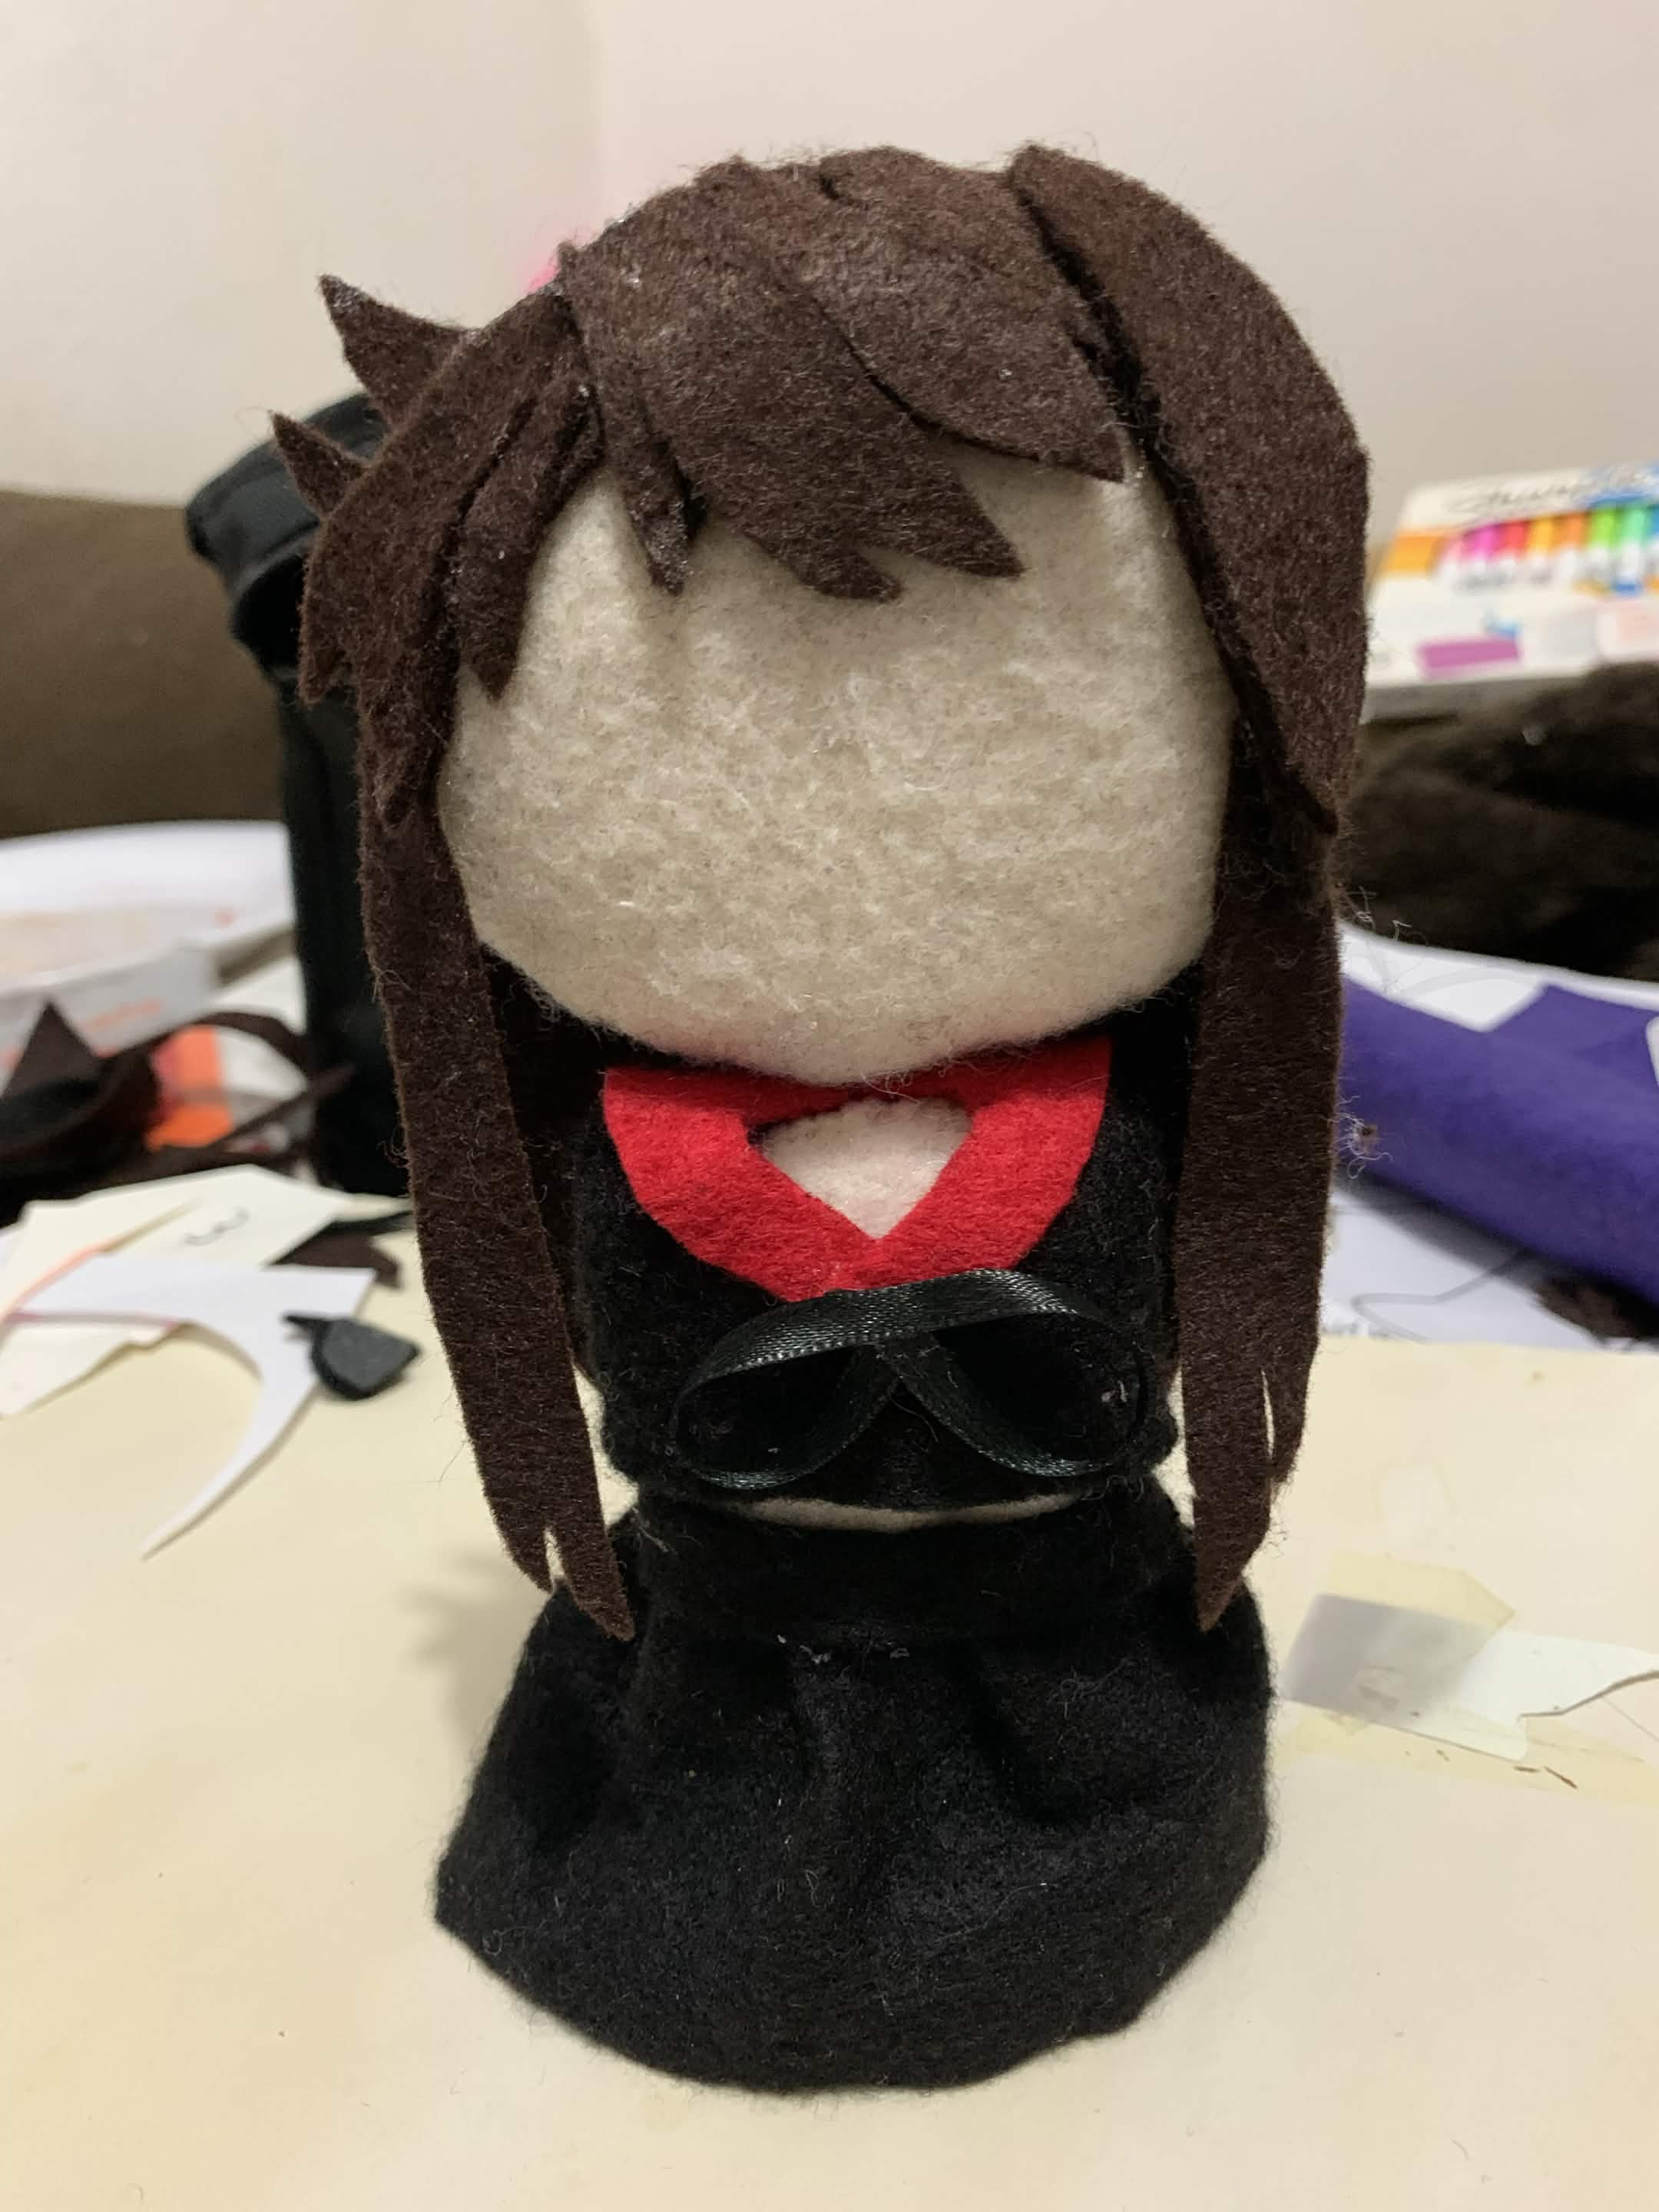
For this plushie, I decided to make the hair strands separately and then glue them together.
I saw a lot of plushie makers doing this, and I really liked how it made the hair look more like... actual hair lmao. It also gave it a much more 3D appearance, if that makes any sense.
When I finished the second version, I was like:
"Oh yeahhh, this is all coming together."
It was exactly what I wanted!
Still, the hair was another thing I had to experiment with before getting it right.
And then there was just one more thing to figure out...
The face.
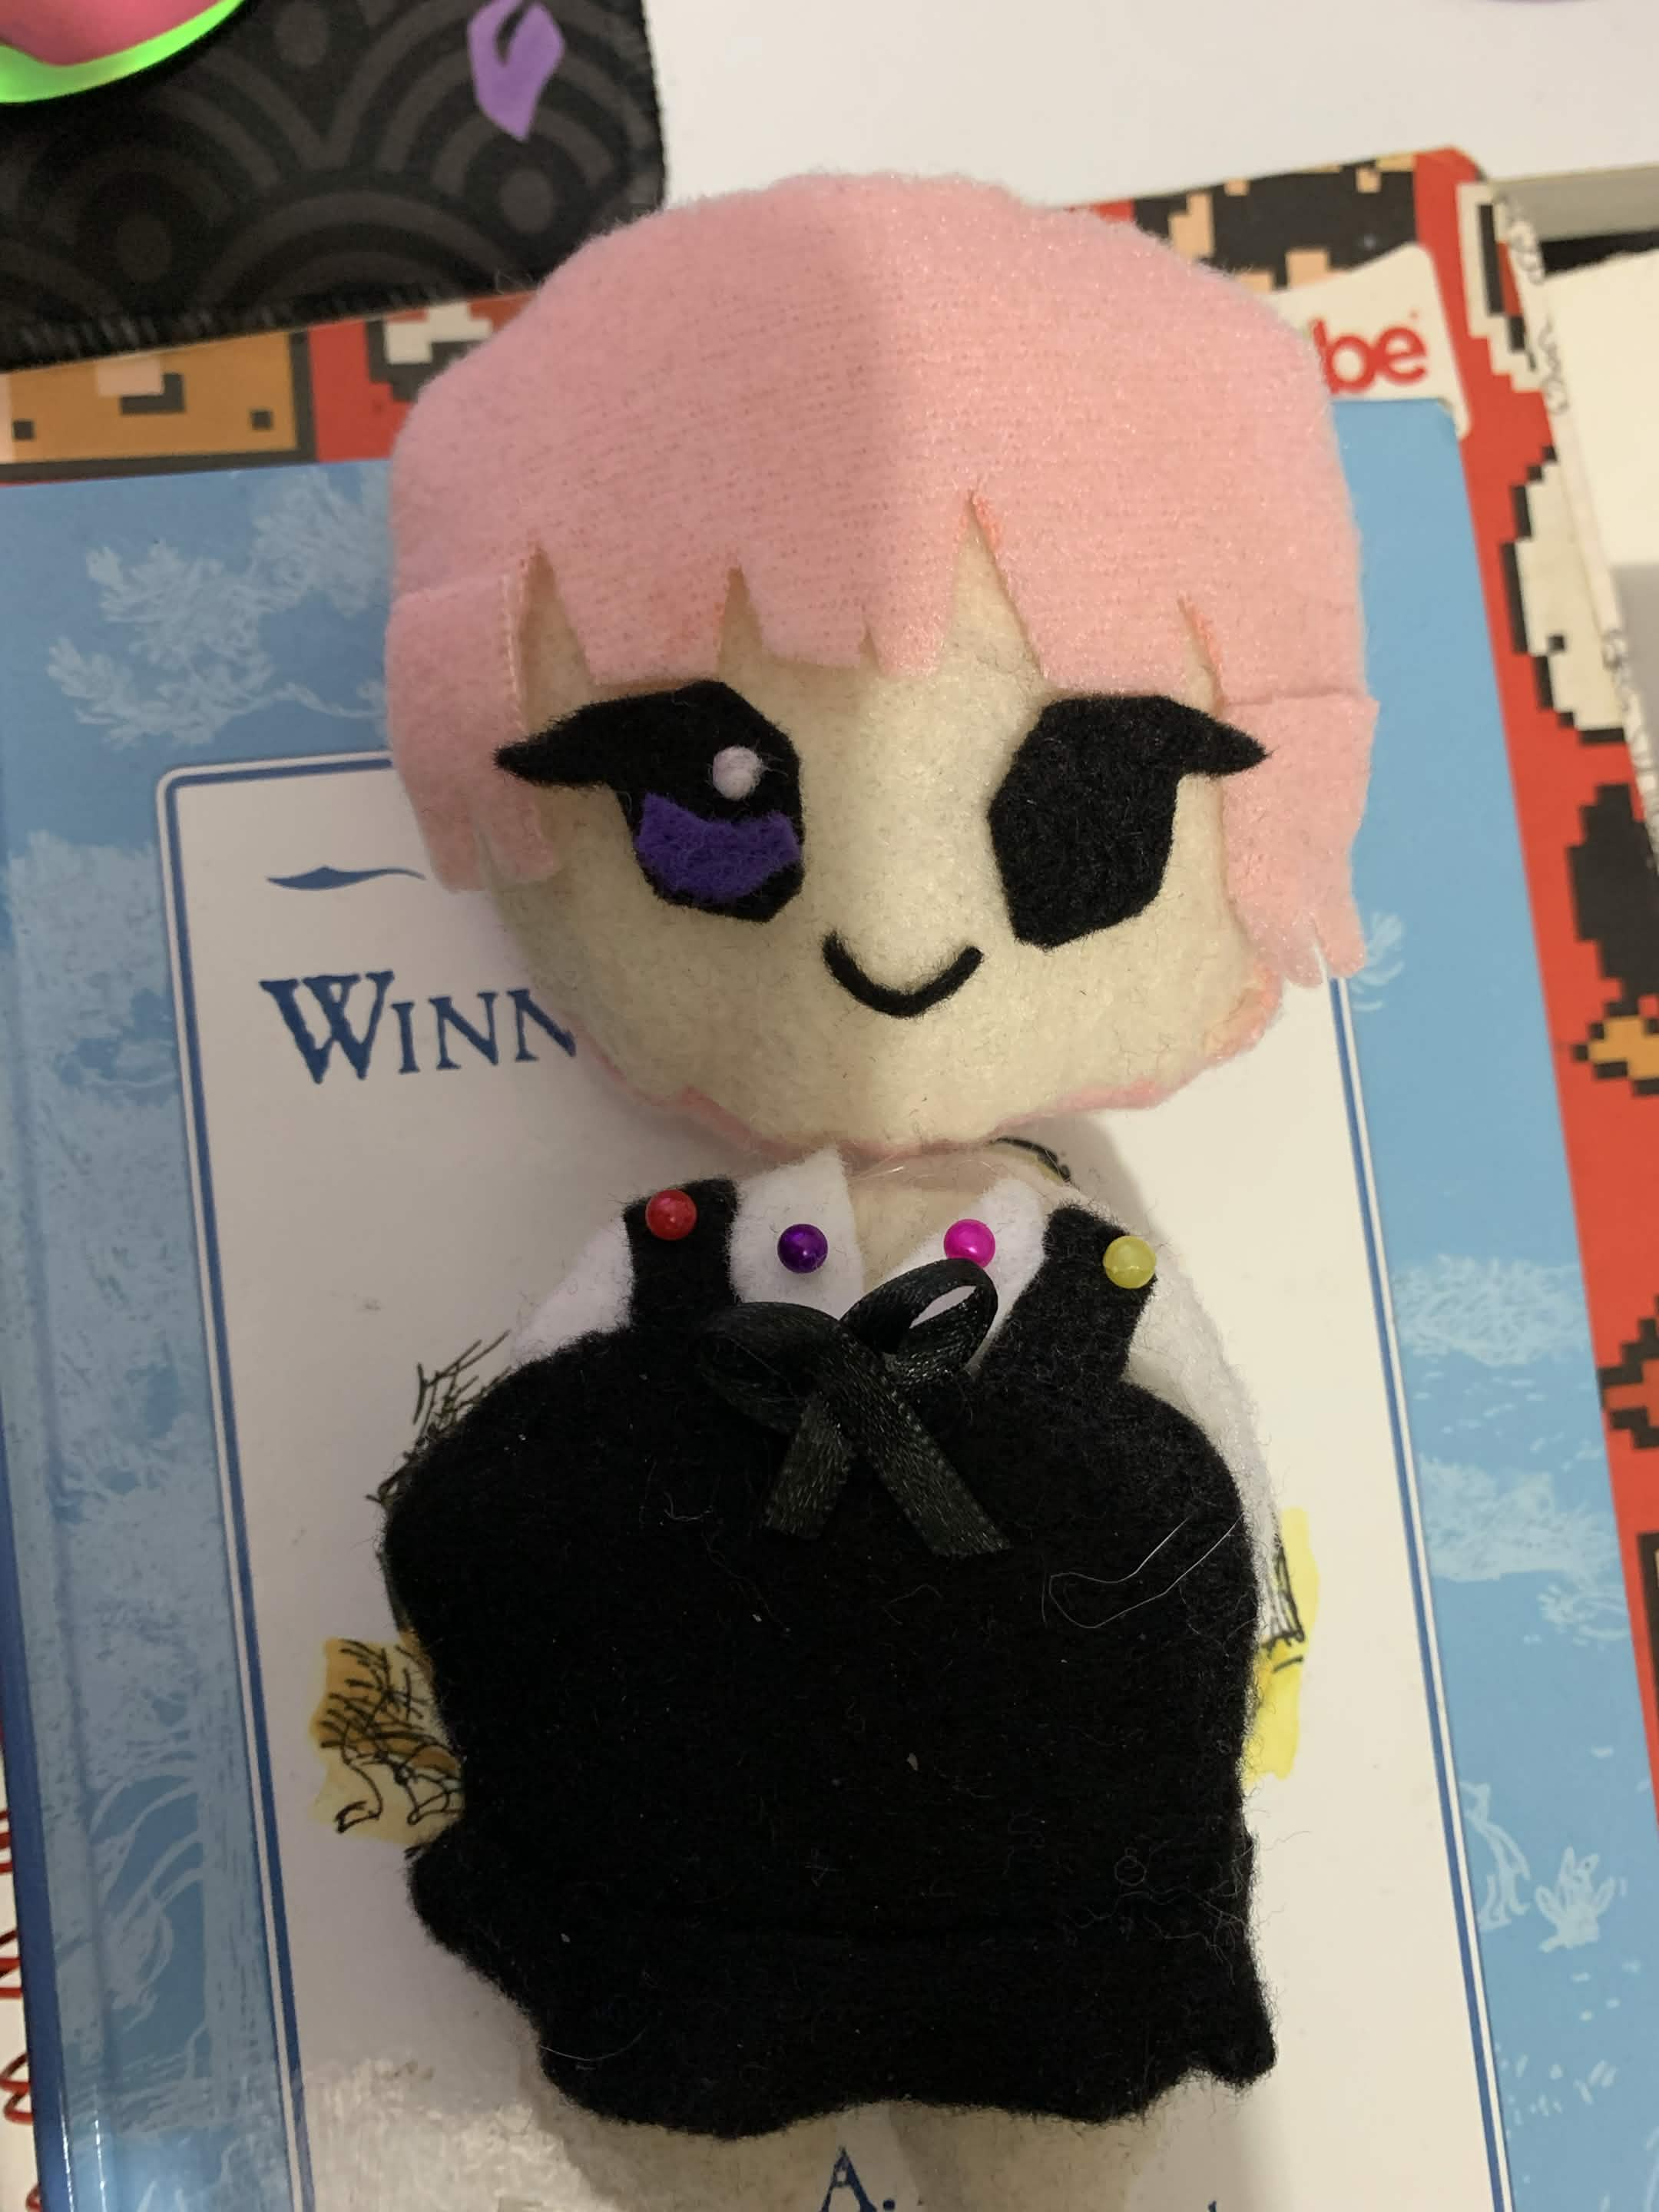
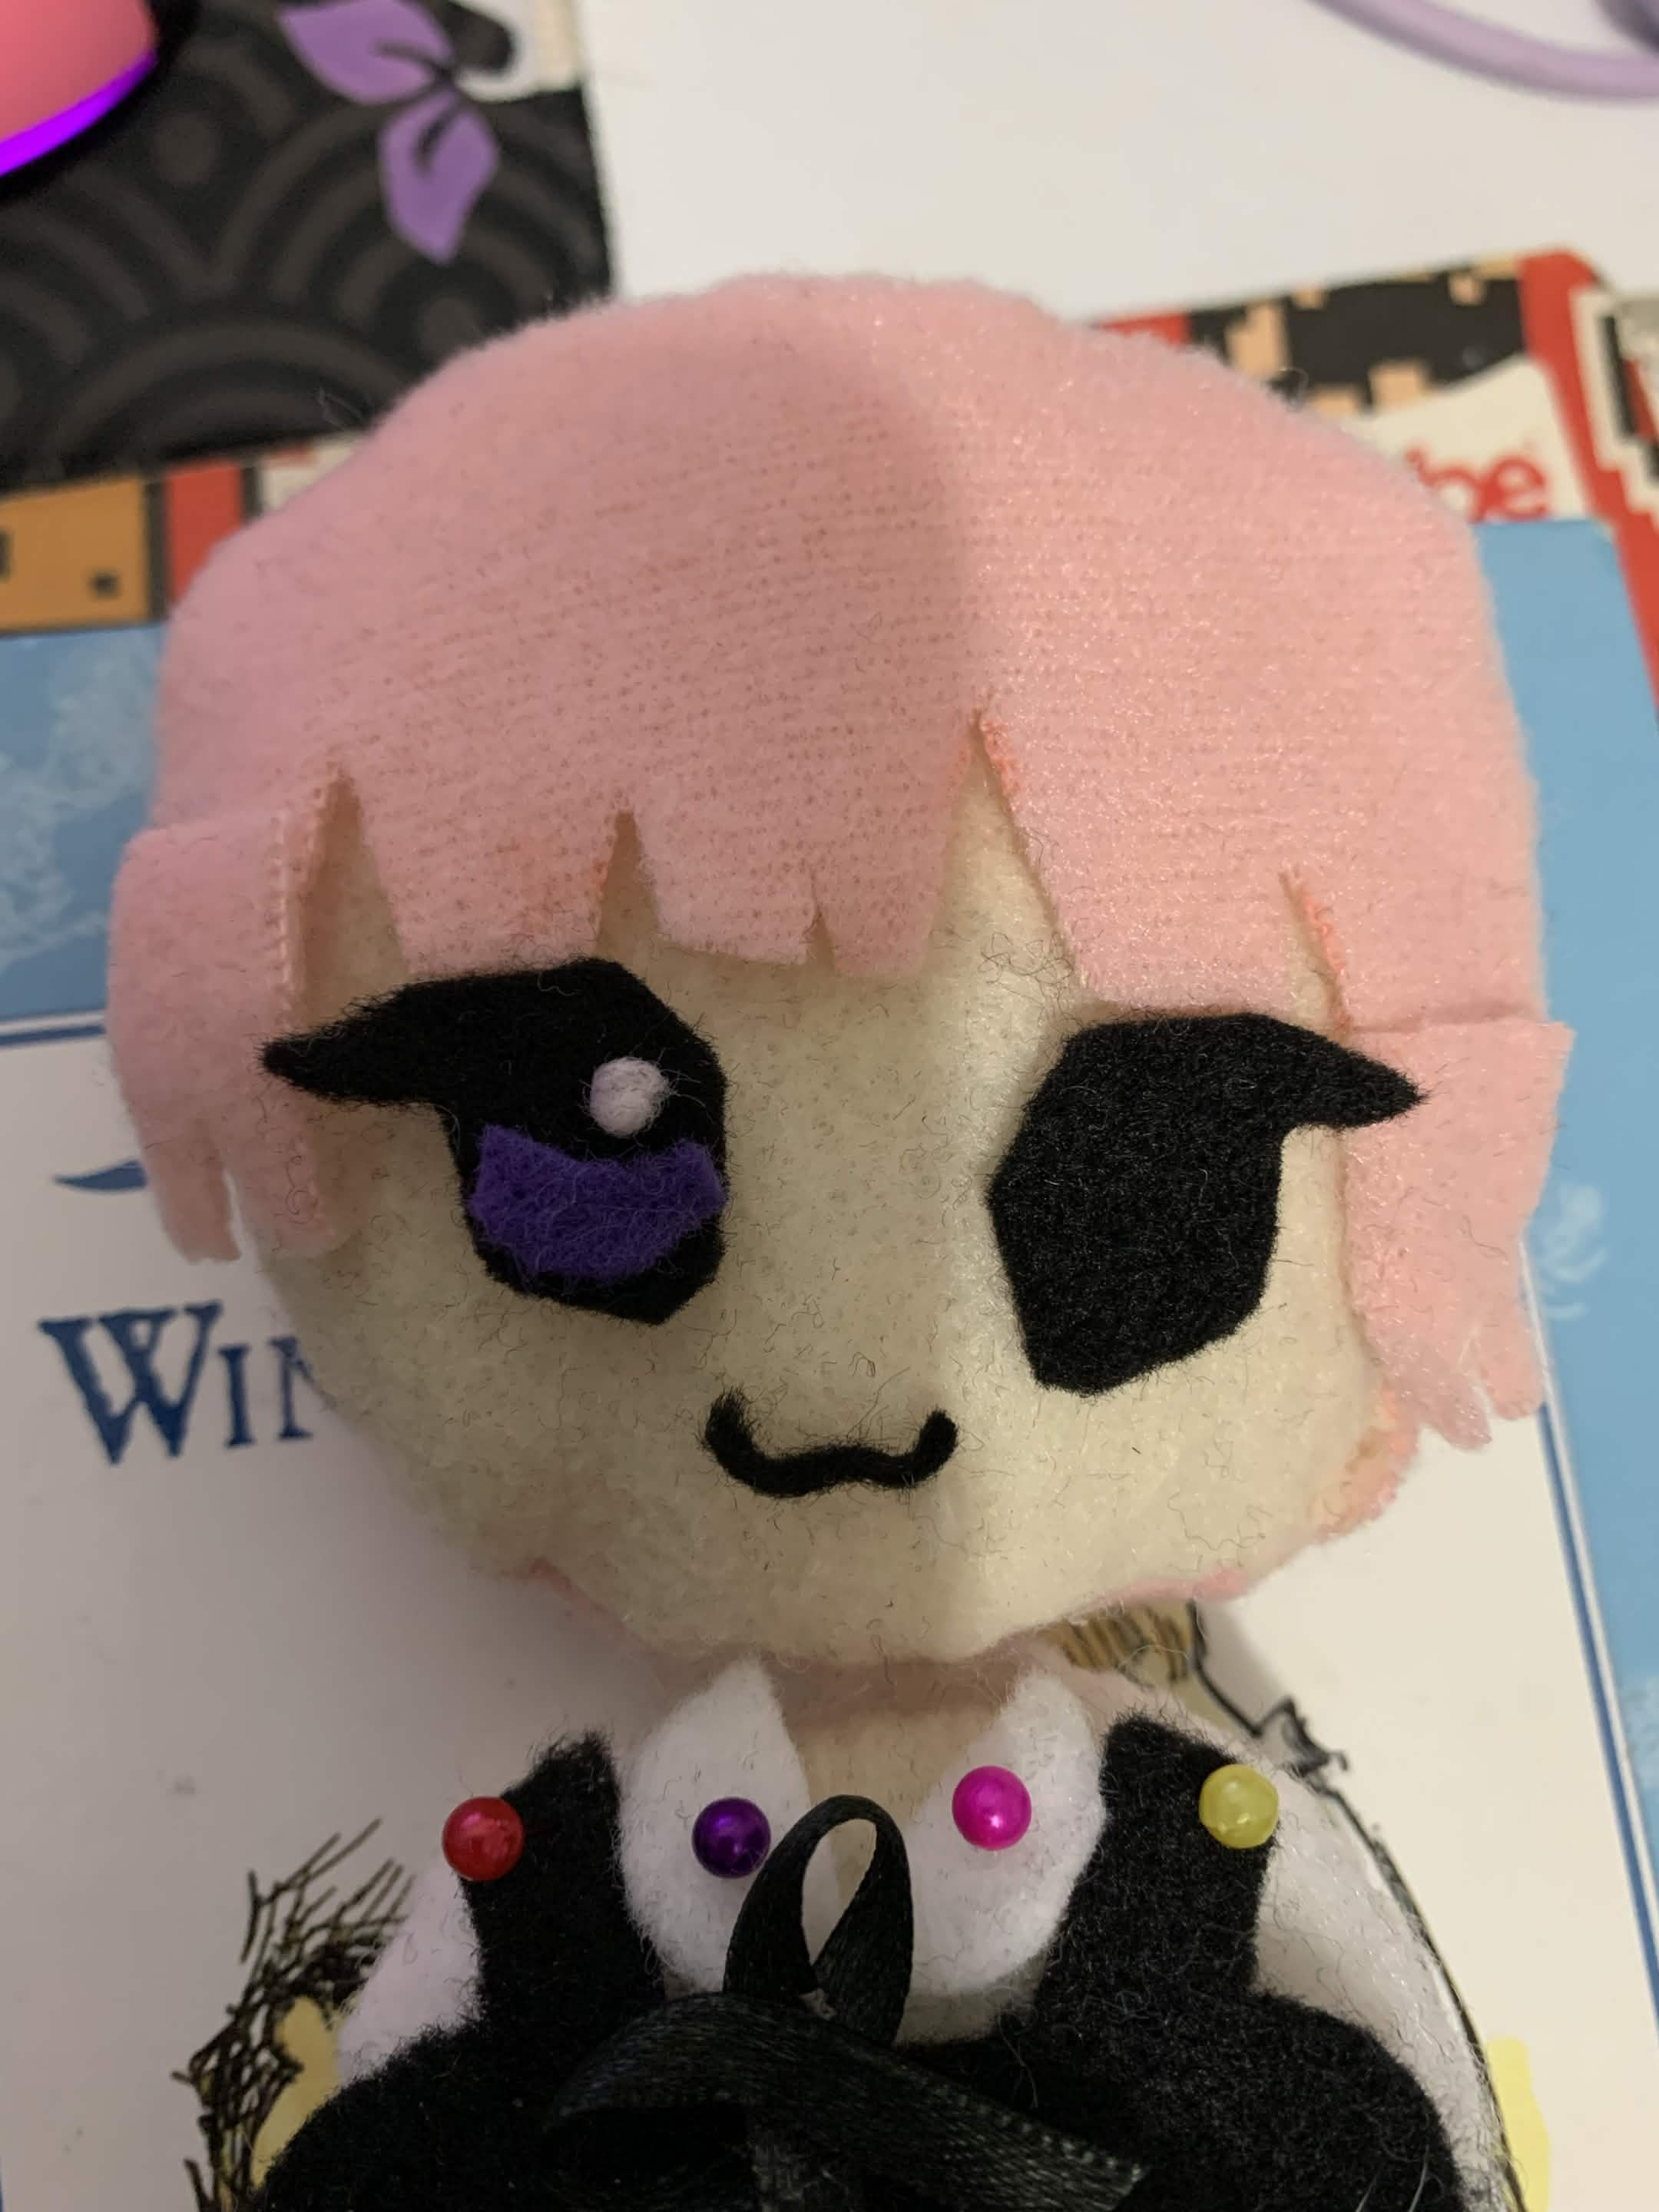
My main reference was Becky’s 3D model from the game, but I also experimented with several different versions of her eyes.
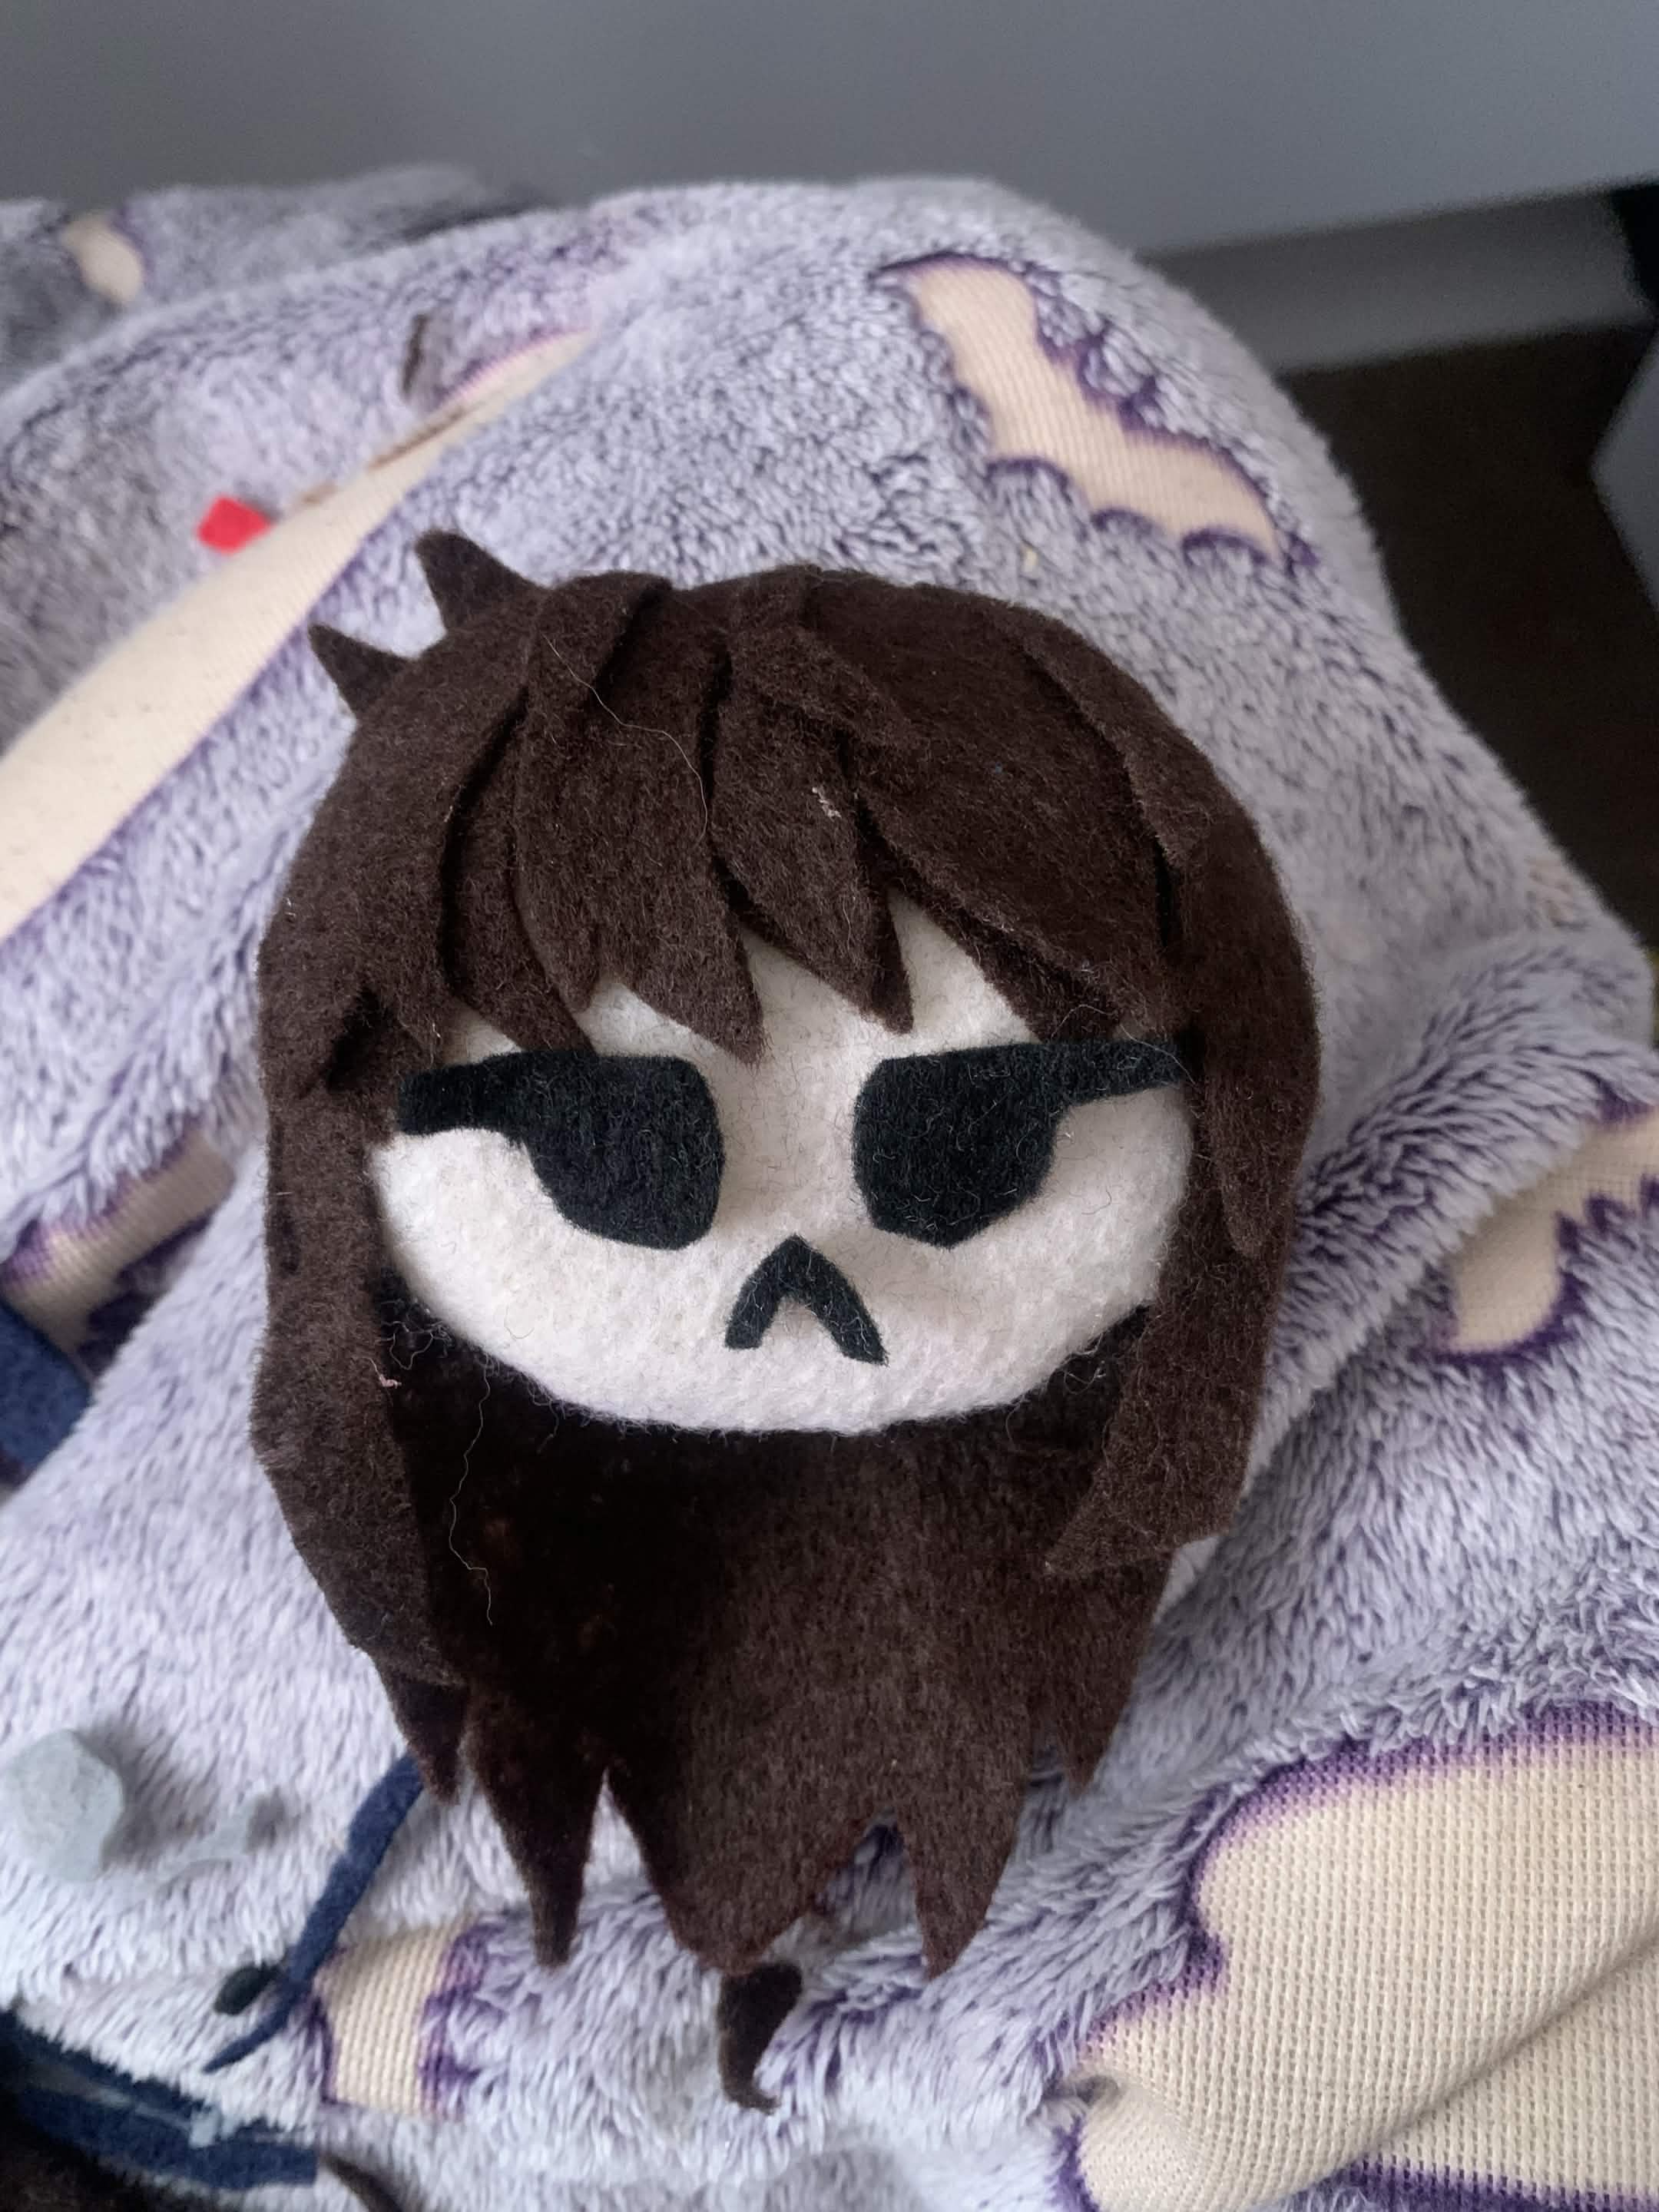
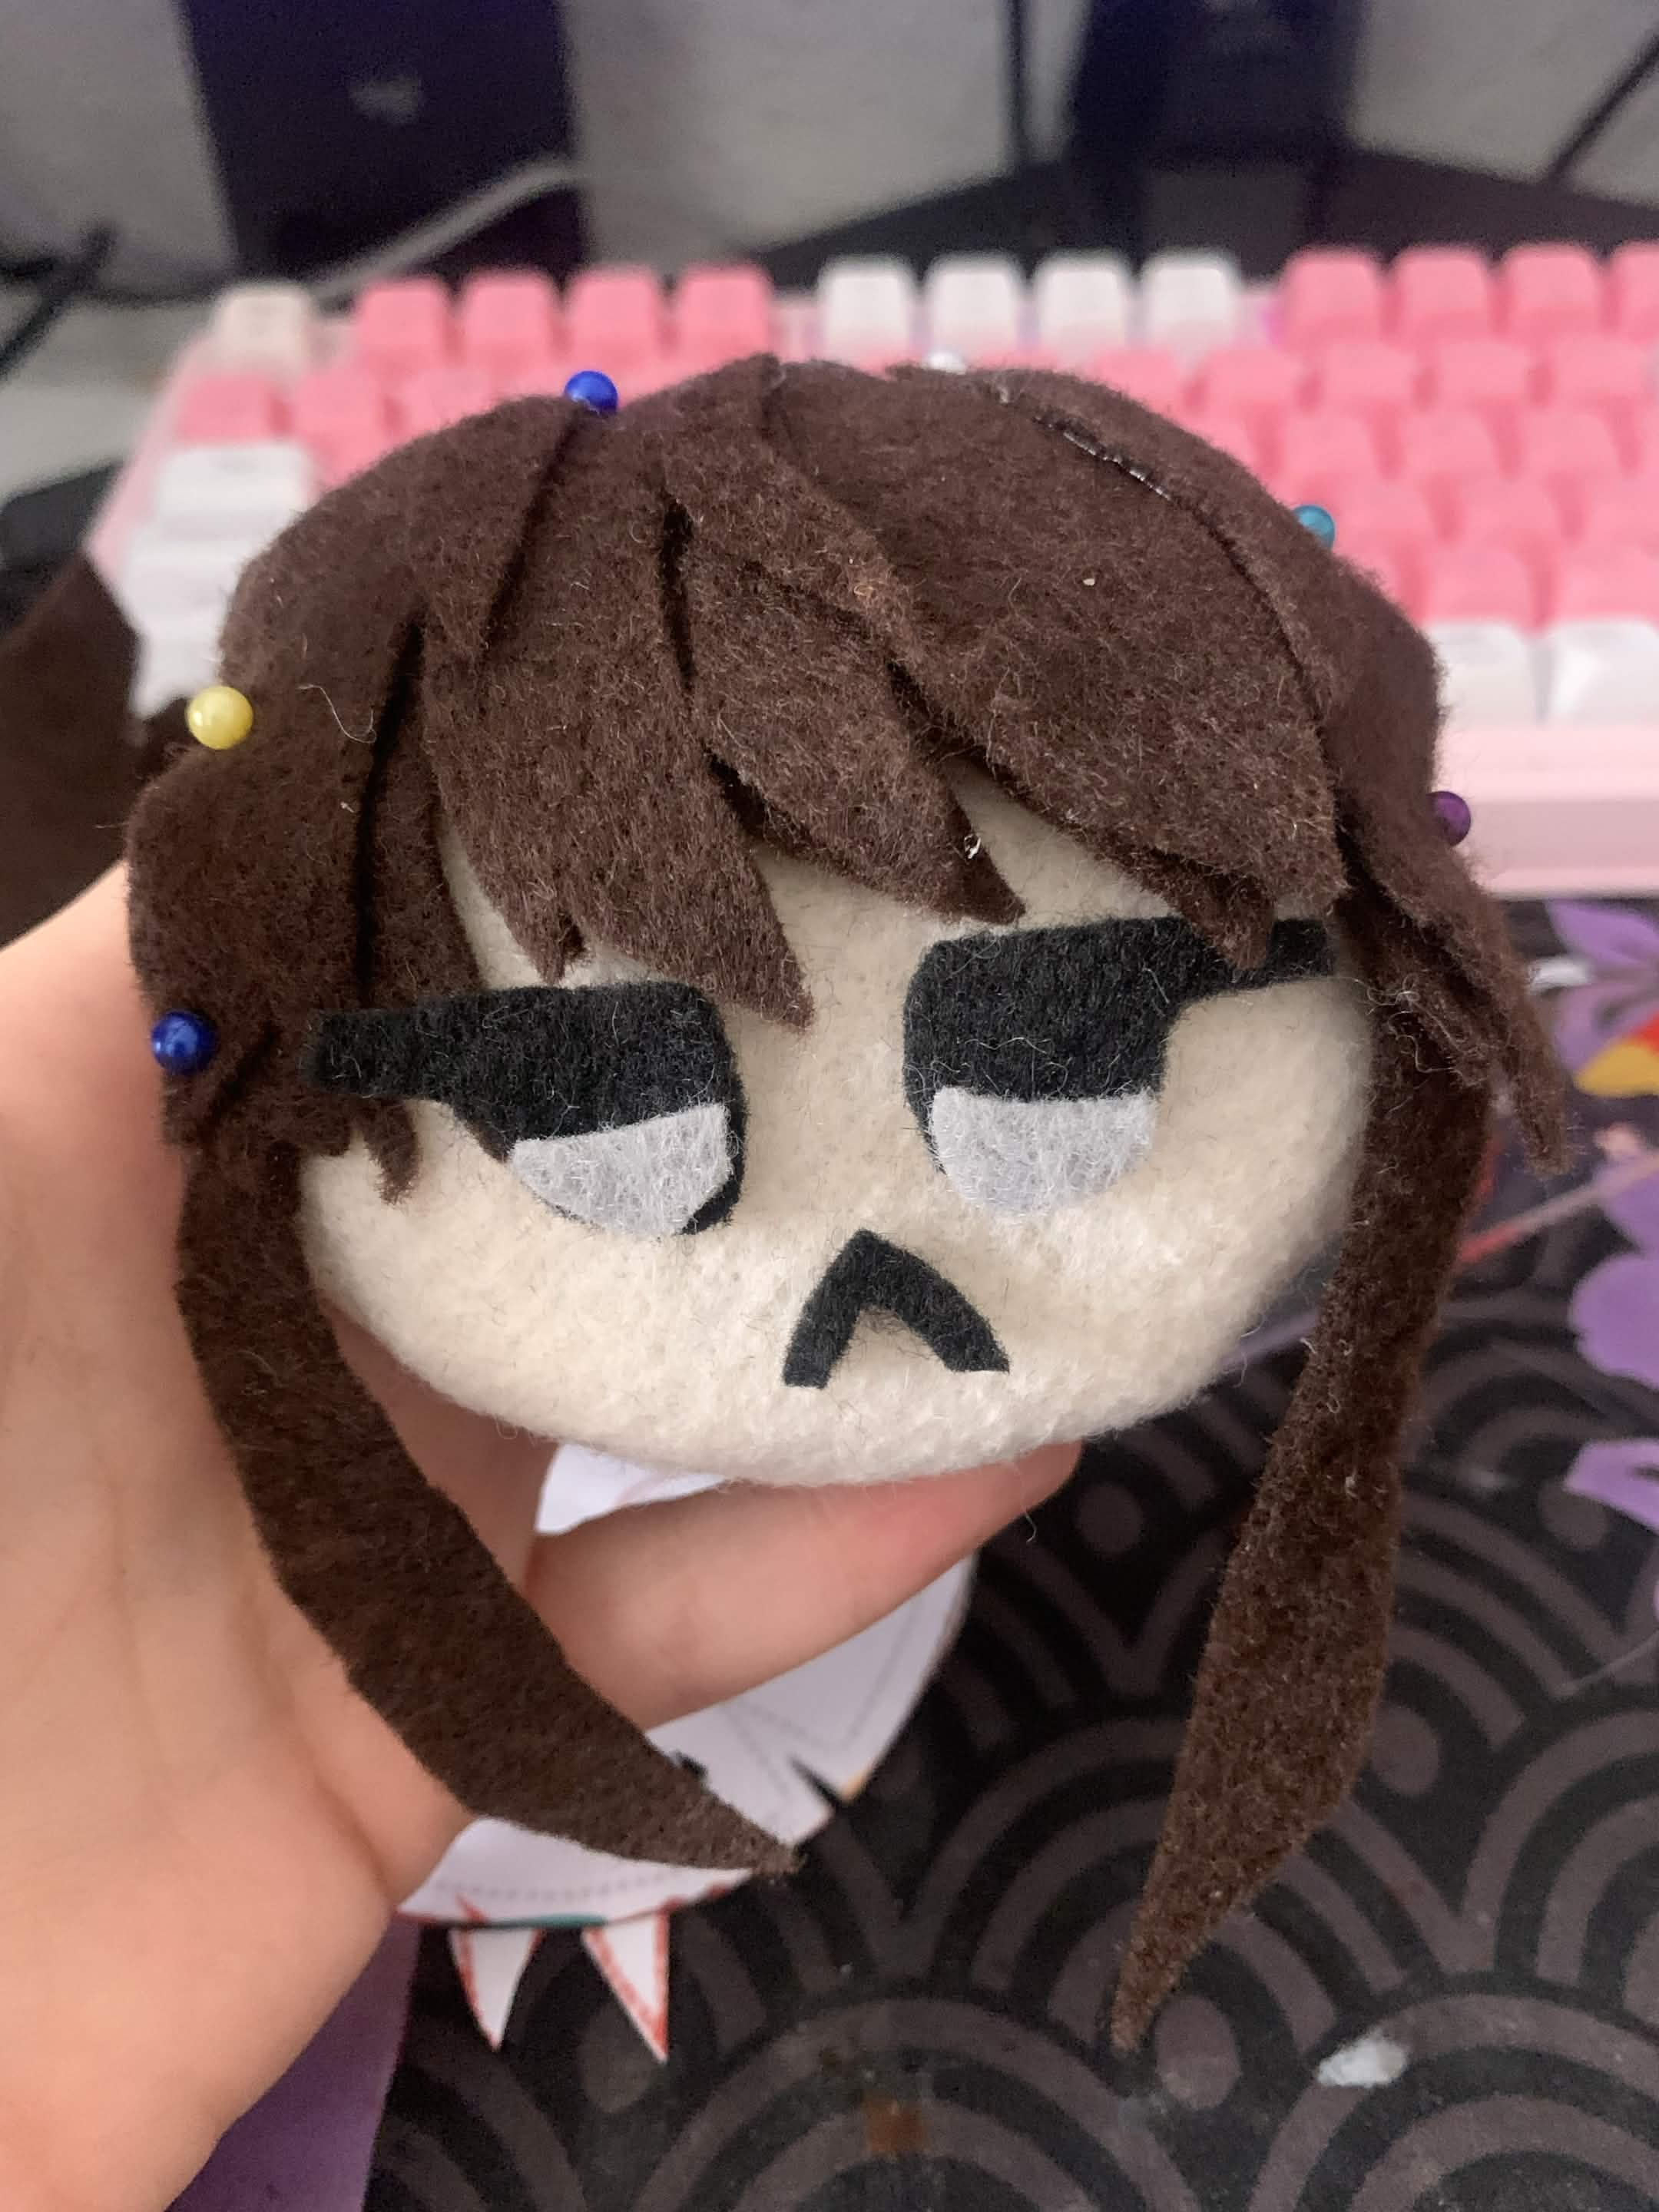
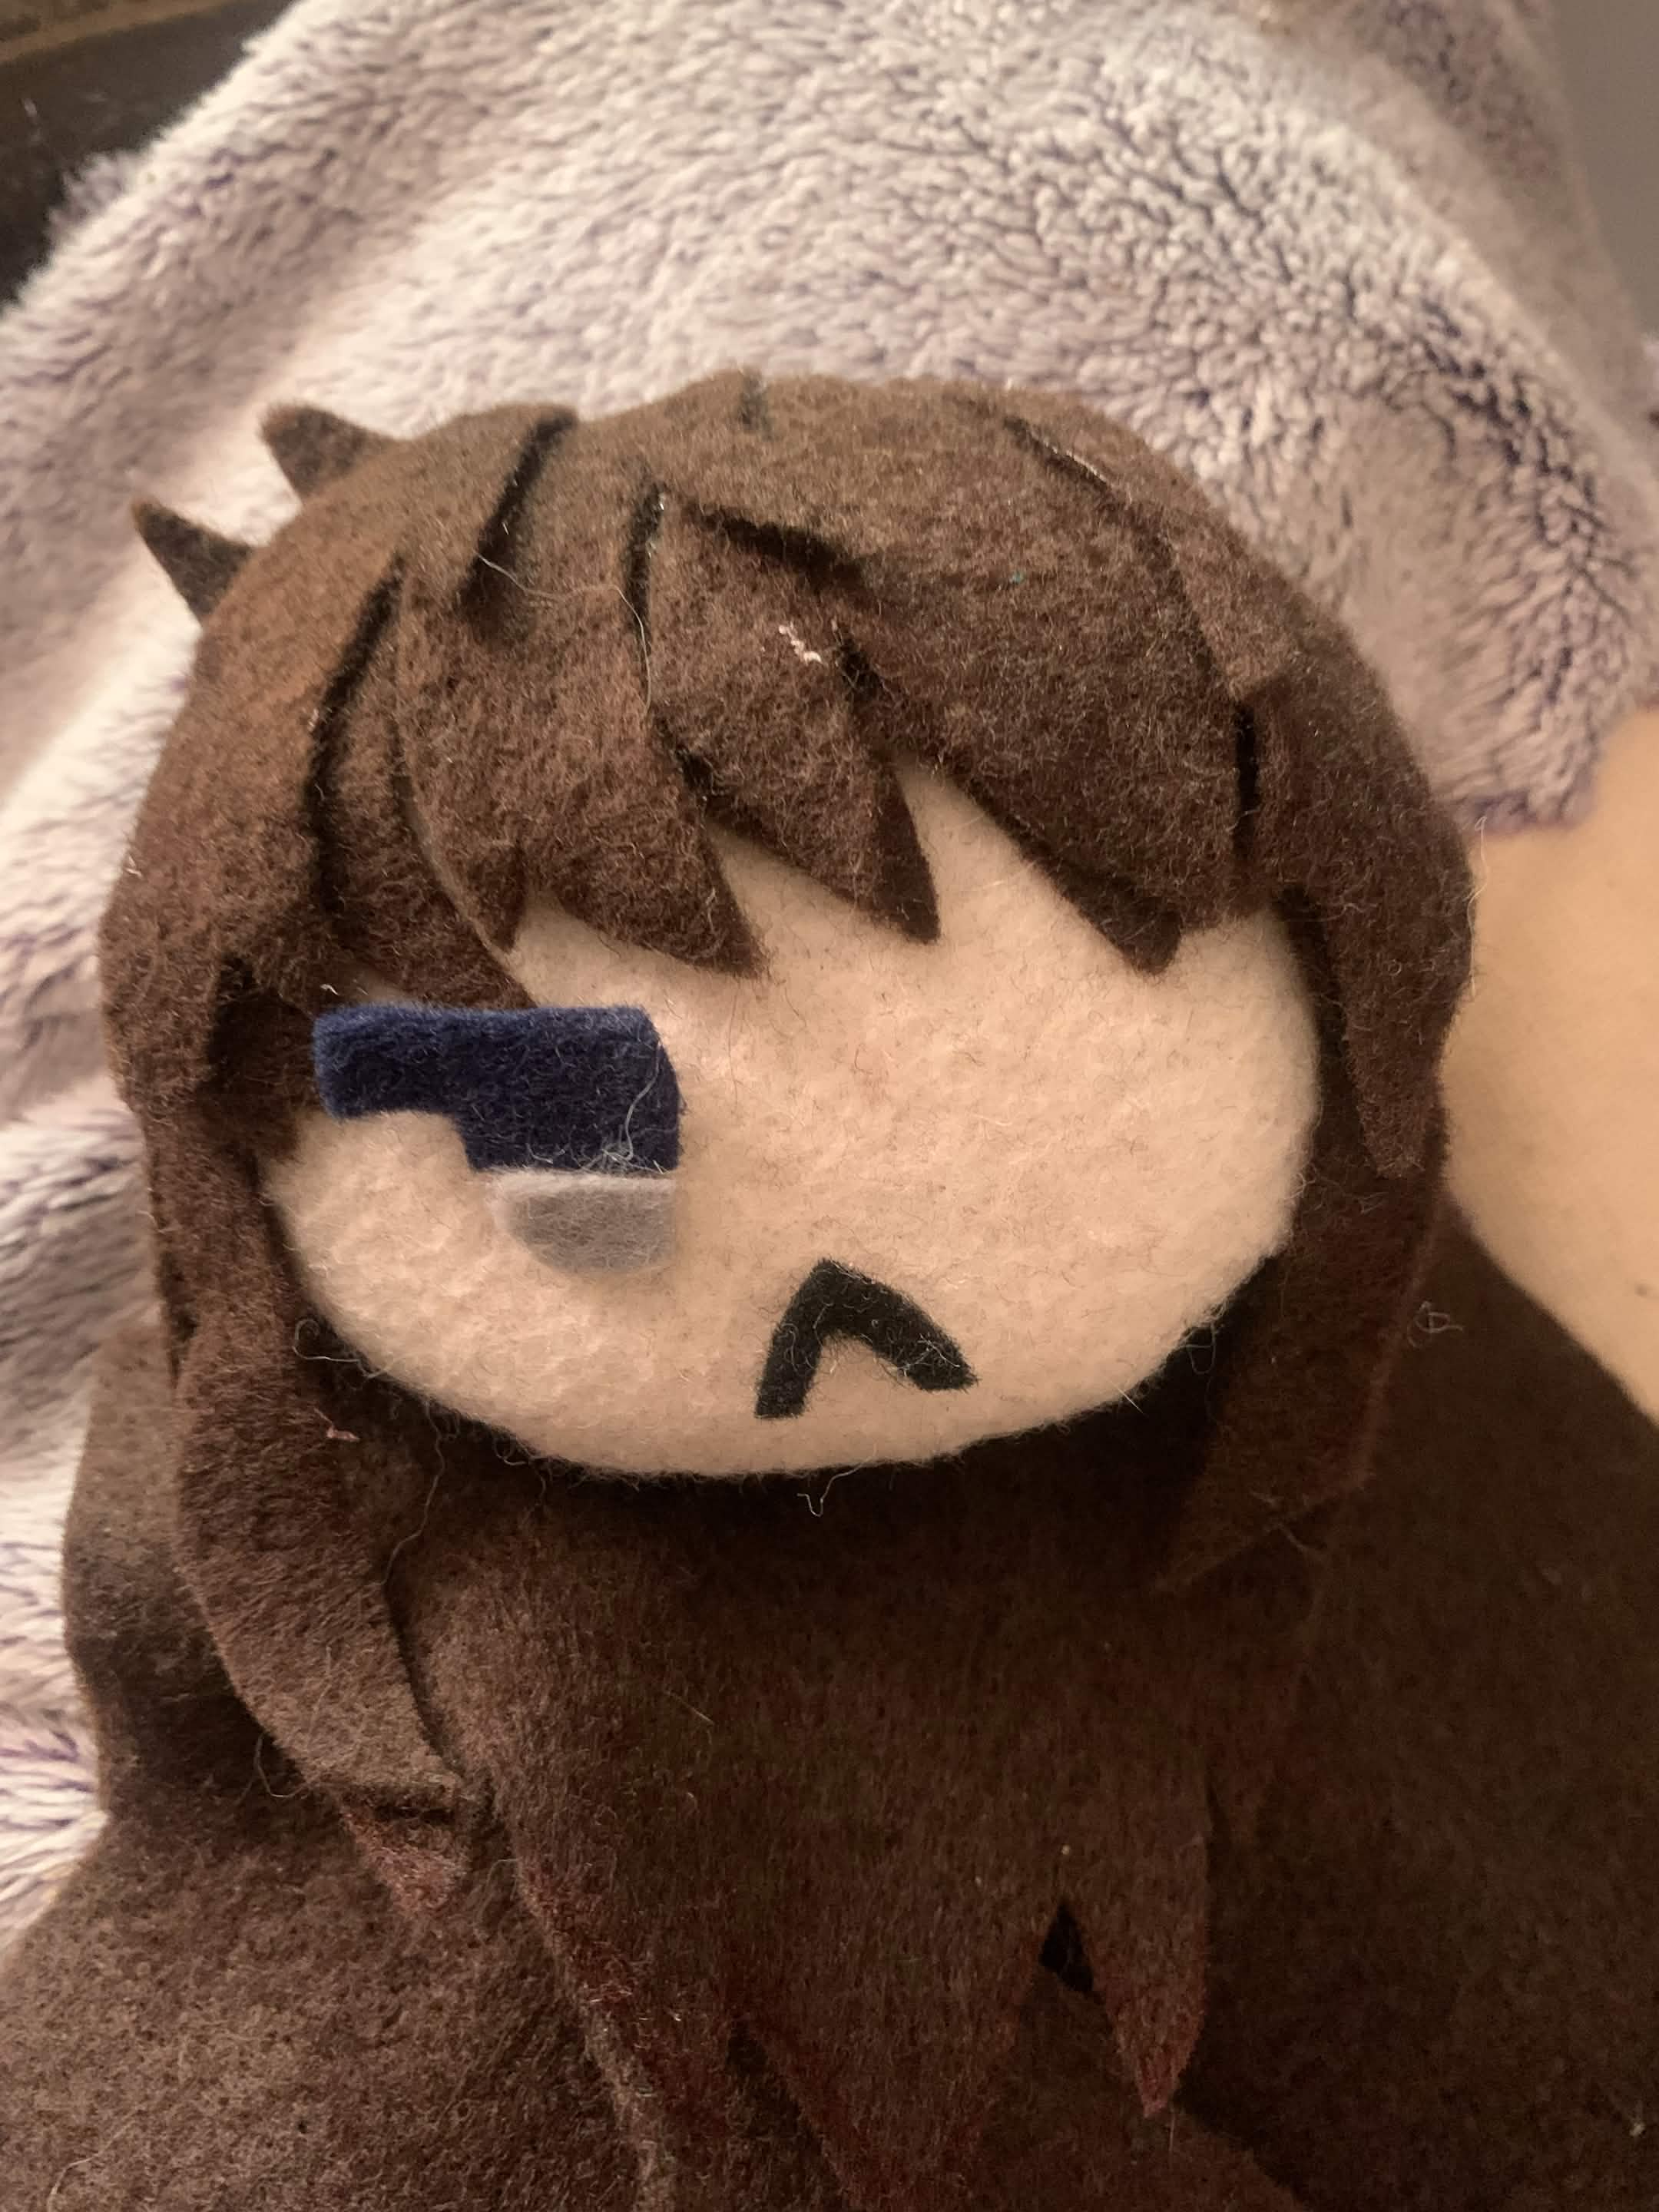
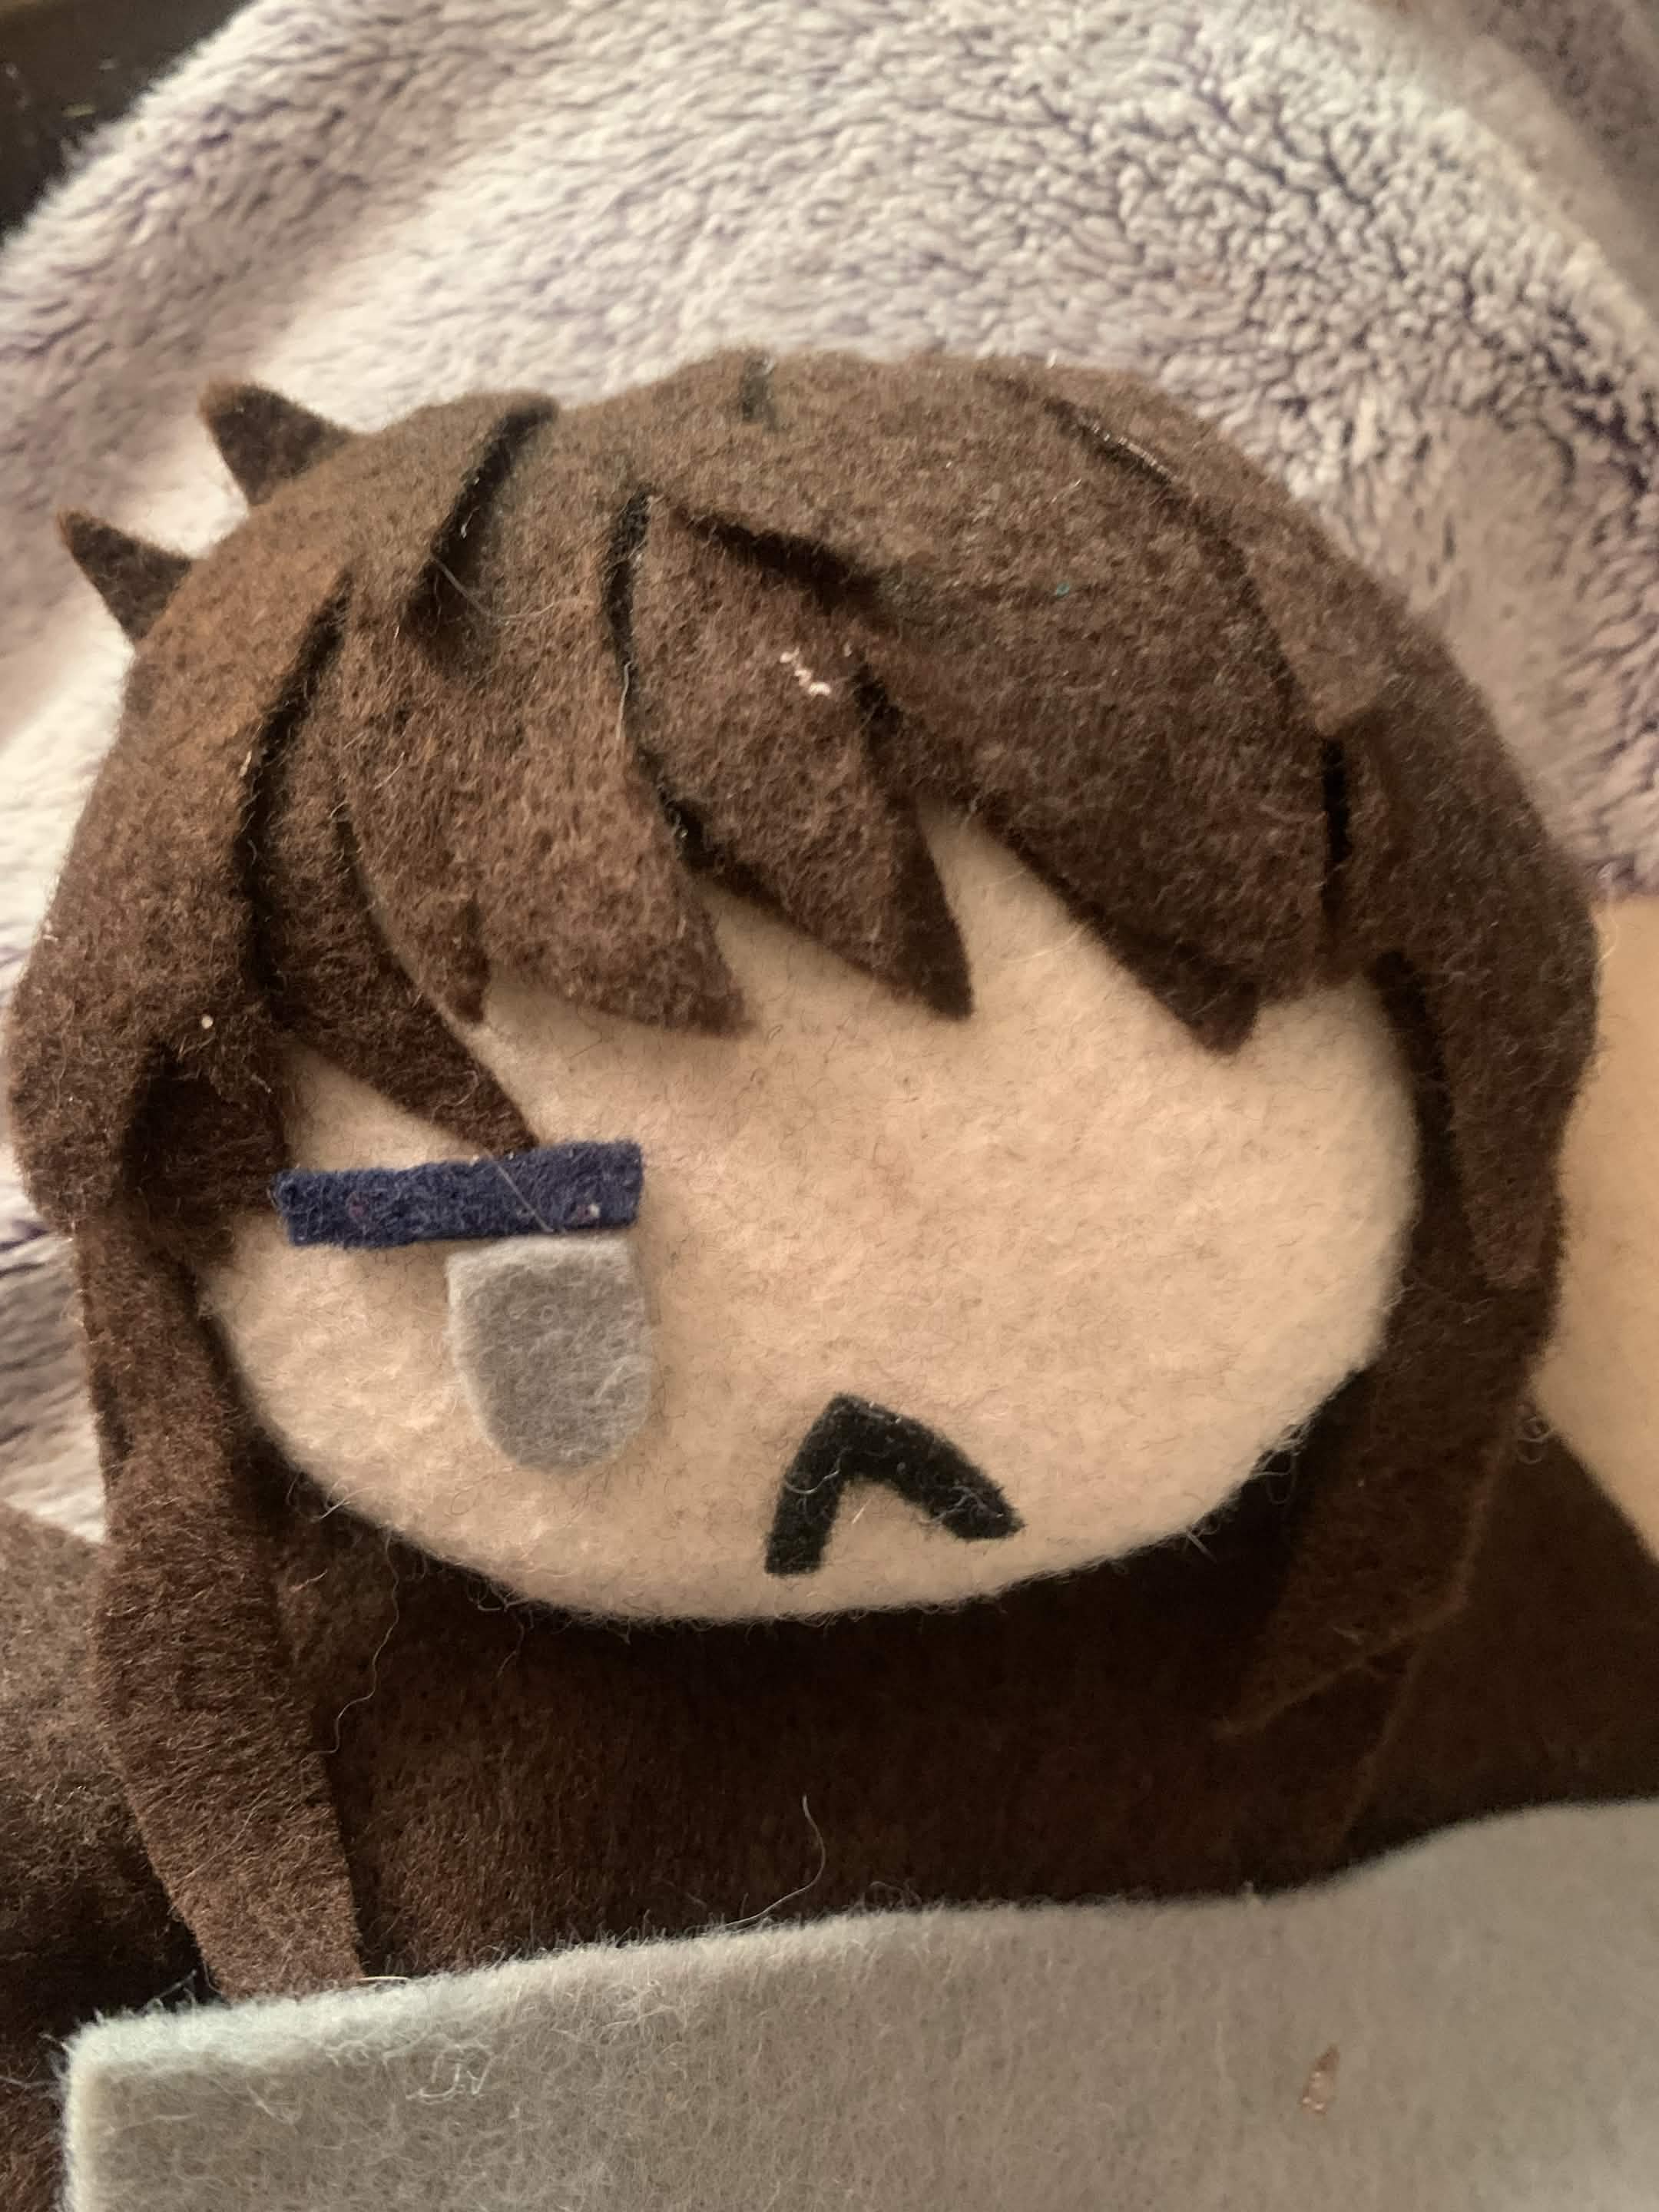
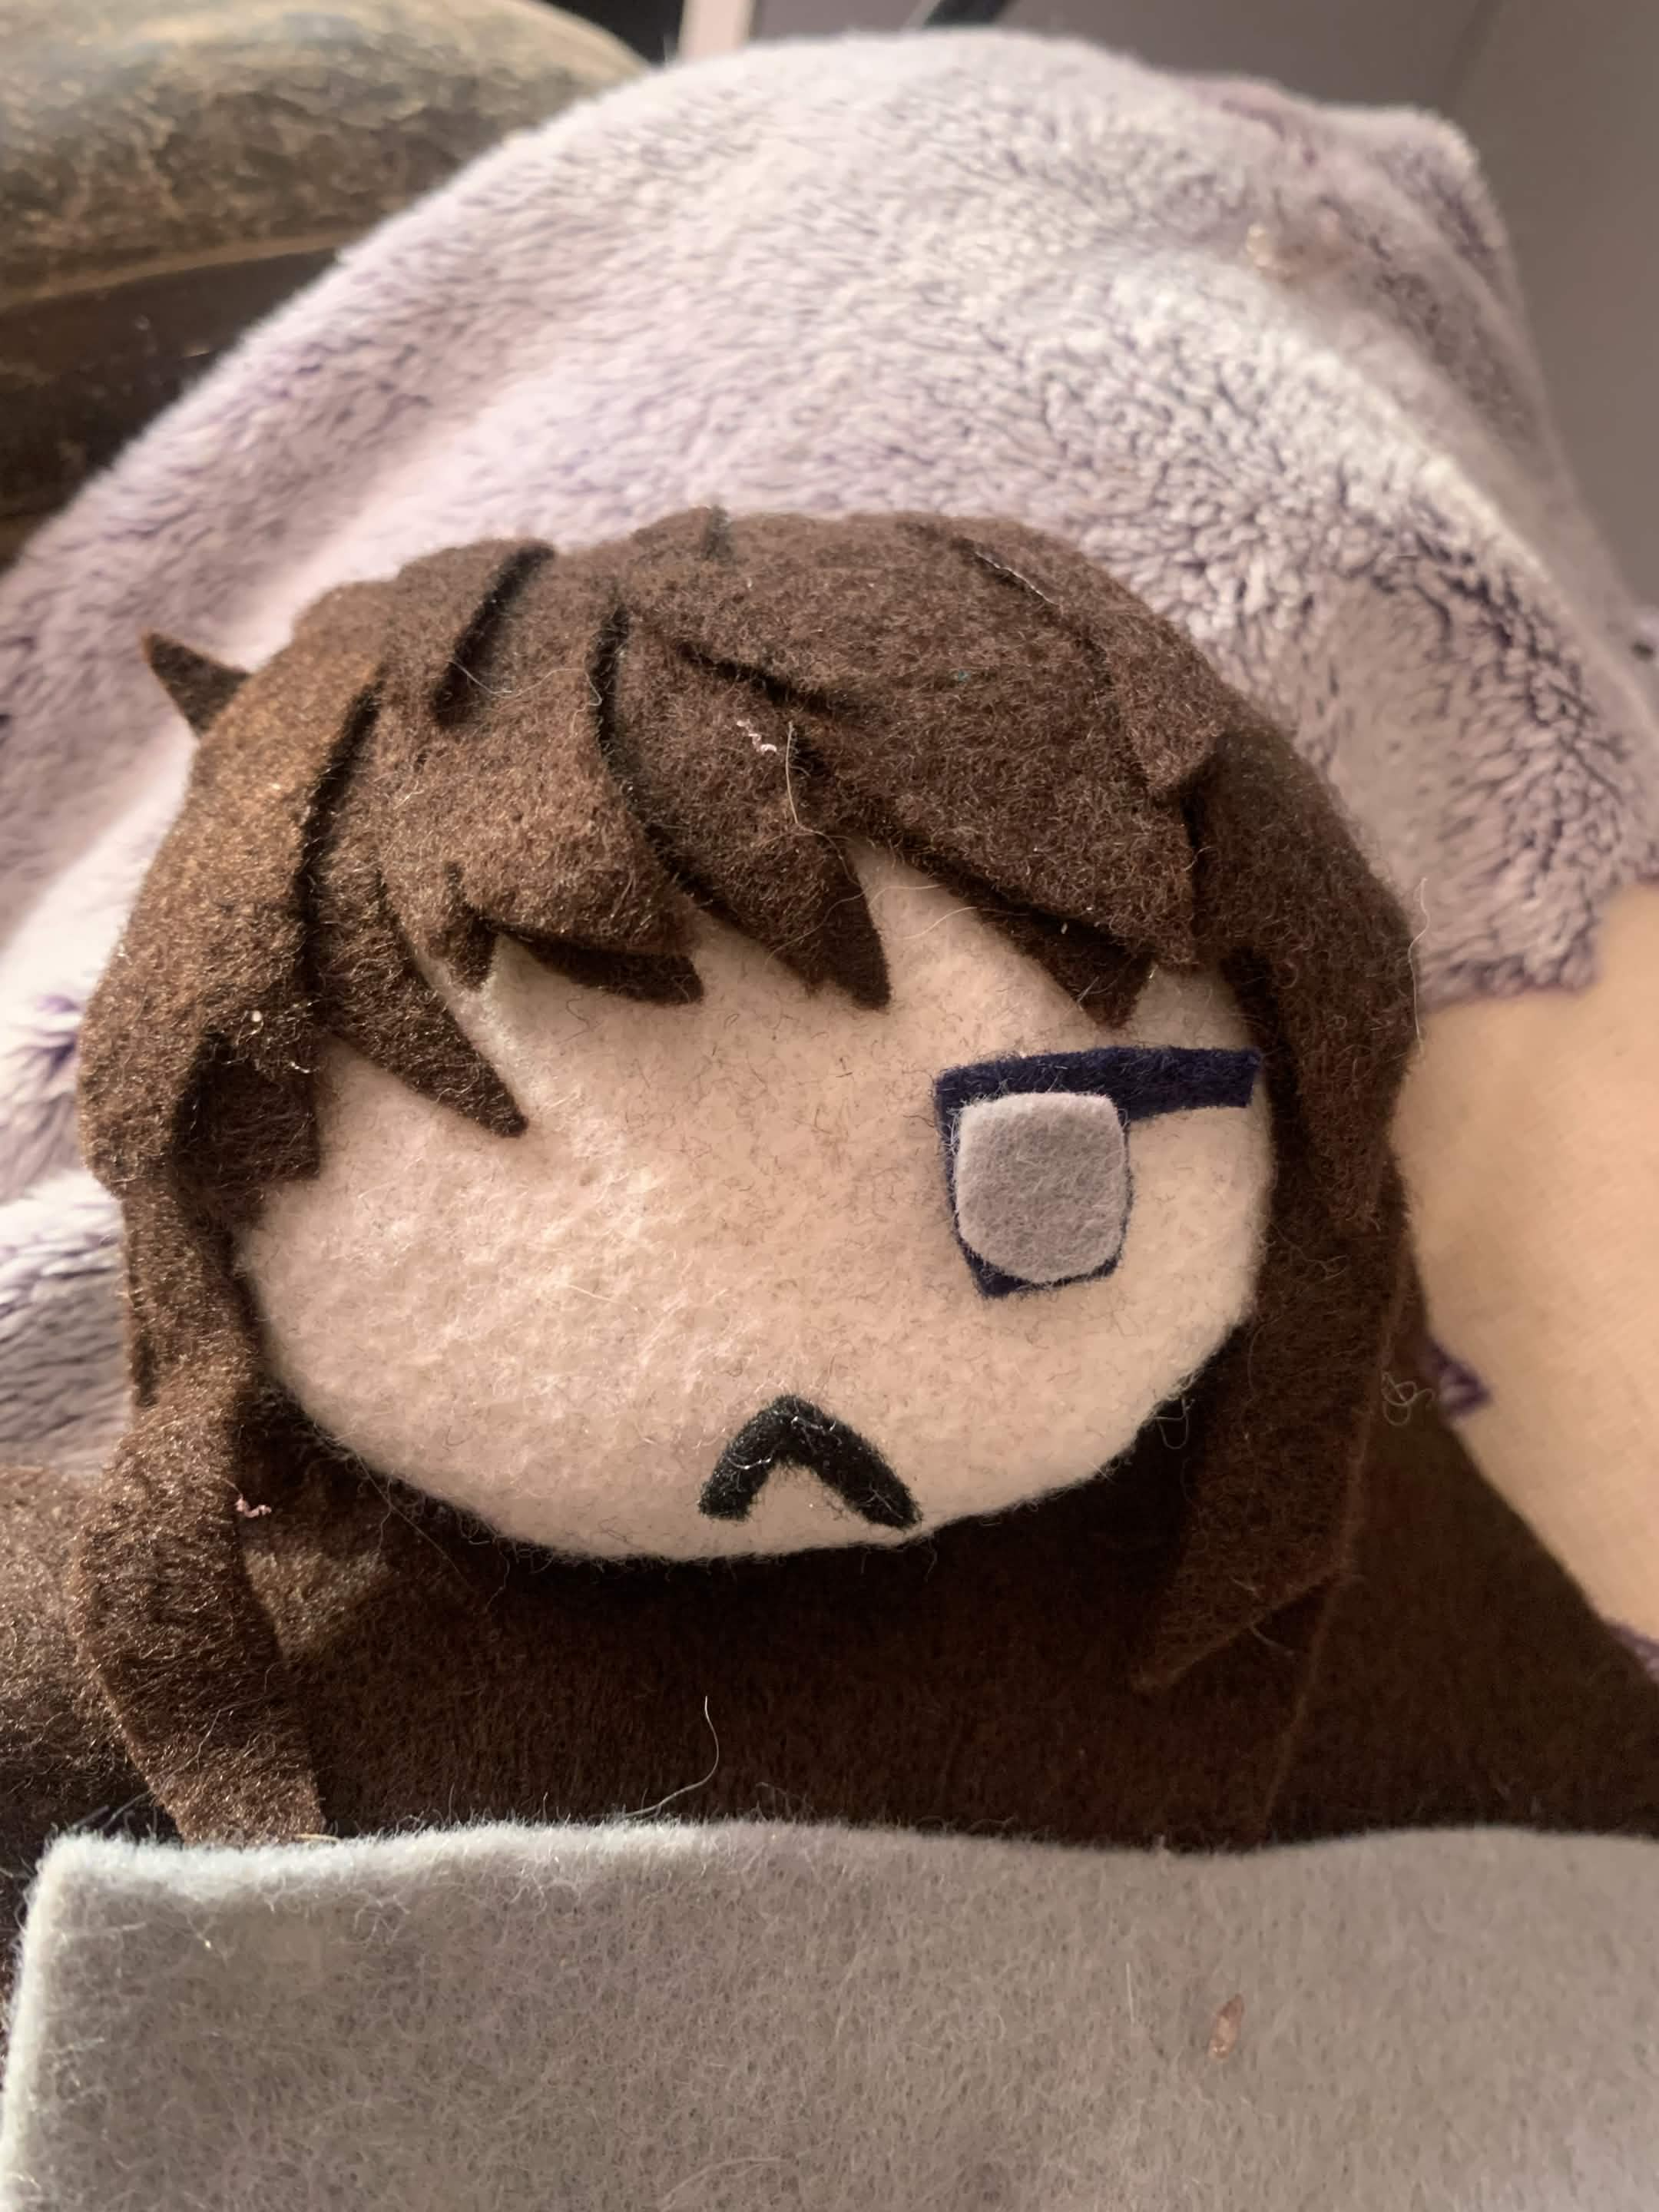
In the end, I didn’t really like any of them. They weren’t necessarily bad, but they just didn’t feel right. I wasn’t even convinced by the fully black eyes.
Eventually, I realized the dark blue ones were much more “Becky-like.”
...And they looked better!
I also borrowed another trick from other plushie makers: using eyeshadow for little details like blush.
Except Becky doesn’t have blush!!
She does have those dark eyes, though...
So I thought black eyeshadow might work for that.
And it DID!!!
After that, it was just a matter of sewing the head onto the body and securing everything with more glue!
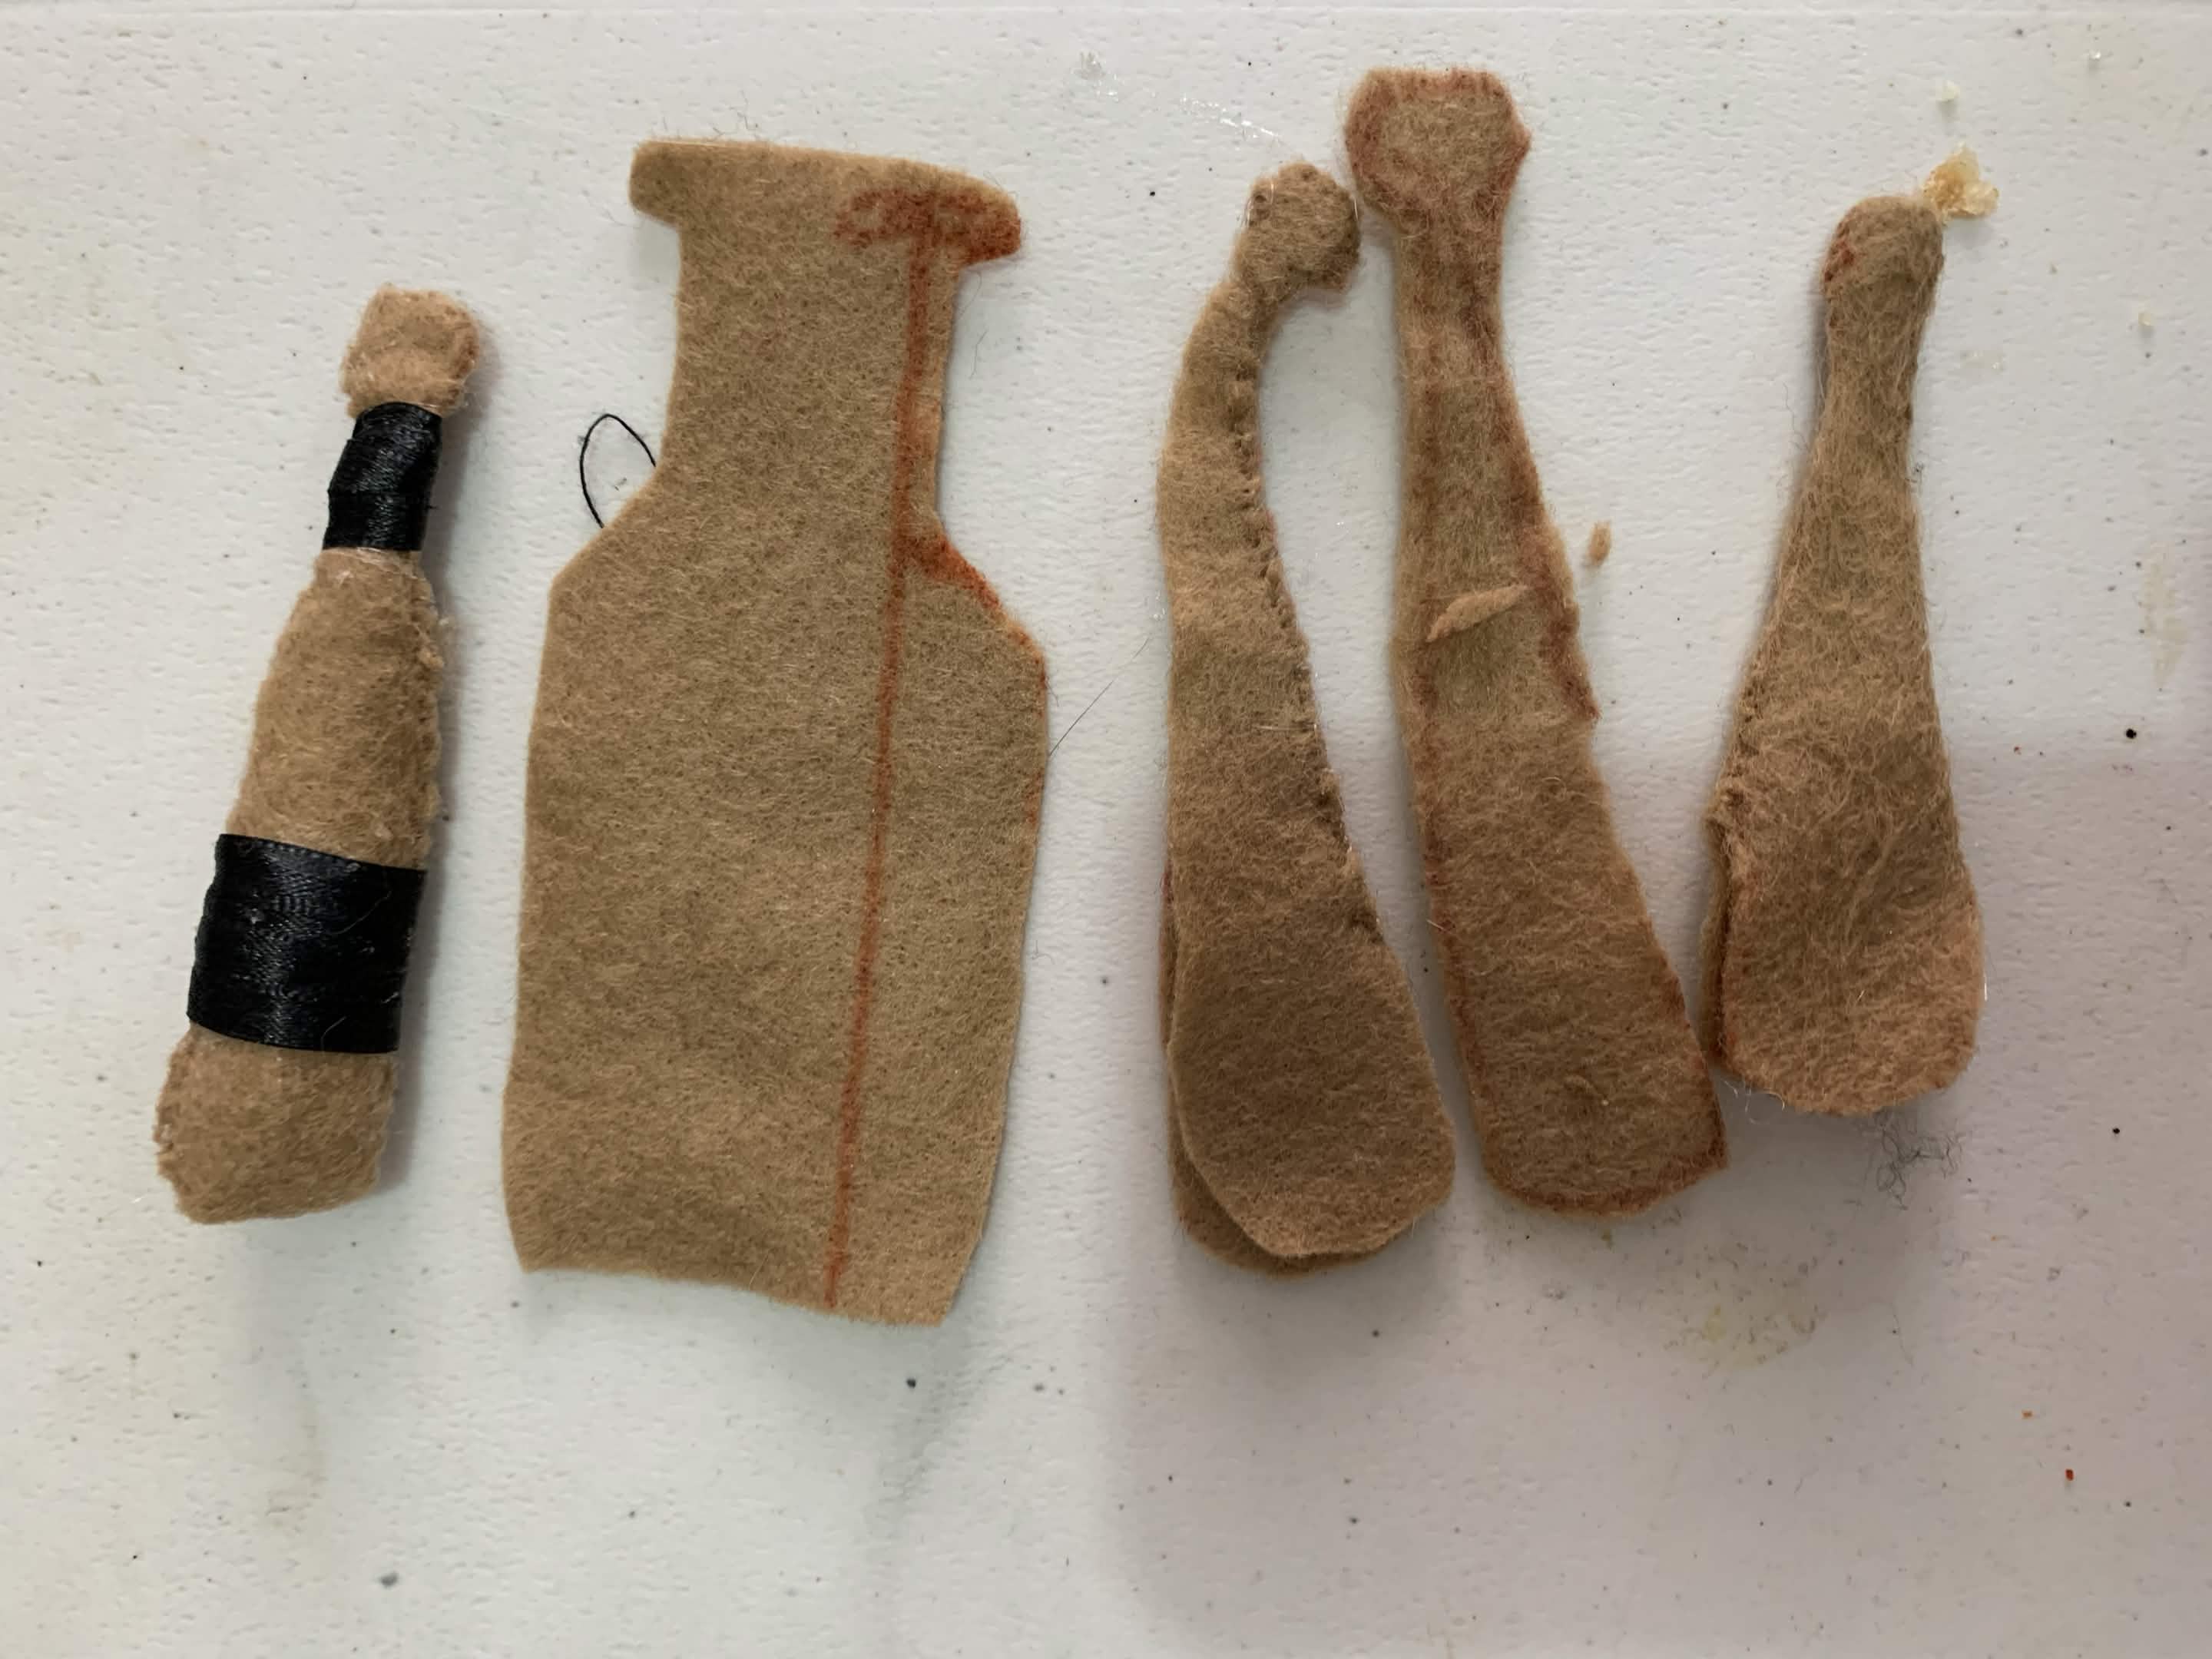
The bat
Oh, I almost forgot about the bat!!
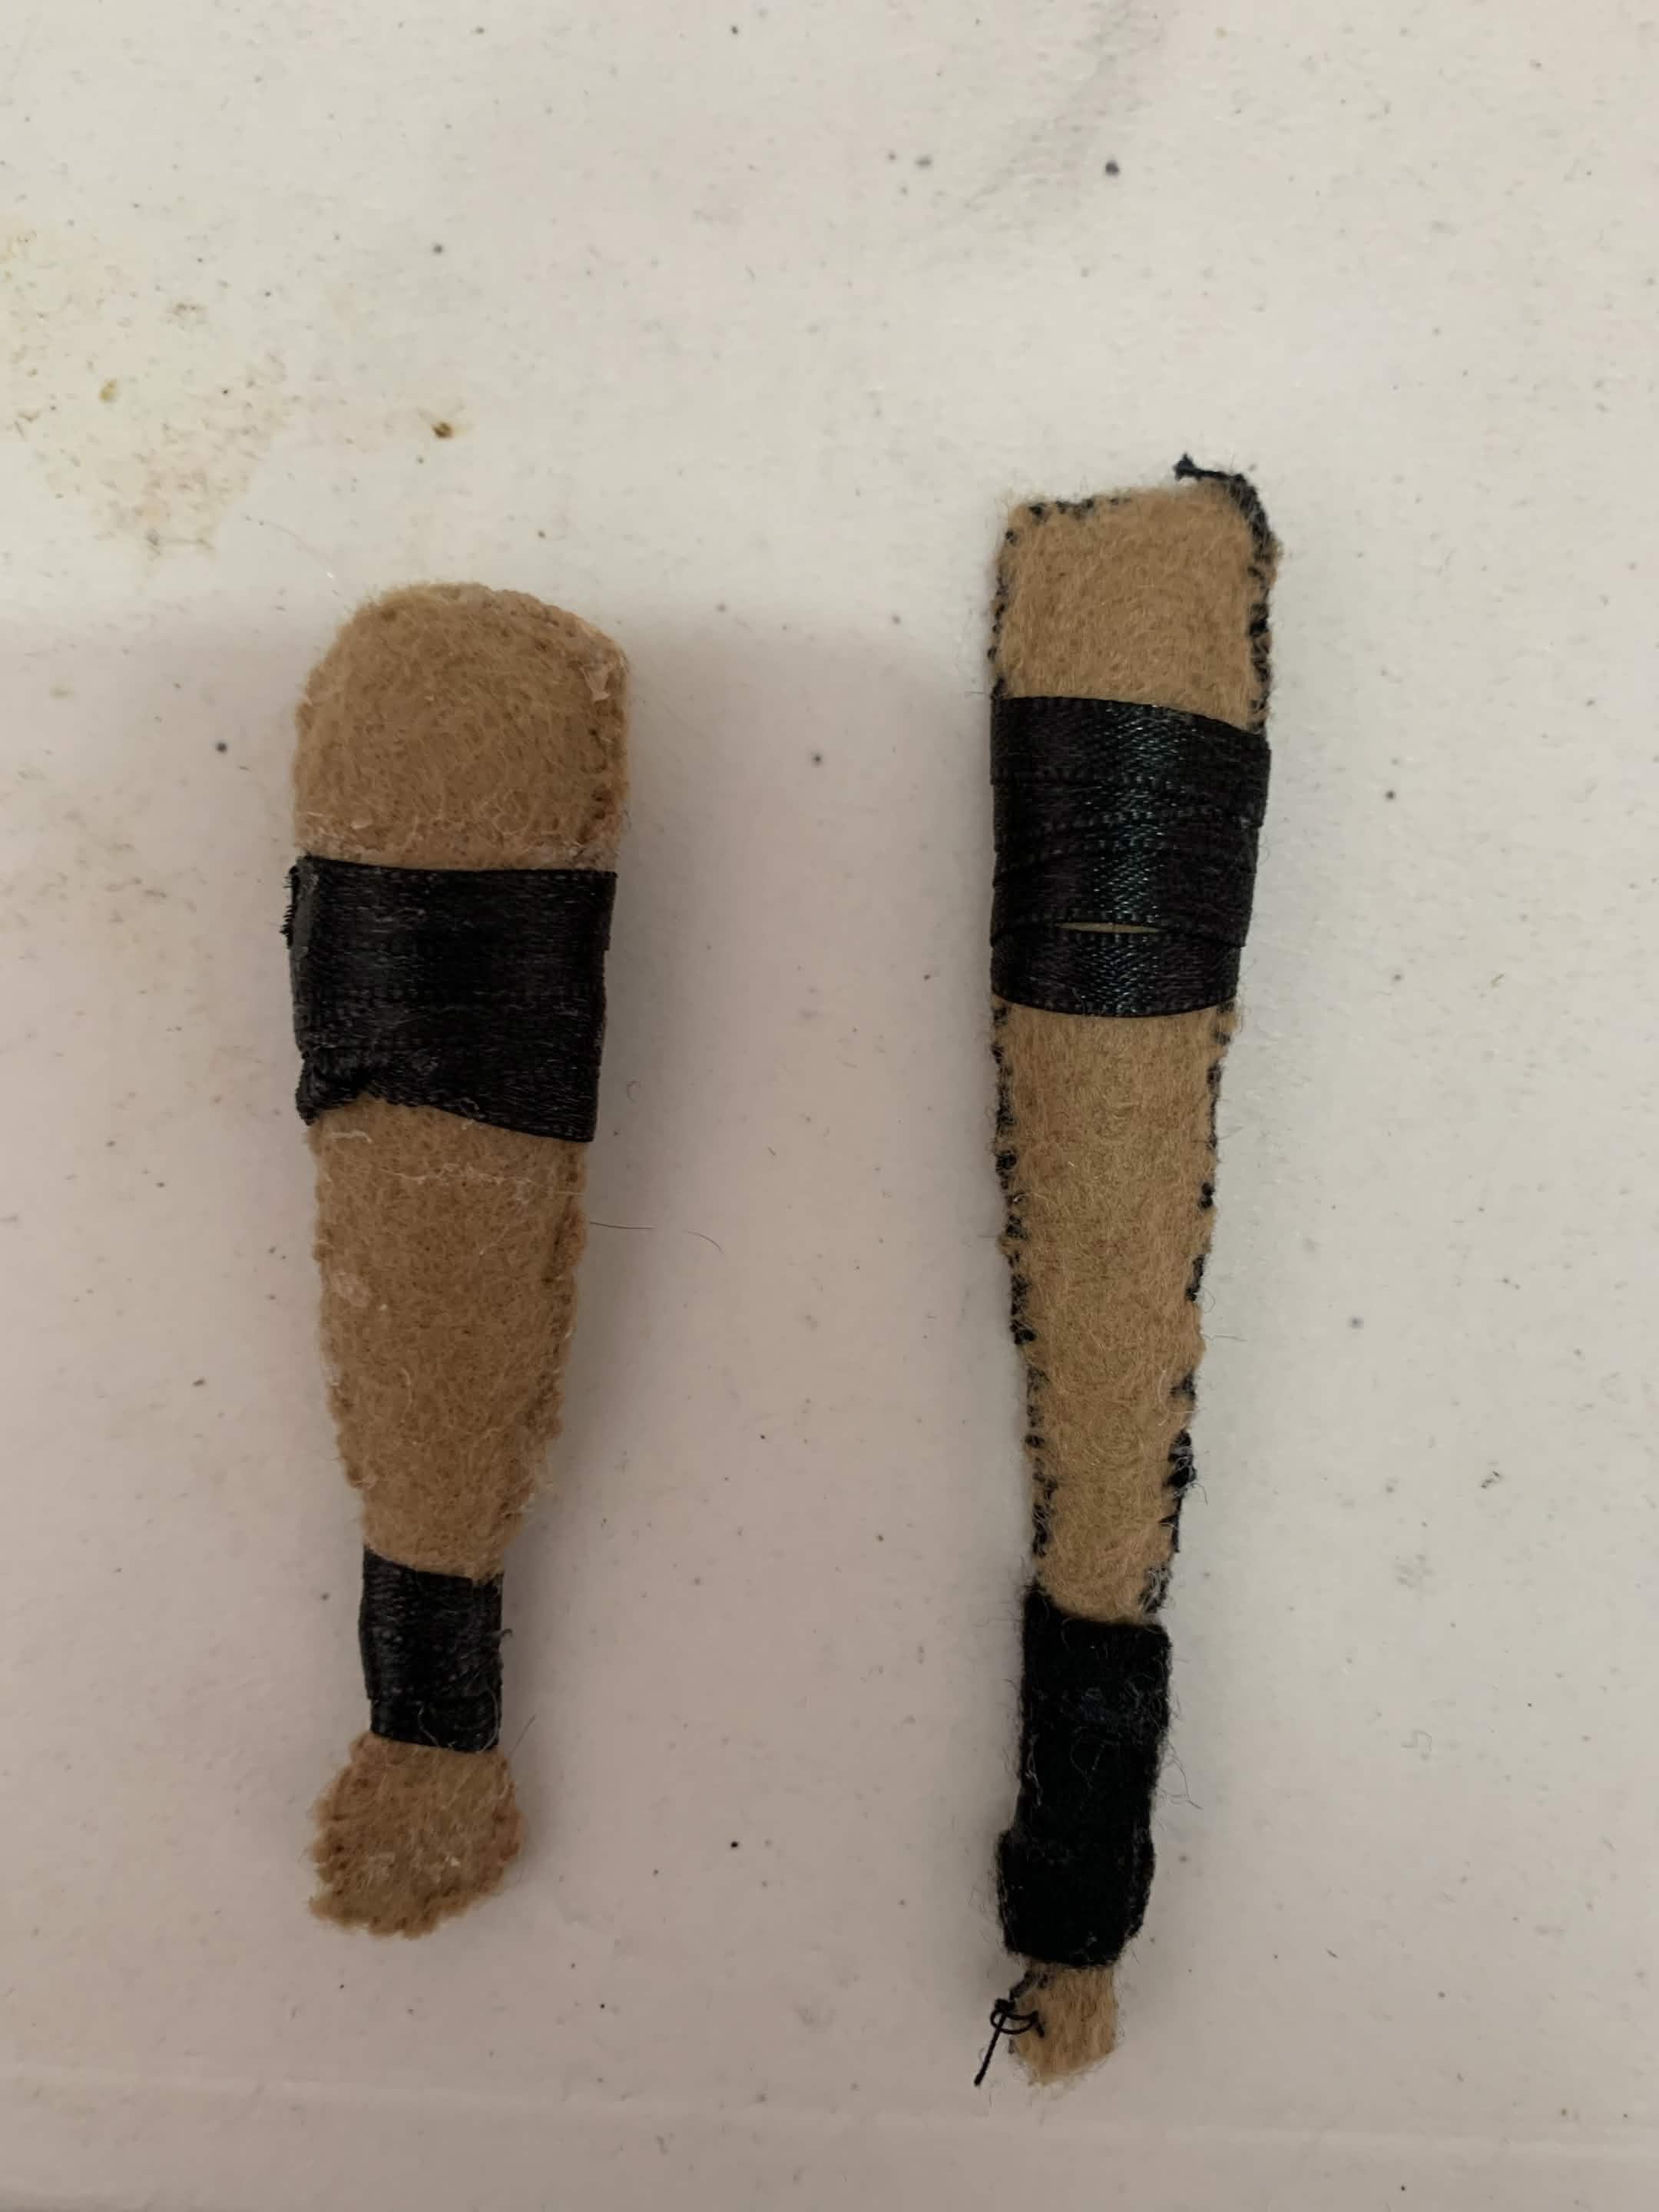
This was actually one of the hardest parts of the whole plushie. Working with such tiny pieces is REALLY difficult, especially when you’re trying to recreate something with a very specific shape.
My first attempts at making the bat... honestly looked more like a chicken drumstick than a bat LMAO.
I made several versions, changing the shape and proportions each time until I finally got one I was happy with.
The last version ended up being the one I used. It’s definitely not perfect, but I think it fits Becky pretty well!
It was a lot of trial and error, but I’m glad I didn’t settle for the first version. Sometimes you just have to make the same tiny thing over and over until it finally stops looking like a chicken leg LOL.
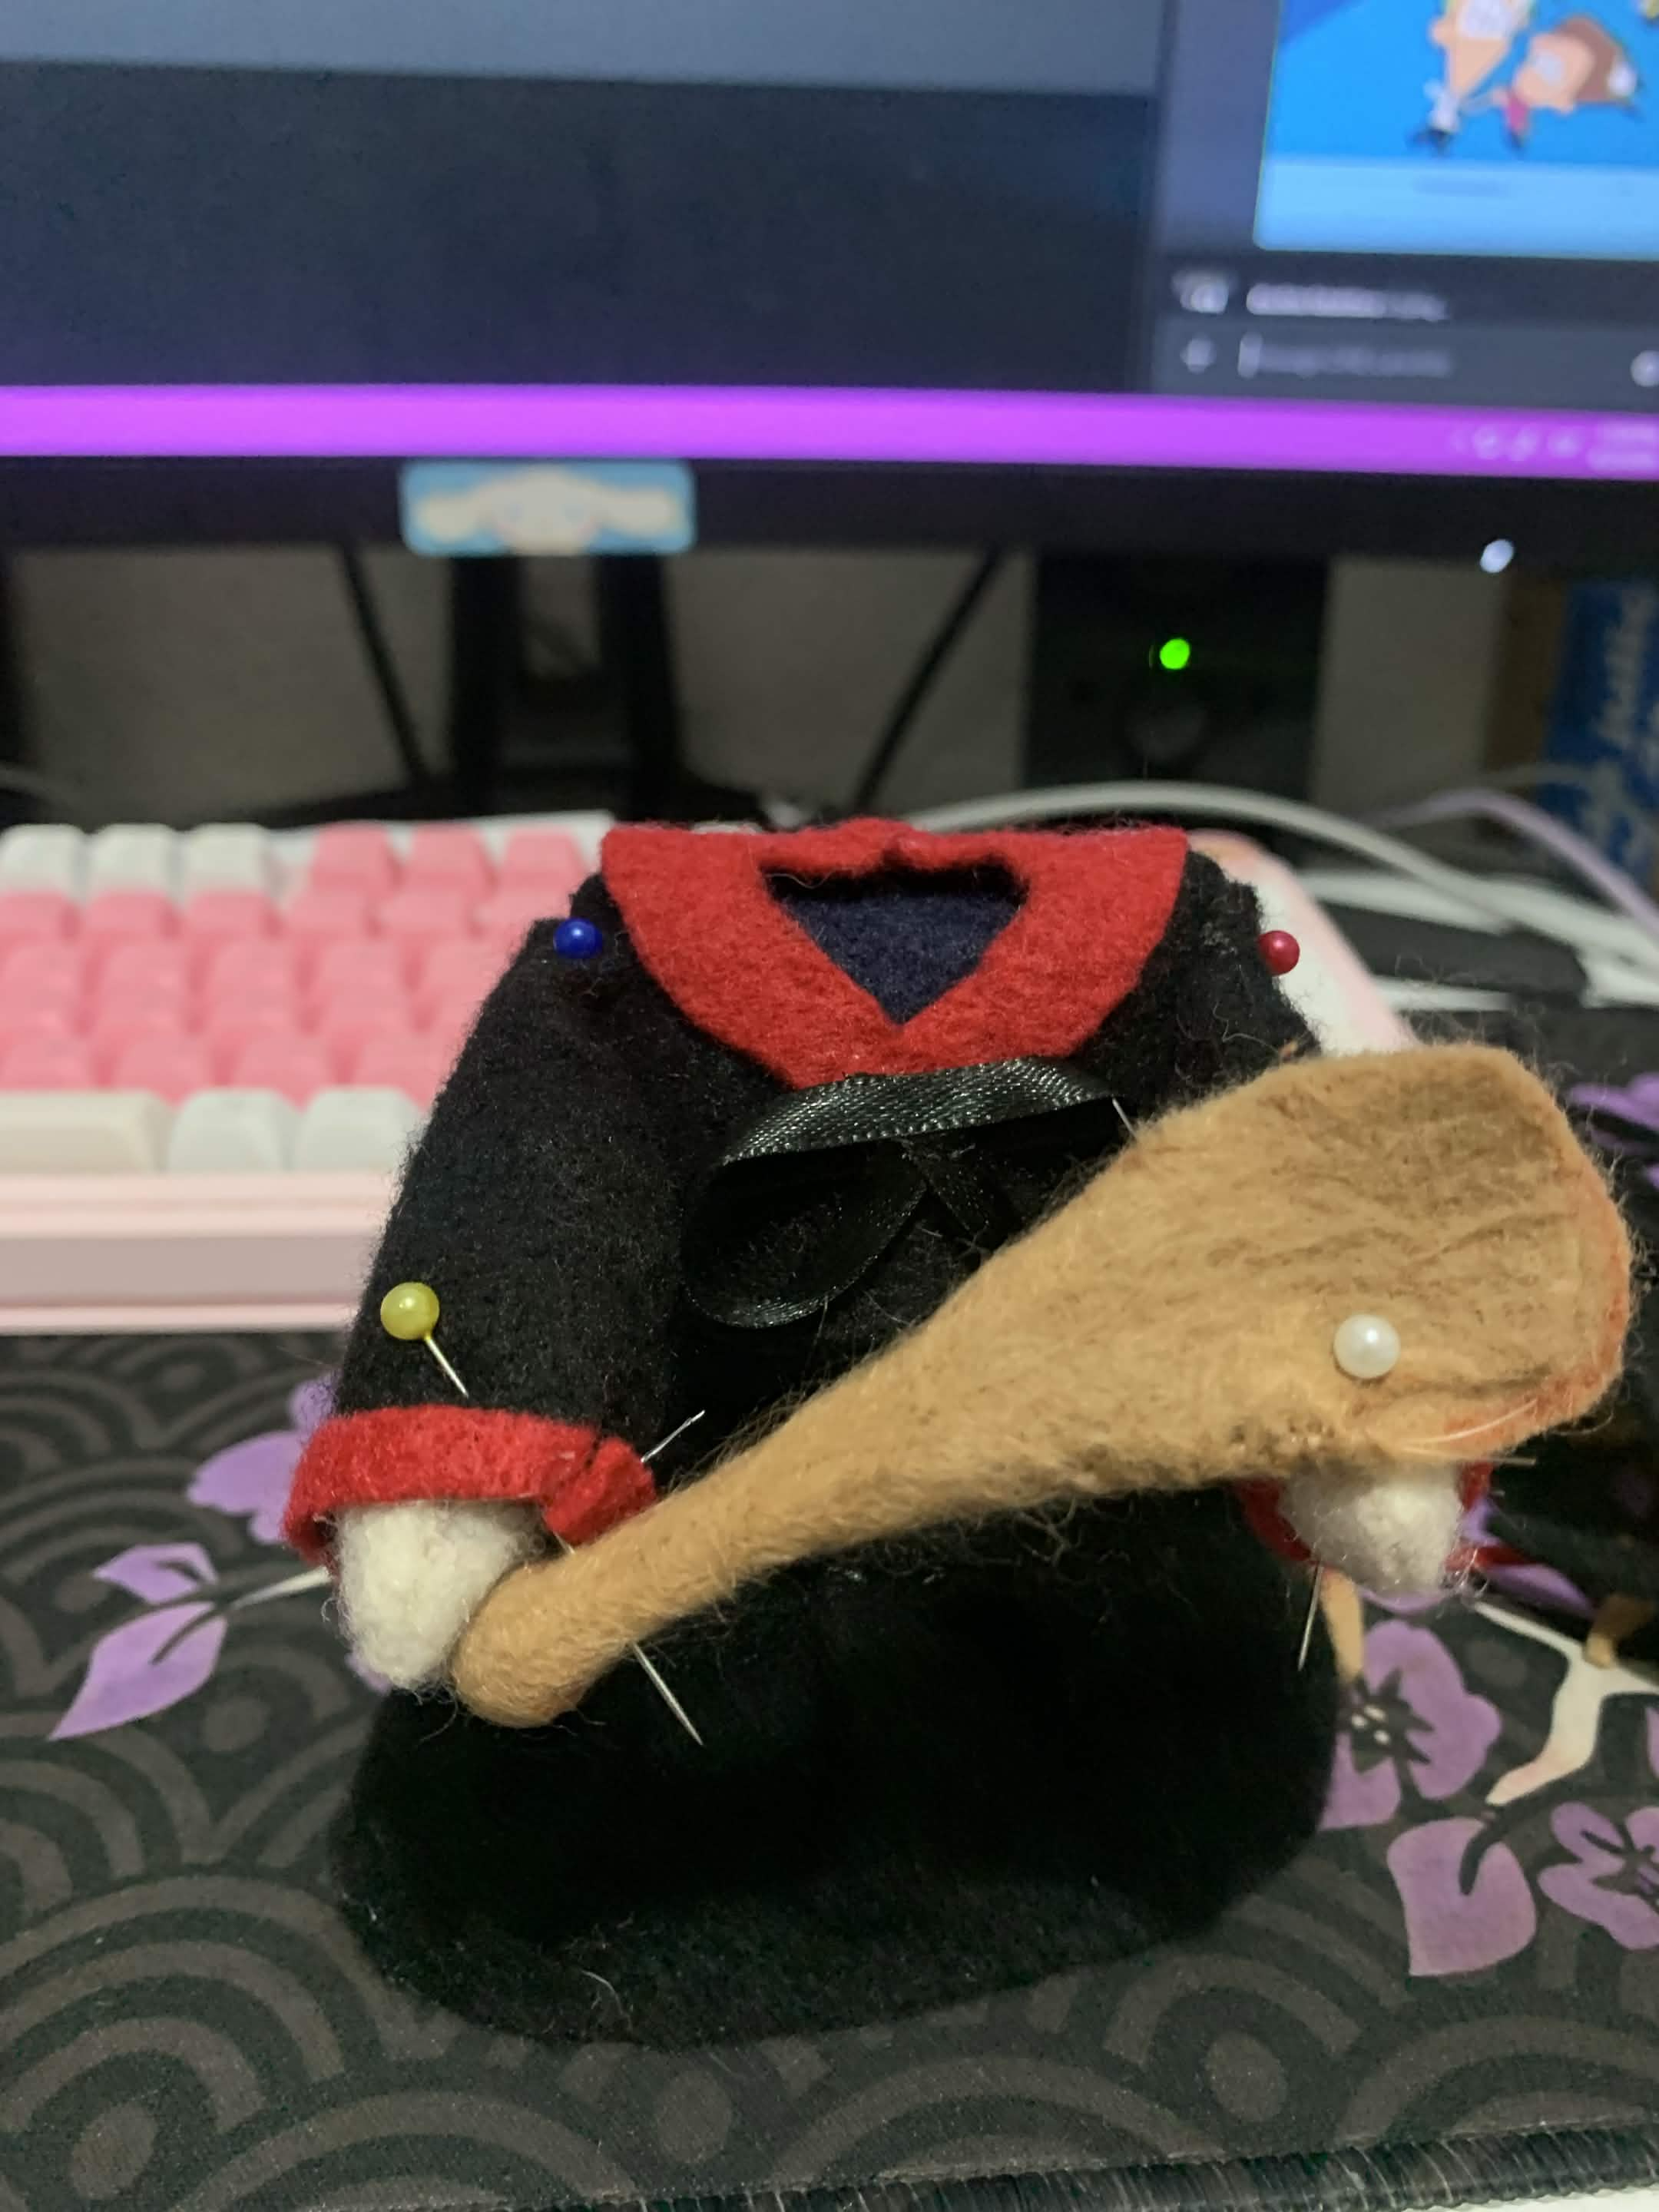
And this is the final result of the Becky plushie!!
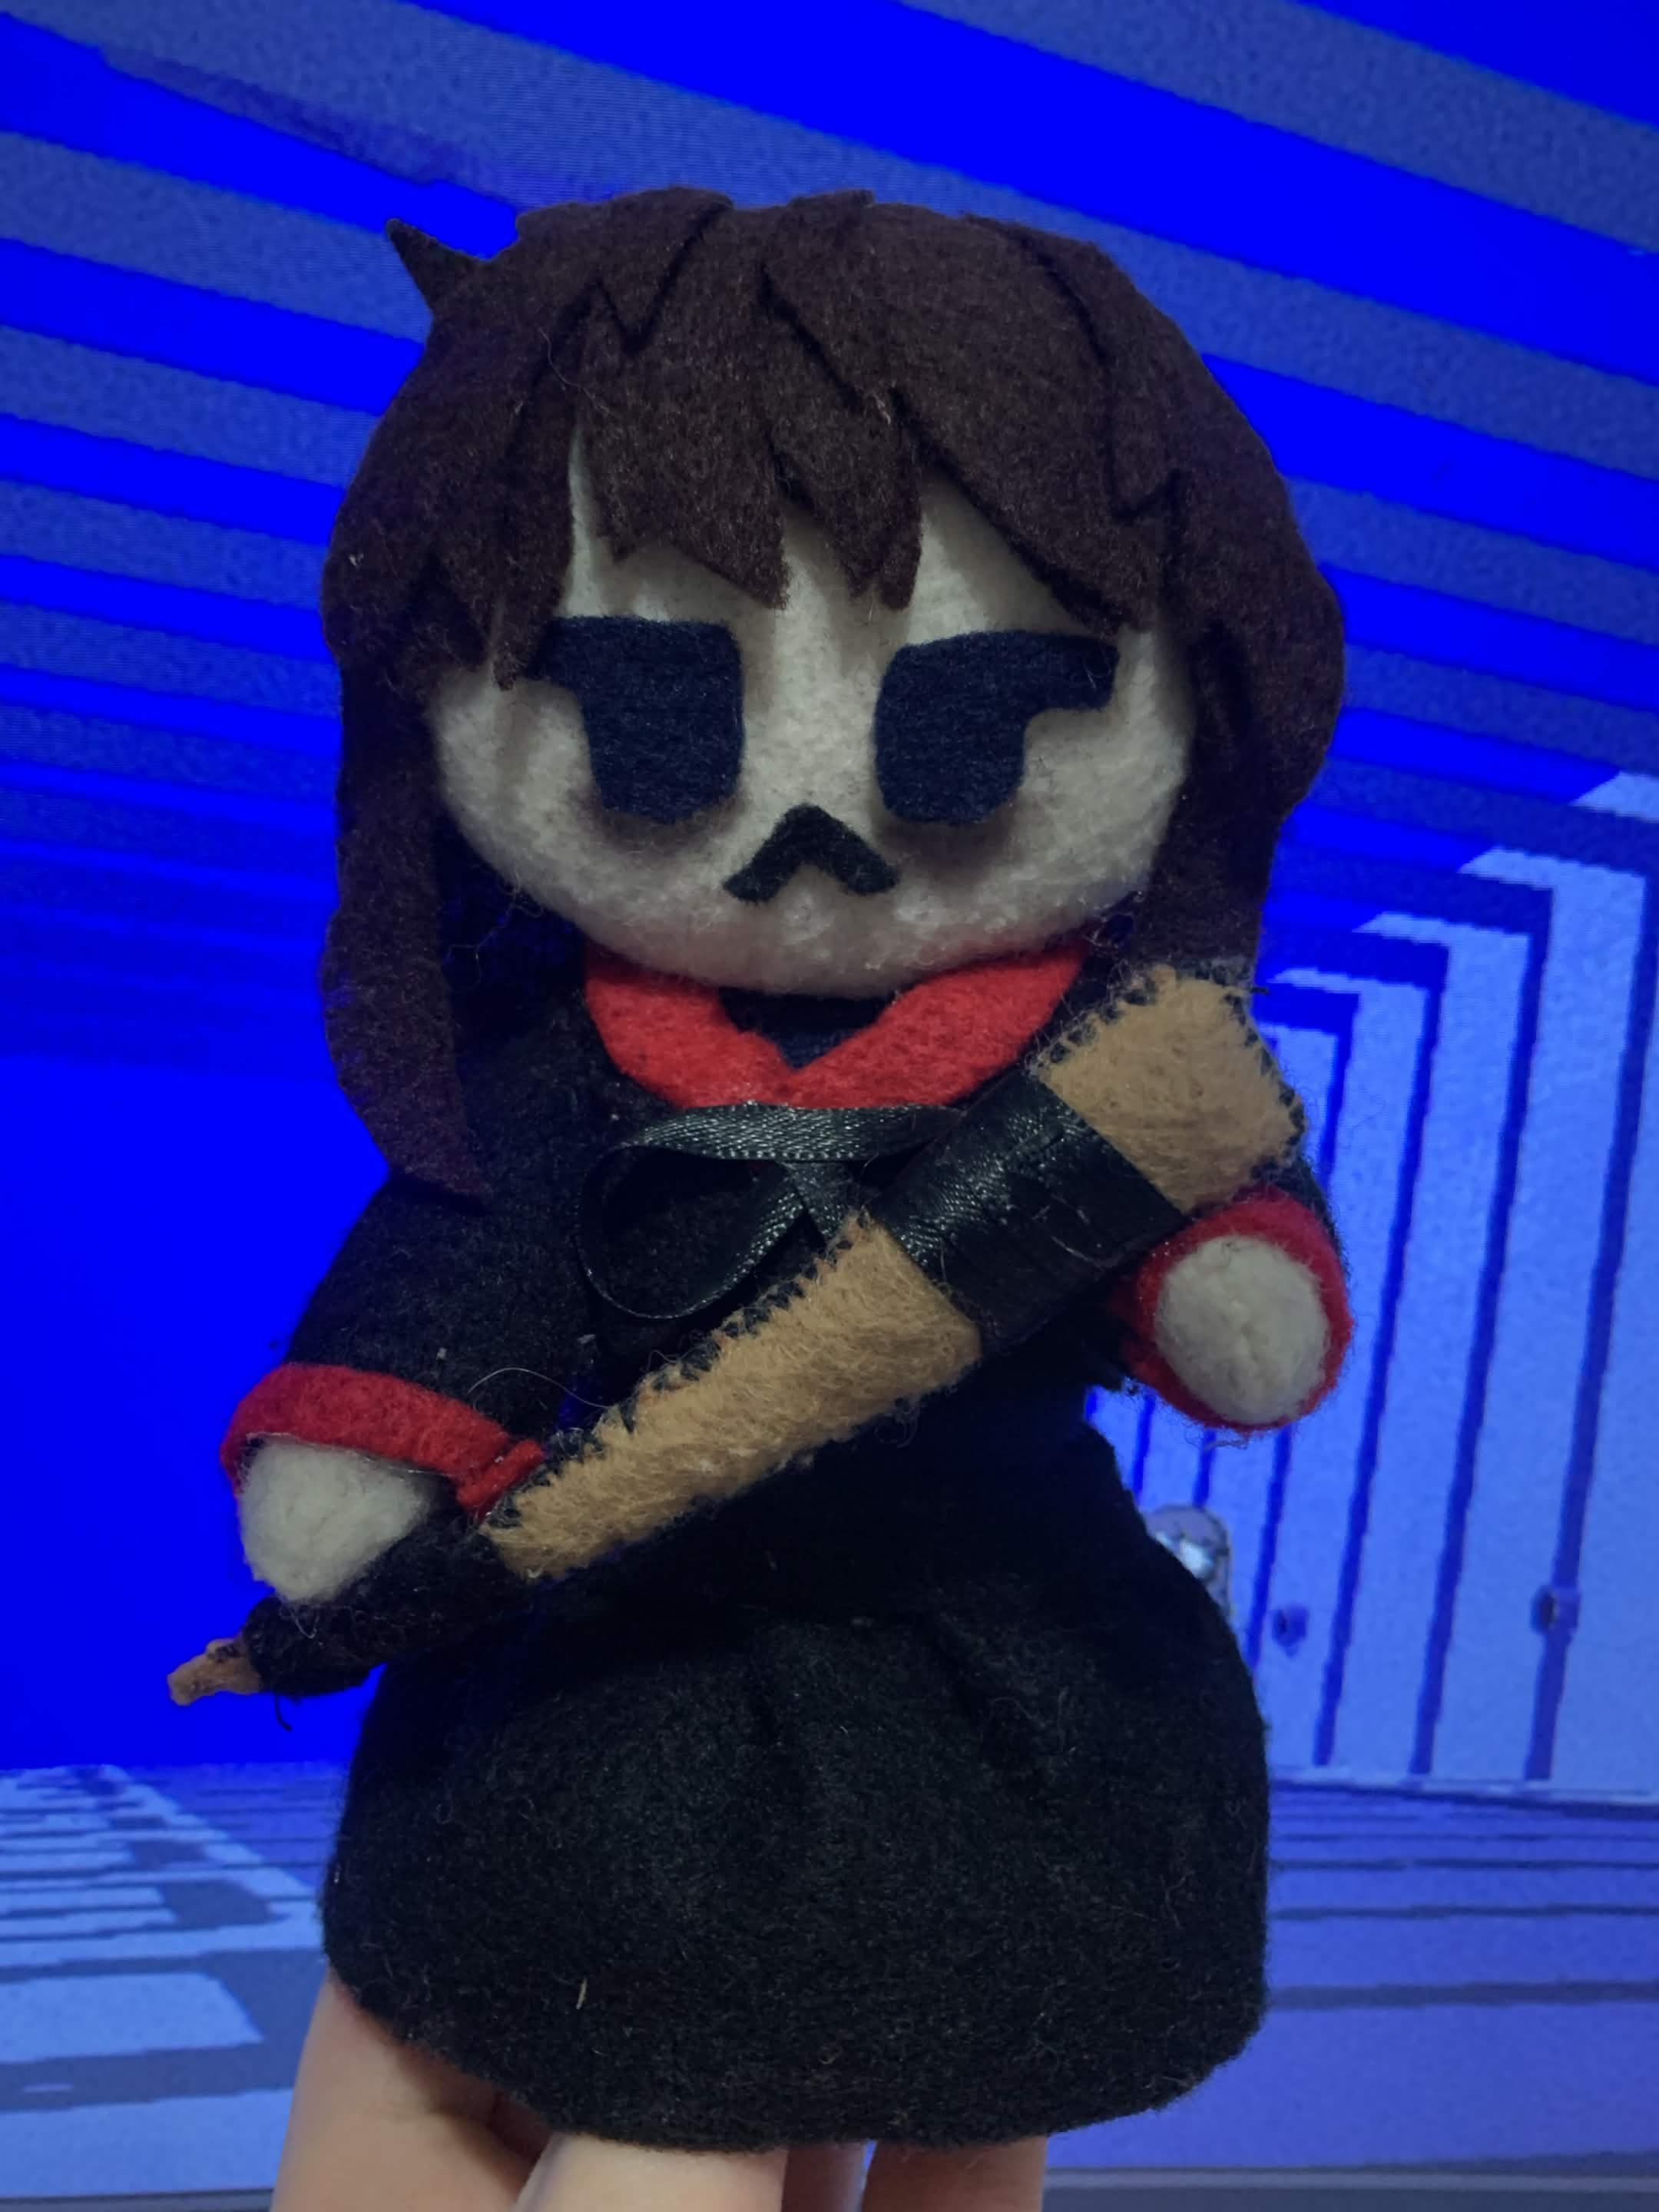
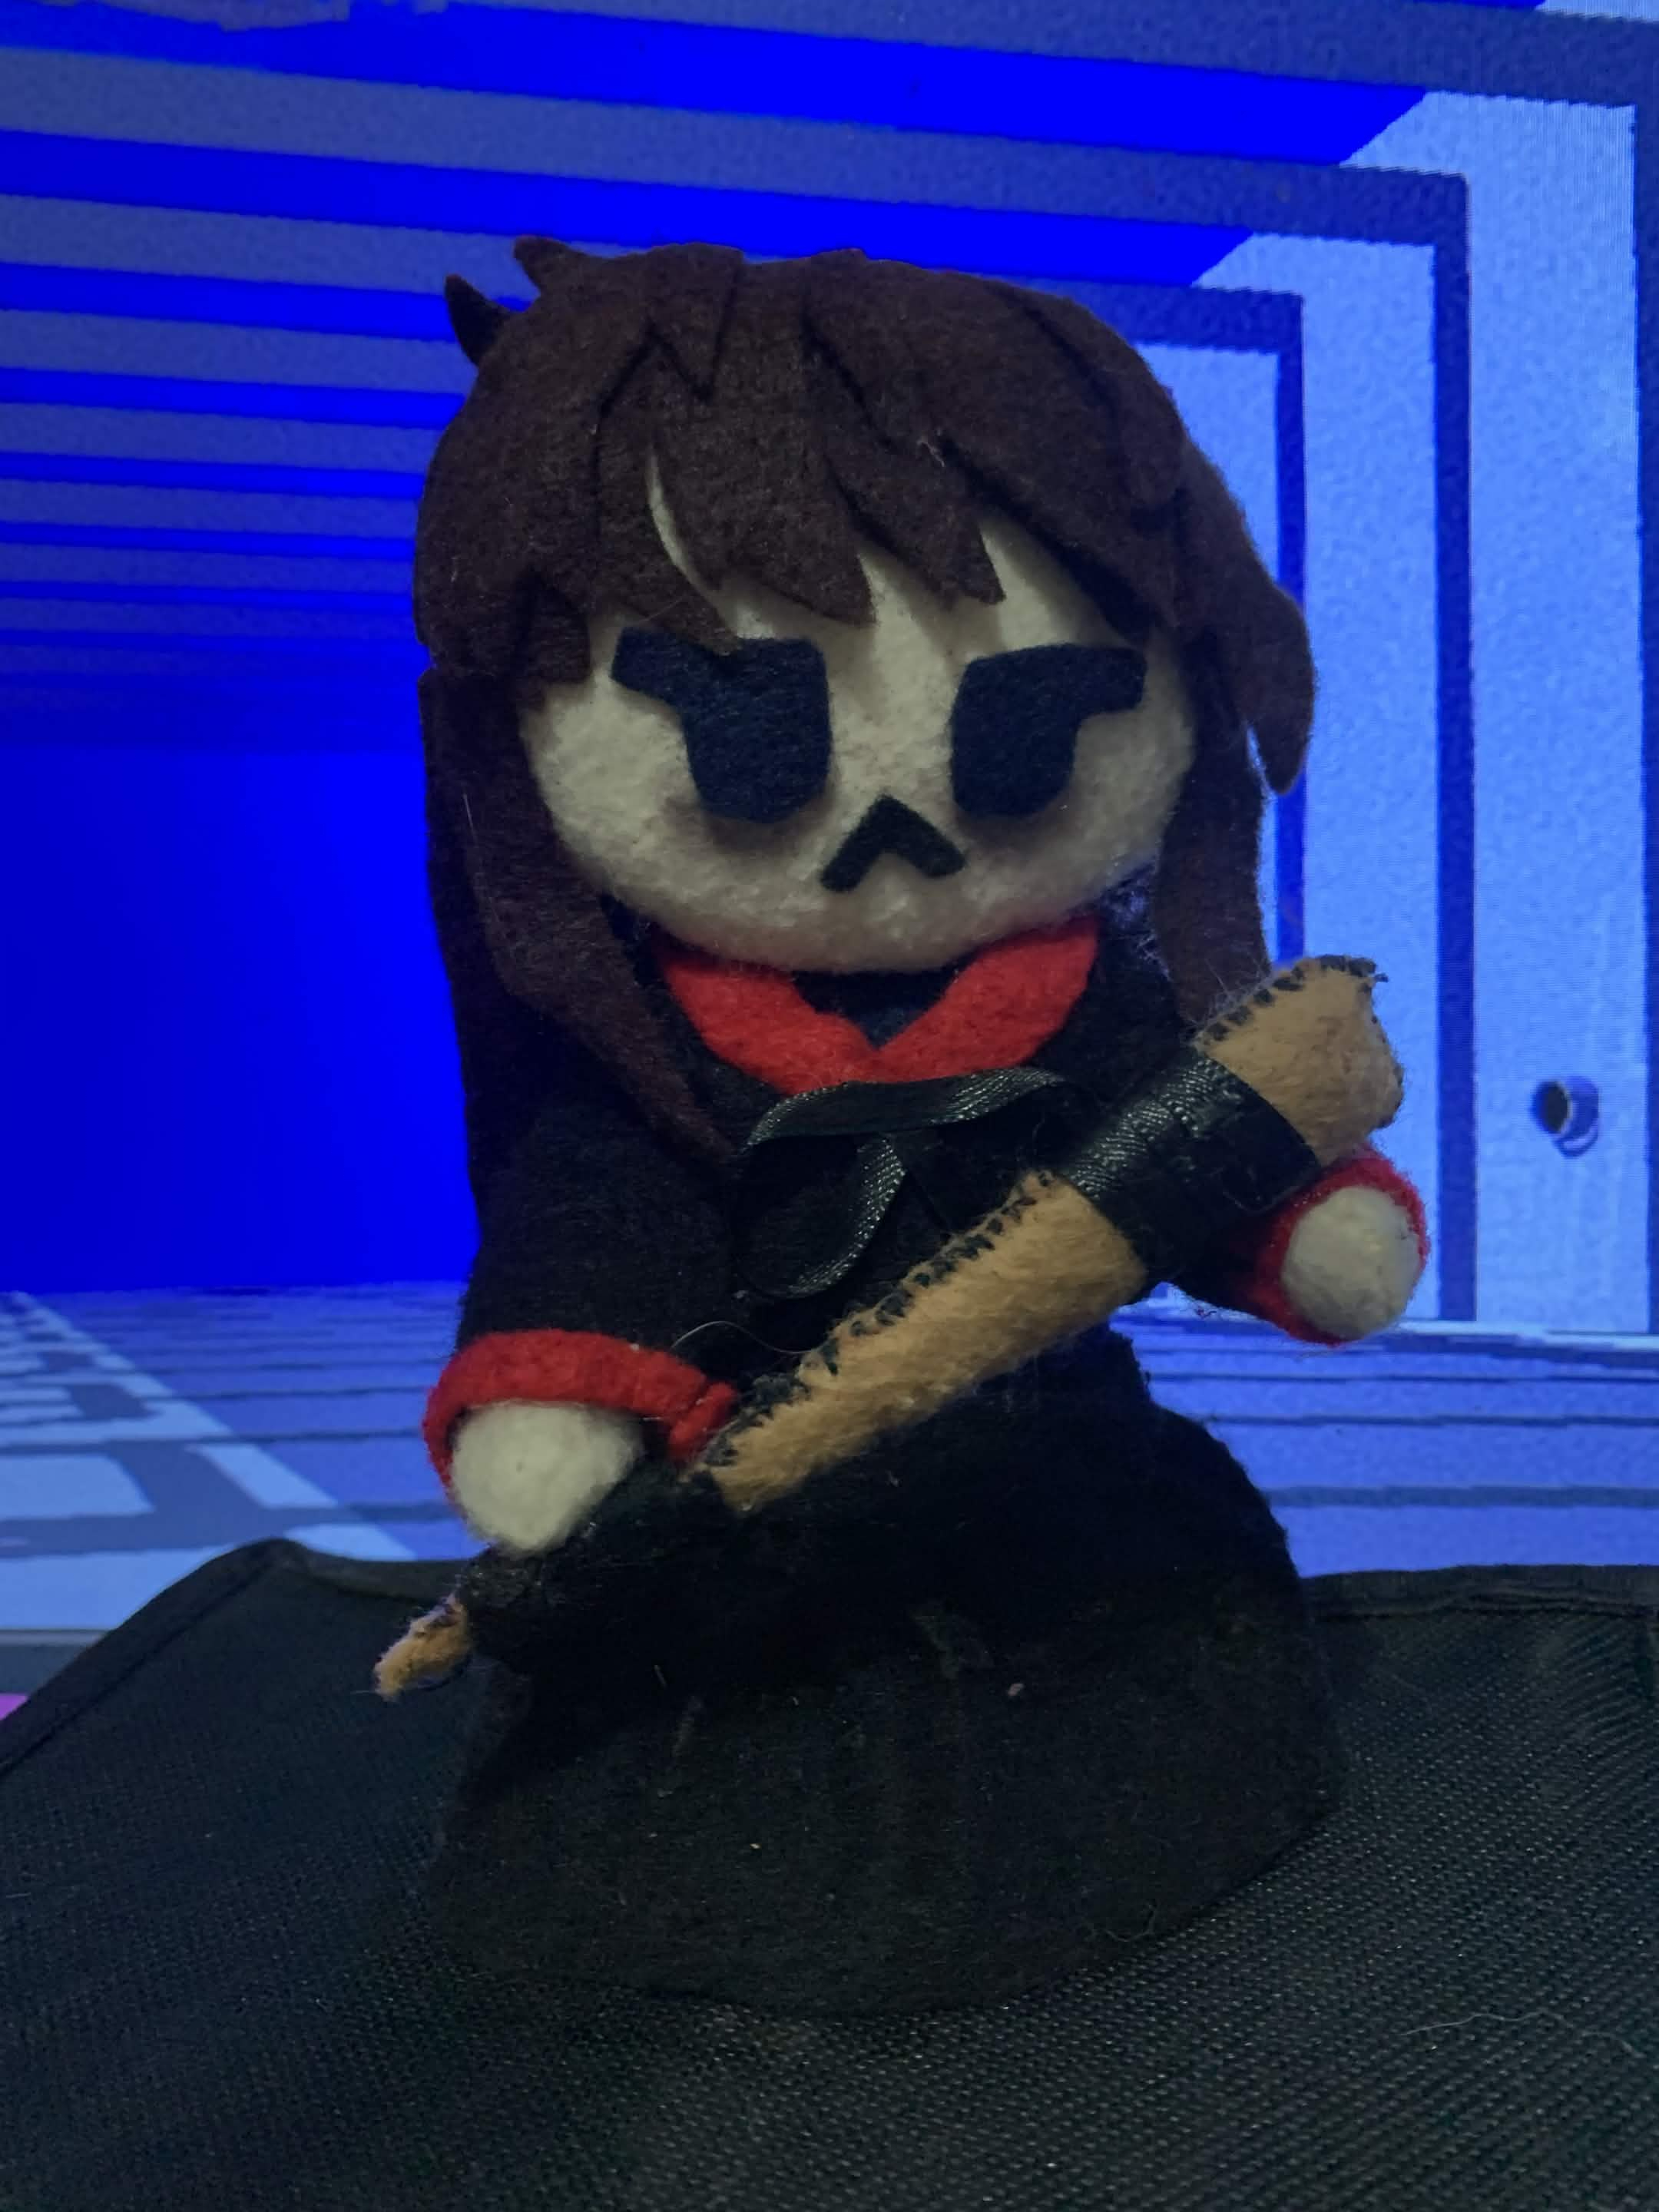
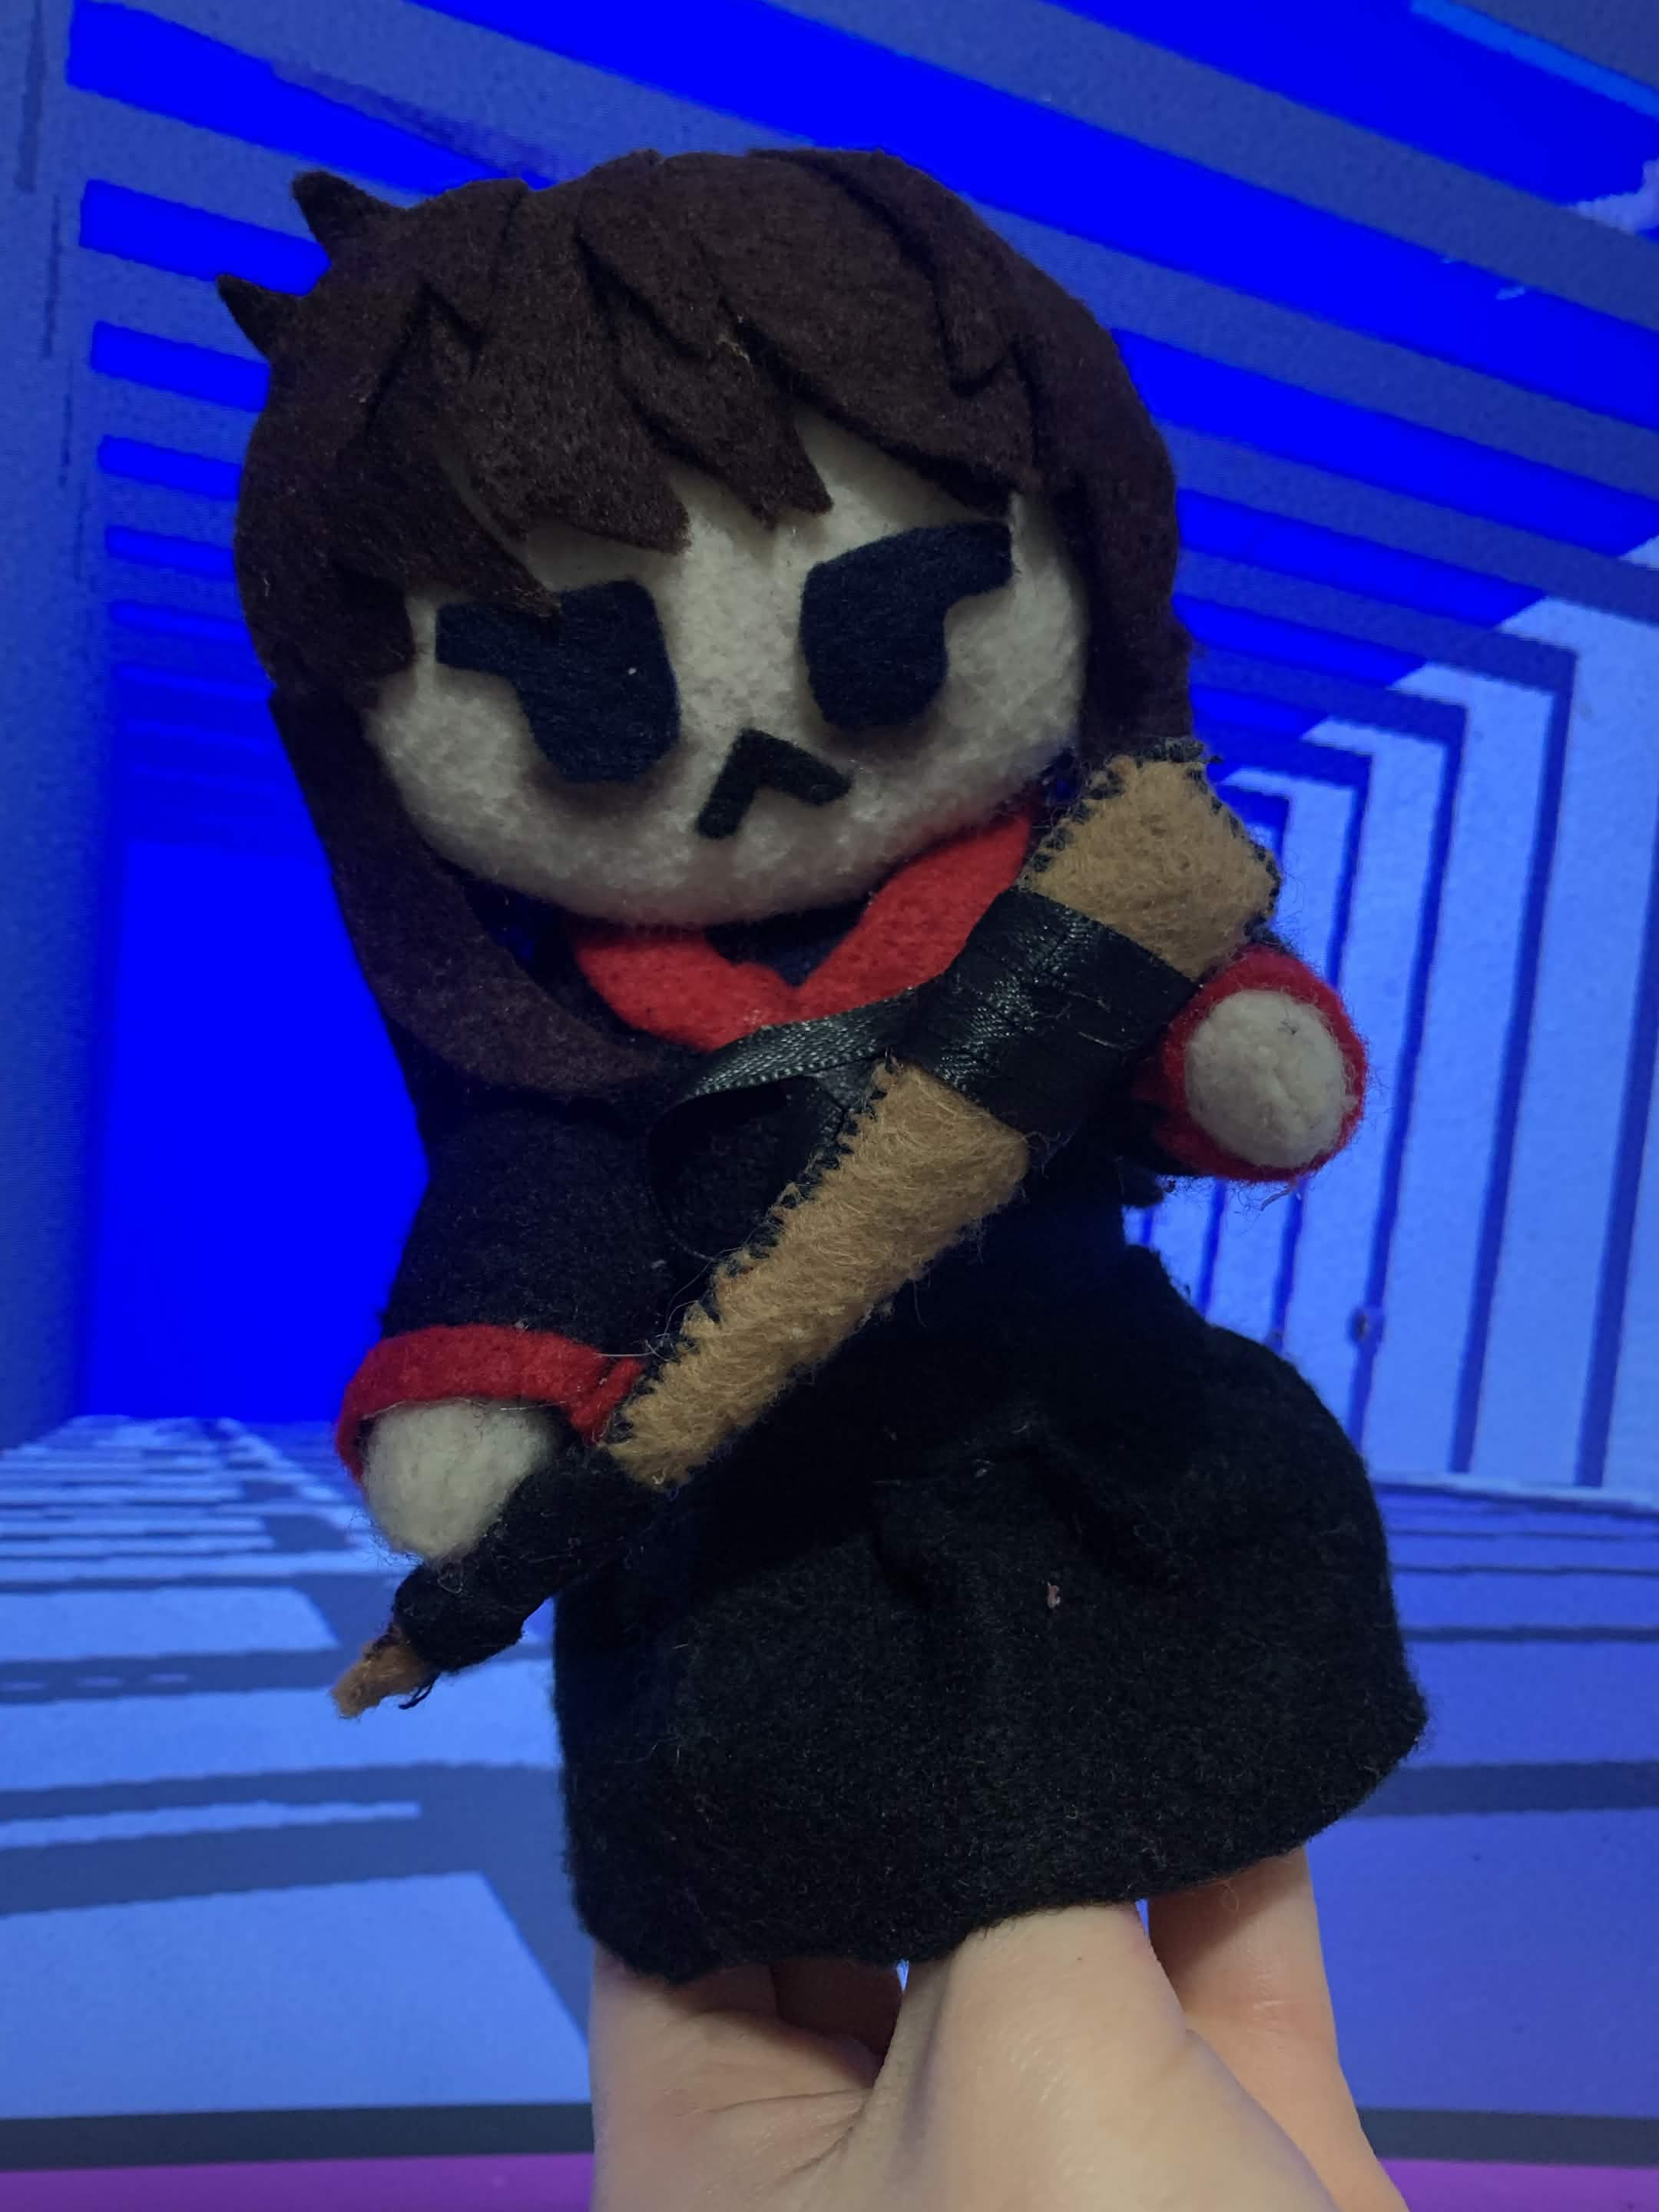
I’m really proud of how she turned out. She ended up looking really nice!!
NOW, it’s time to move on to the Catto plushie!
This part is gonna be shorter since I don’t wanna repeat too much from my previous post.
Last time, I mentioned that I wanted the Catto plushie to be easy to replicate, and that’s still true... kinda.
But then I had another thought:
What if every Catto plushie was unique and wore different clothes?
Since it’s lore-accurate that Catto is a fashionista, and I love drawing her in different outfits, it sounded like a really fun idea.
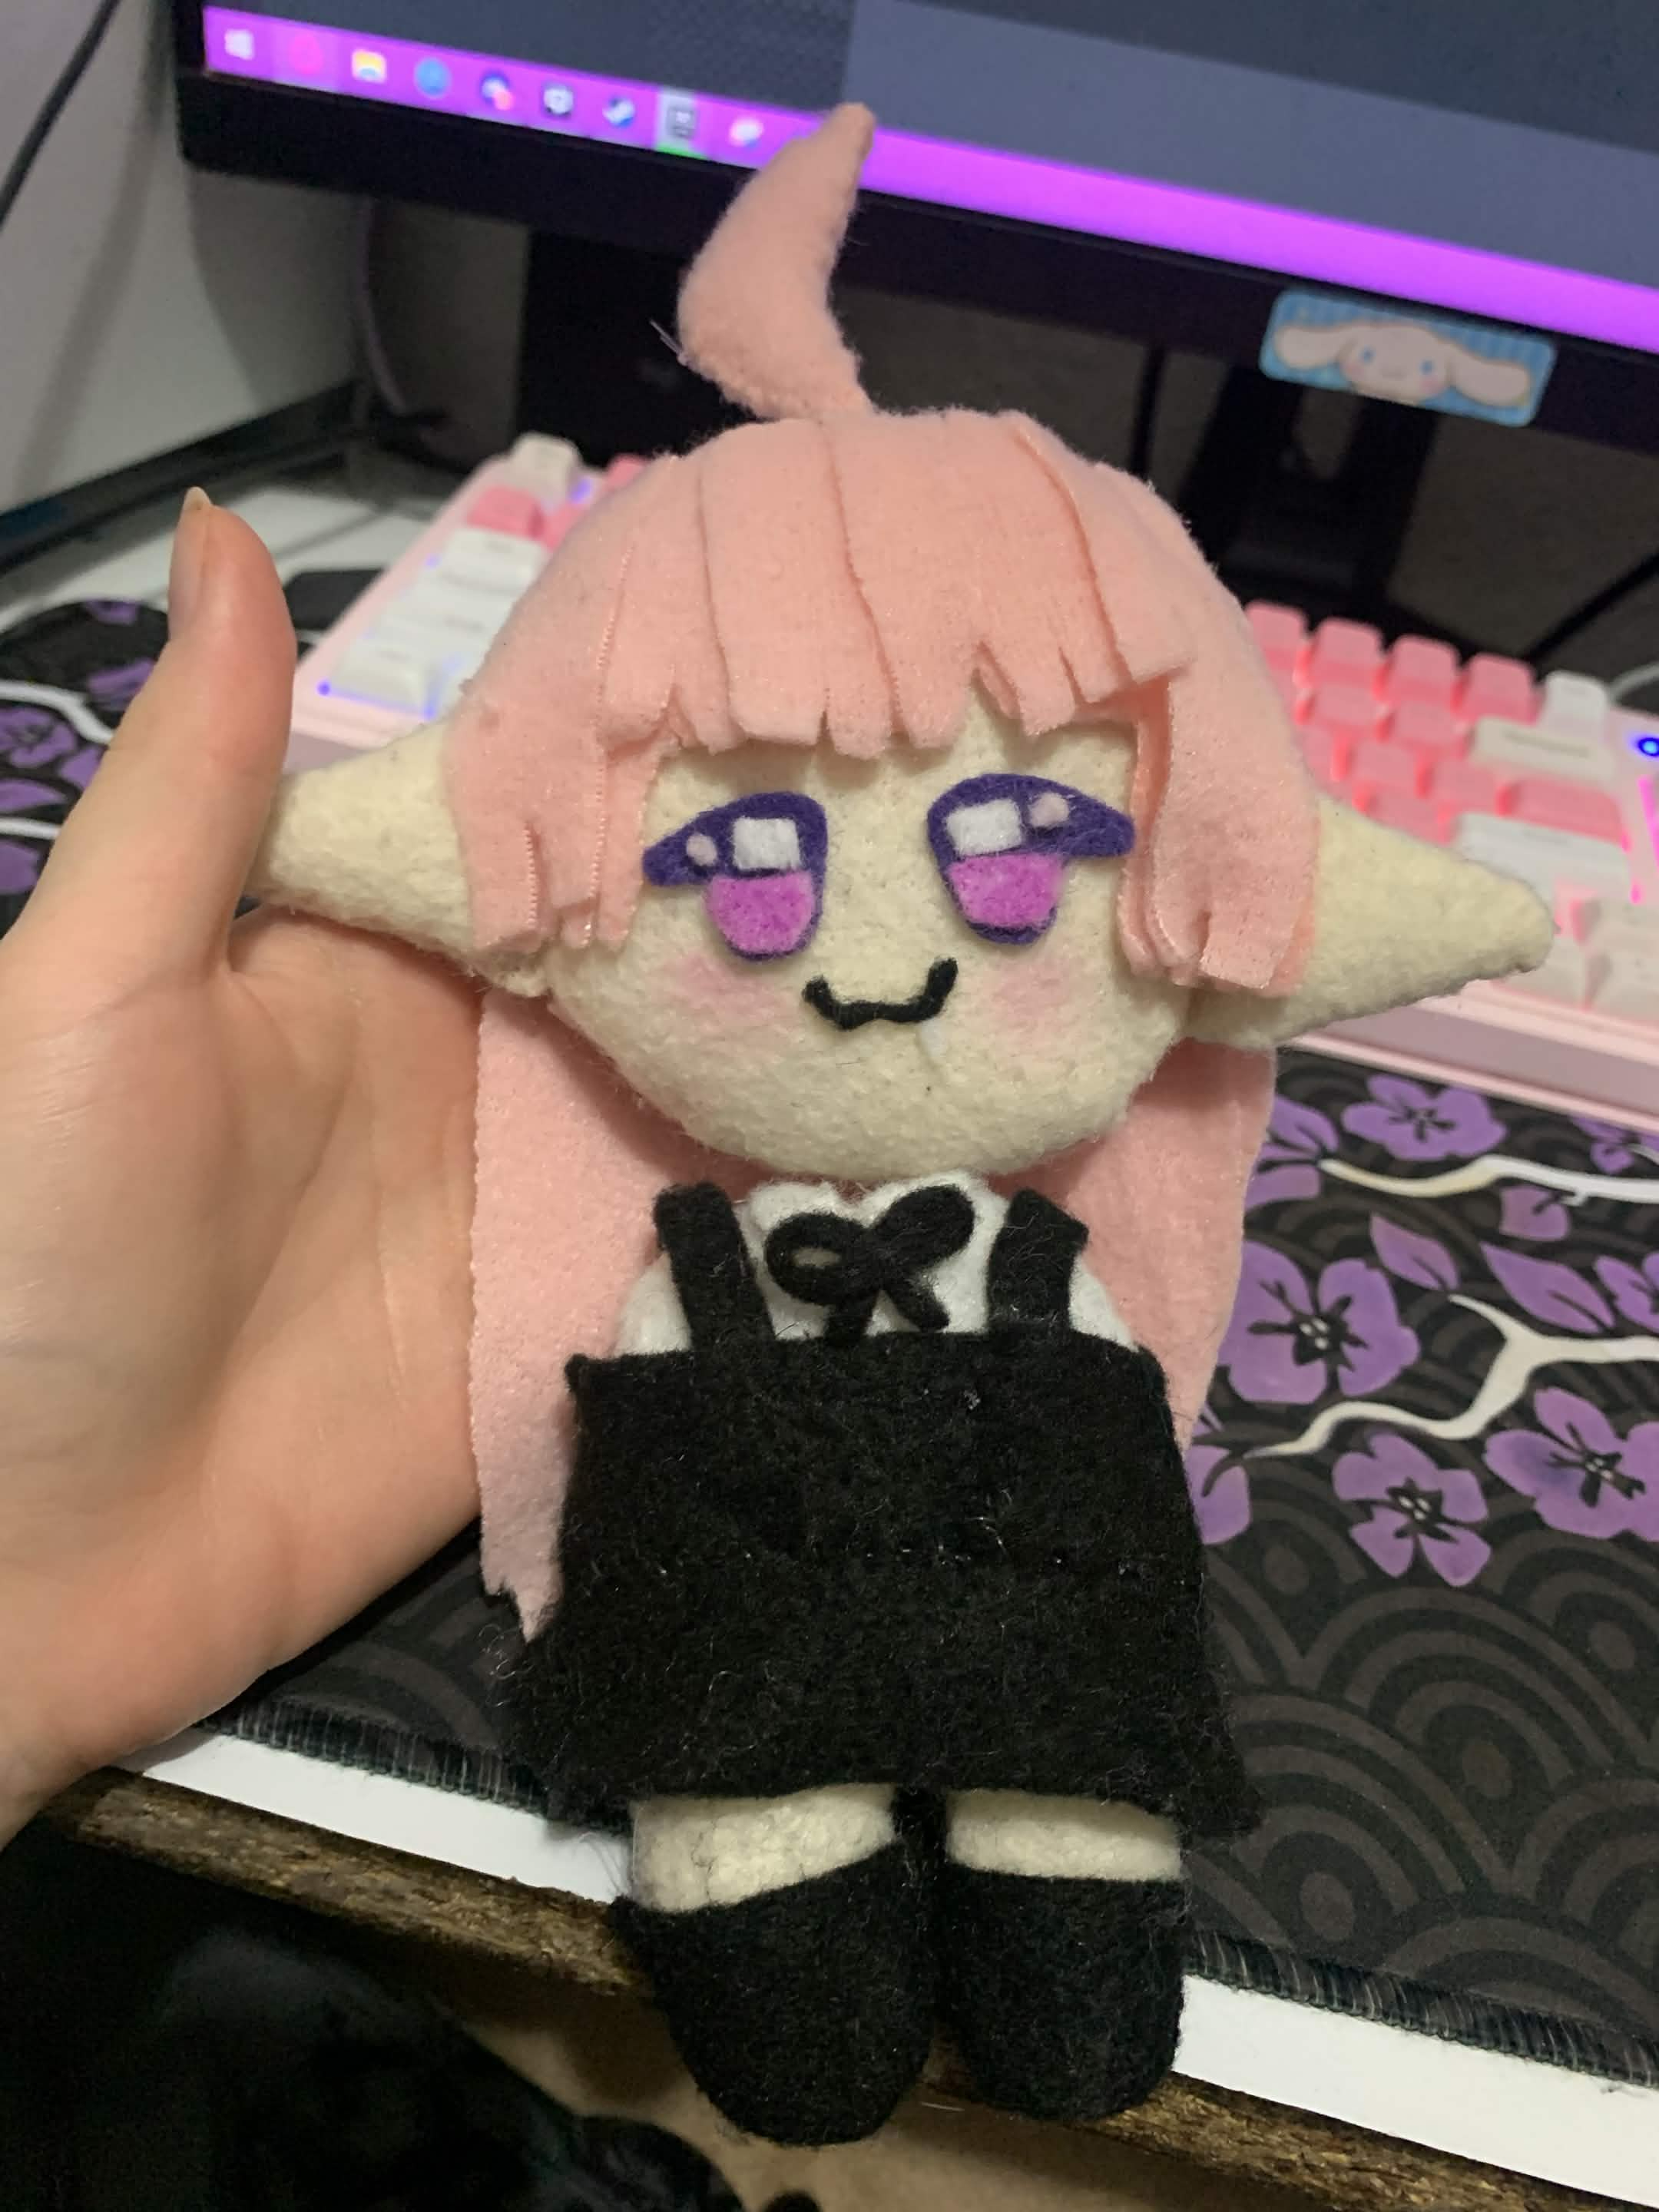
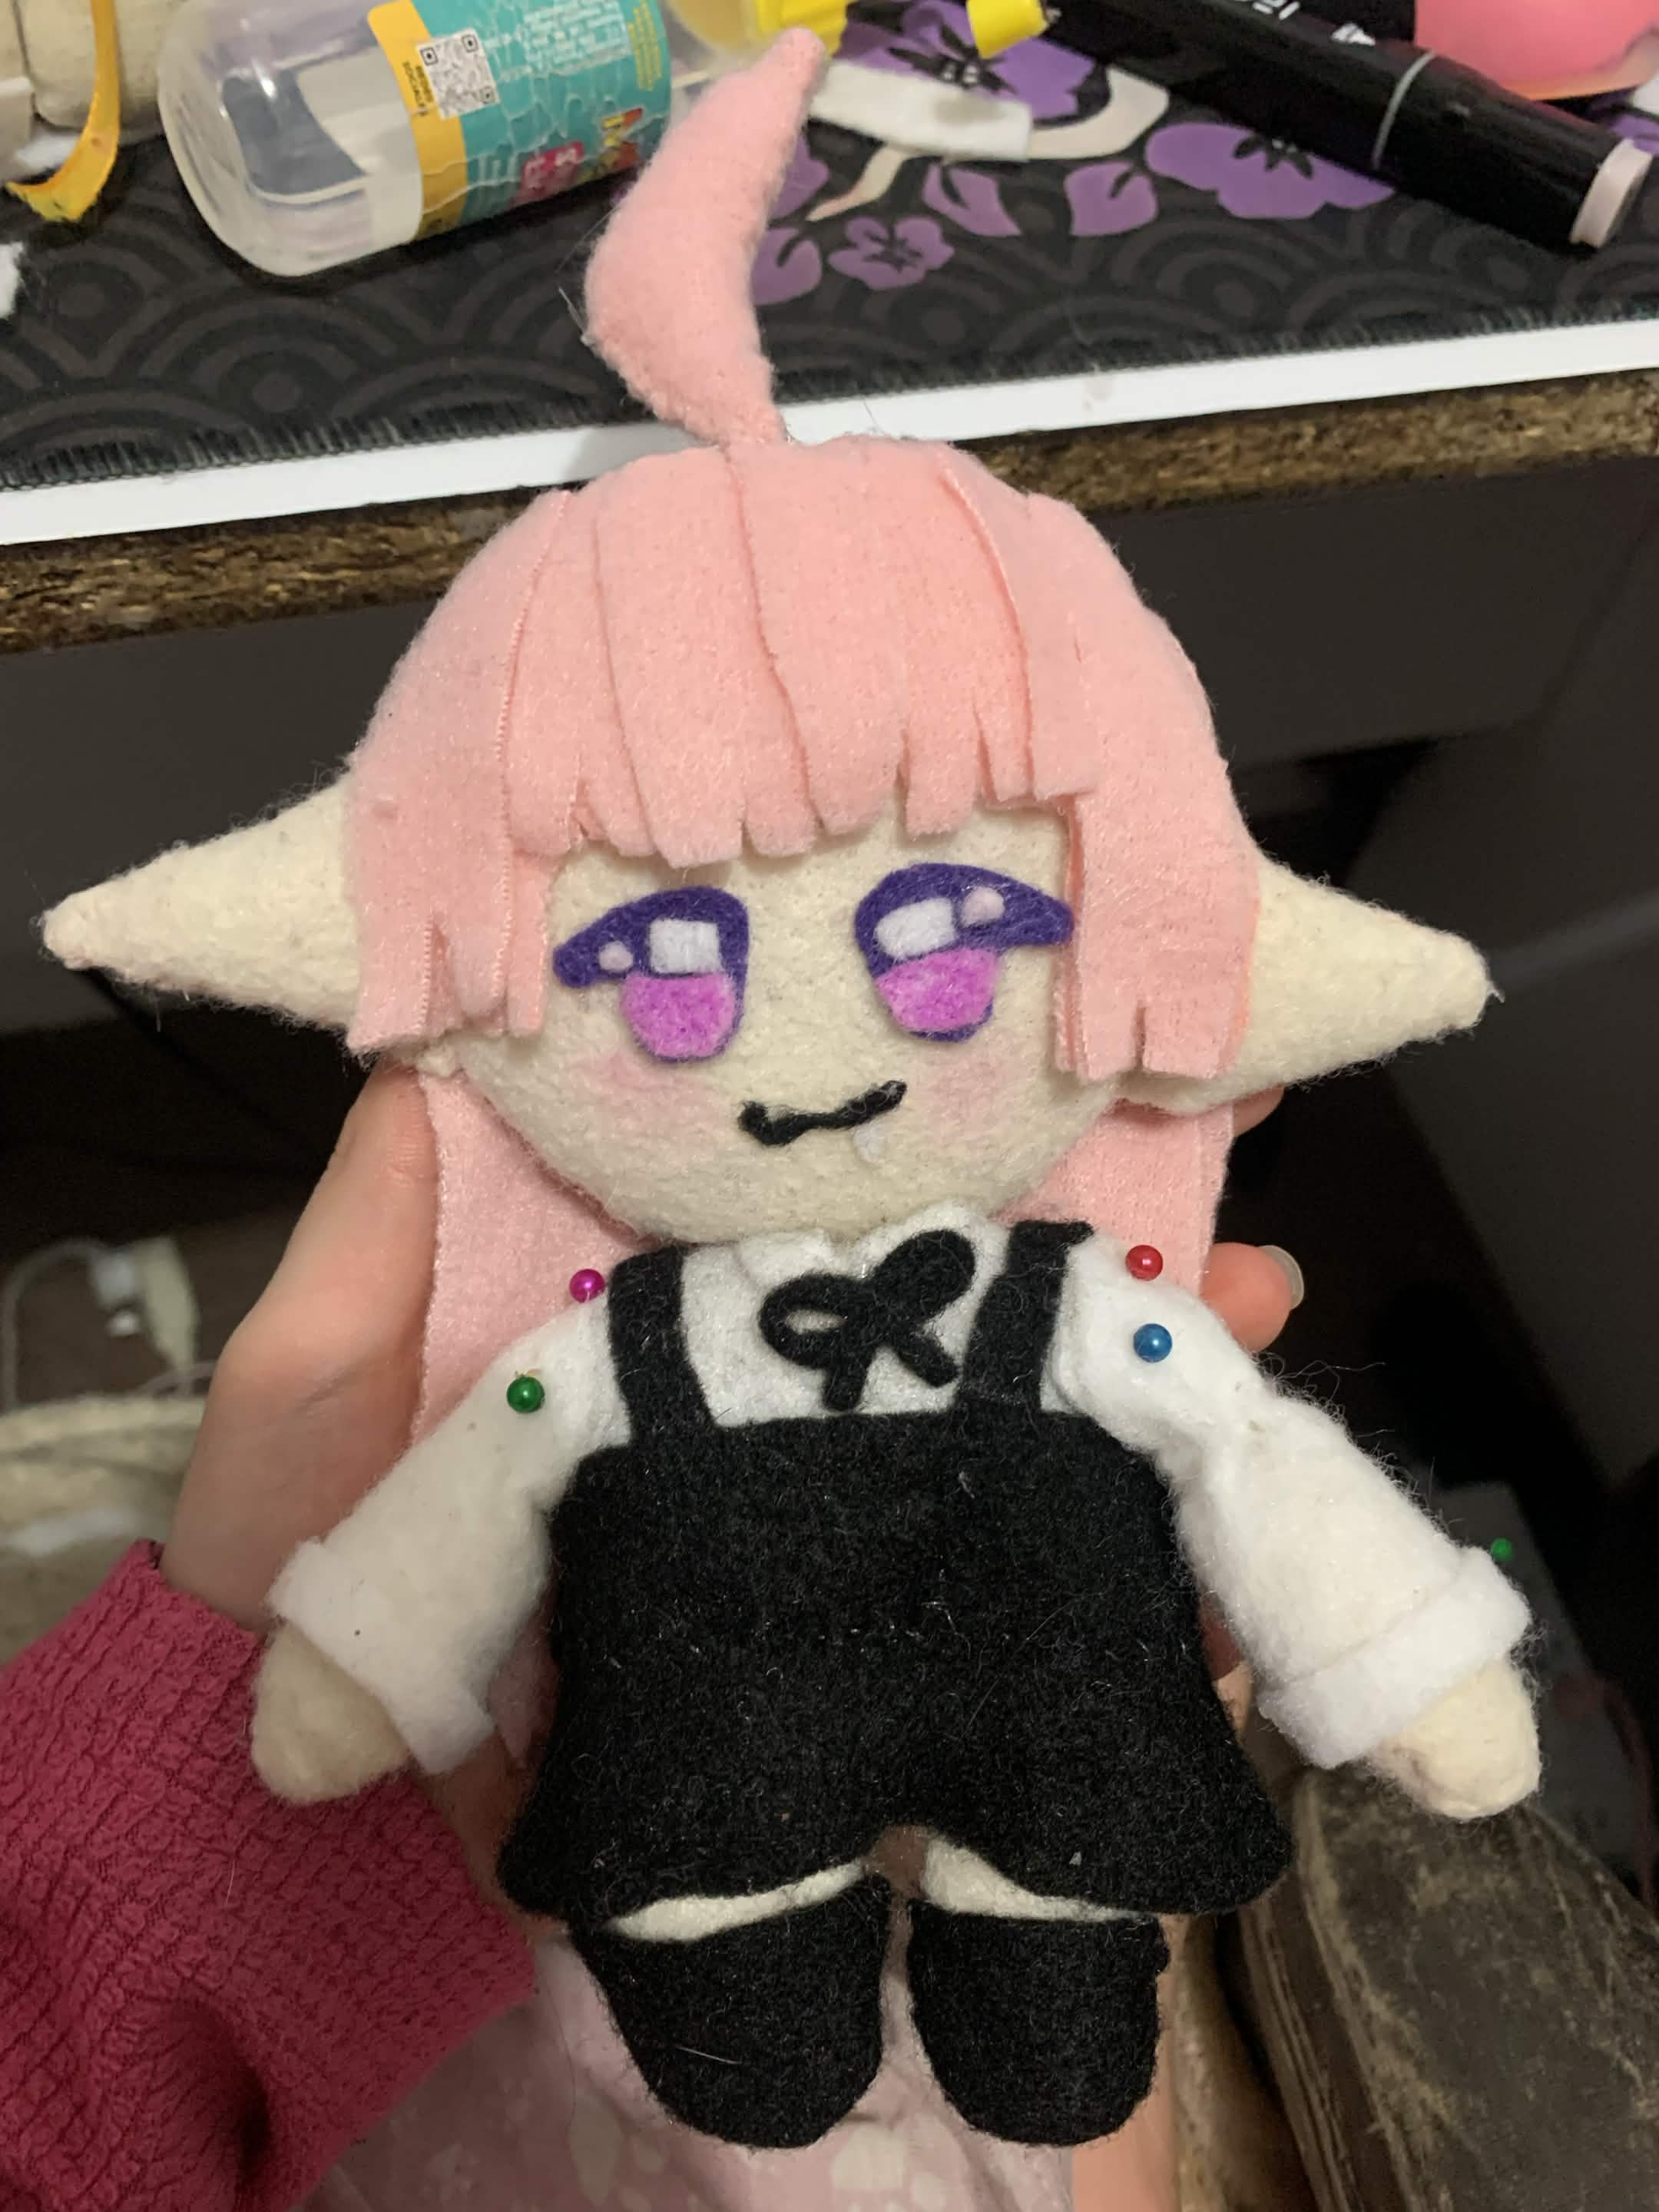
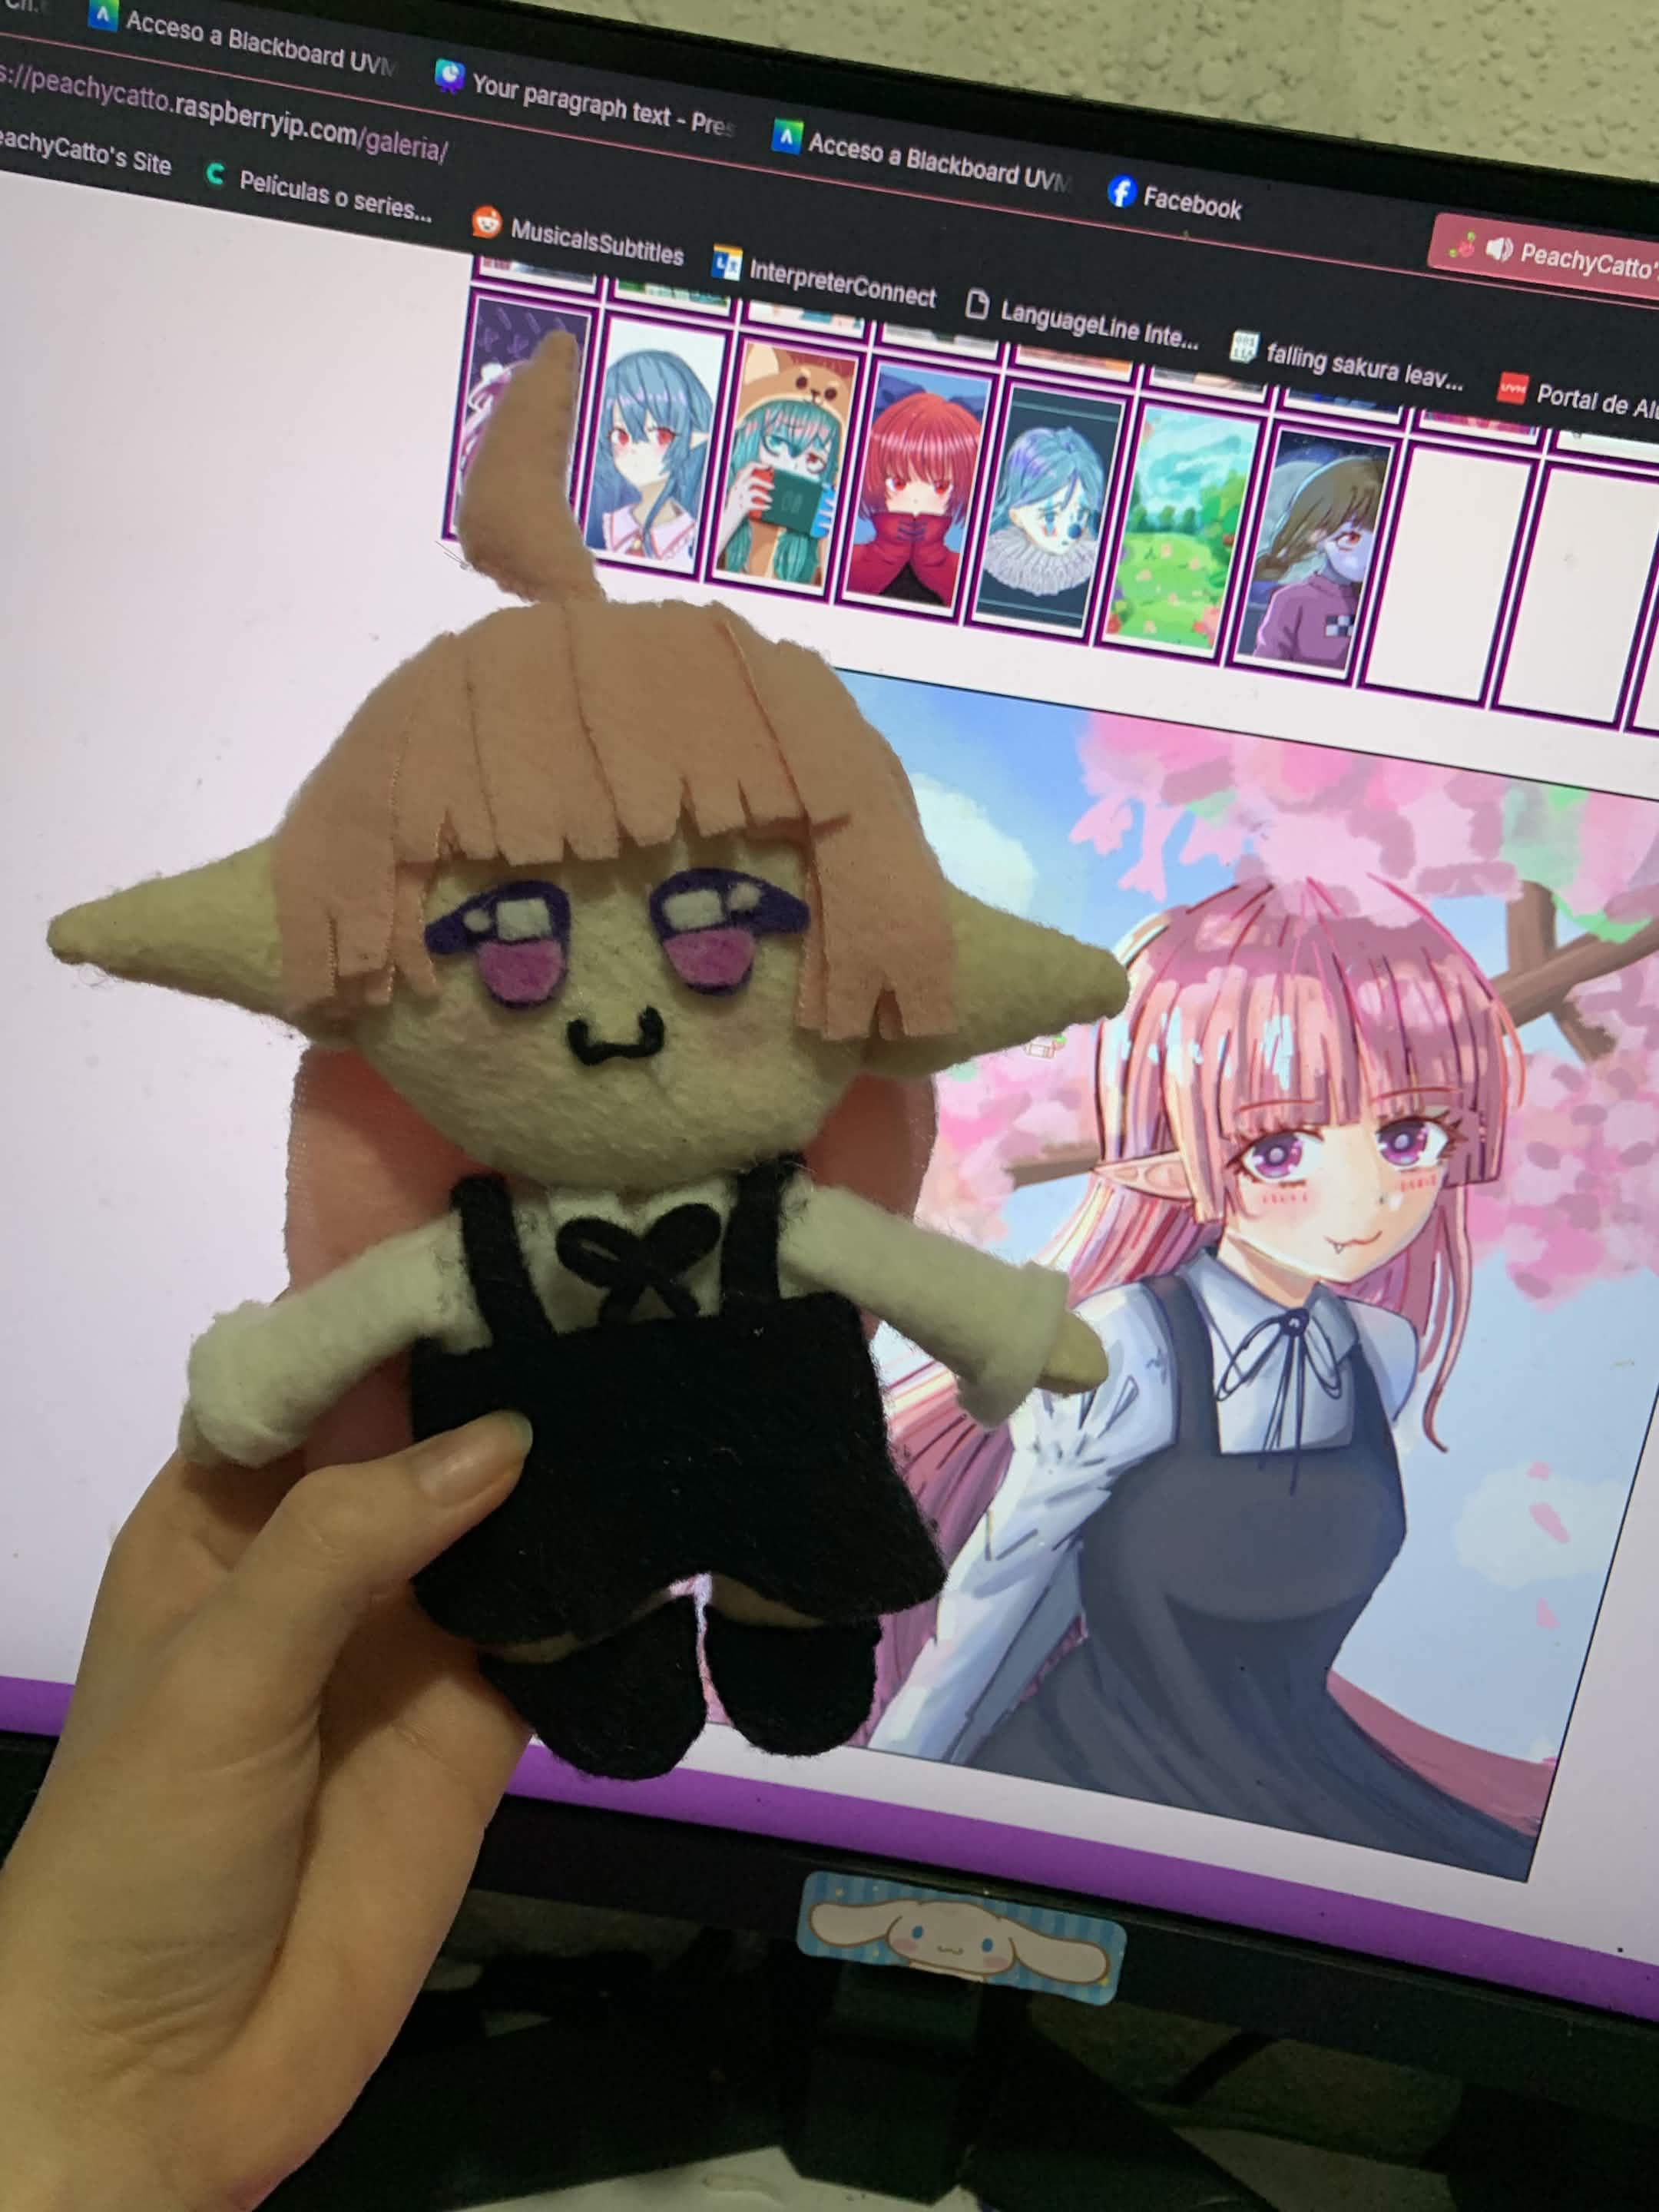
So this time, I decided to make a plushie based on the Catto from my Under the Cherry Trees drawing.
And that’s what I did!!!
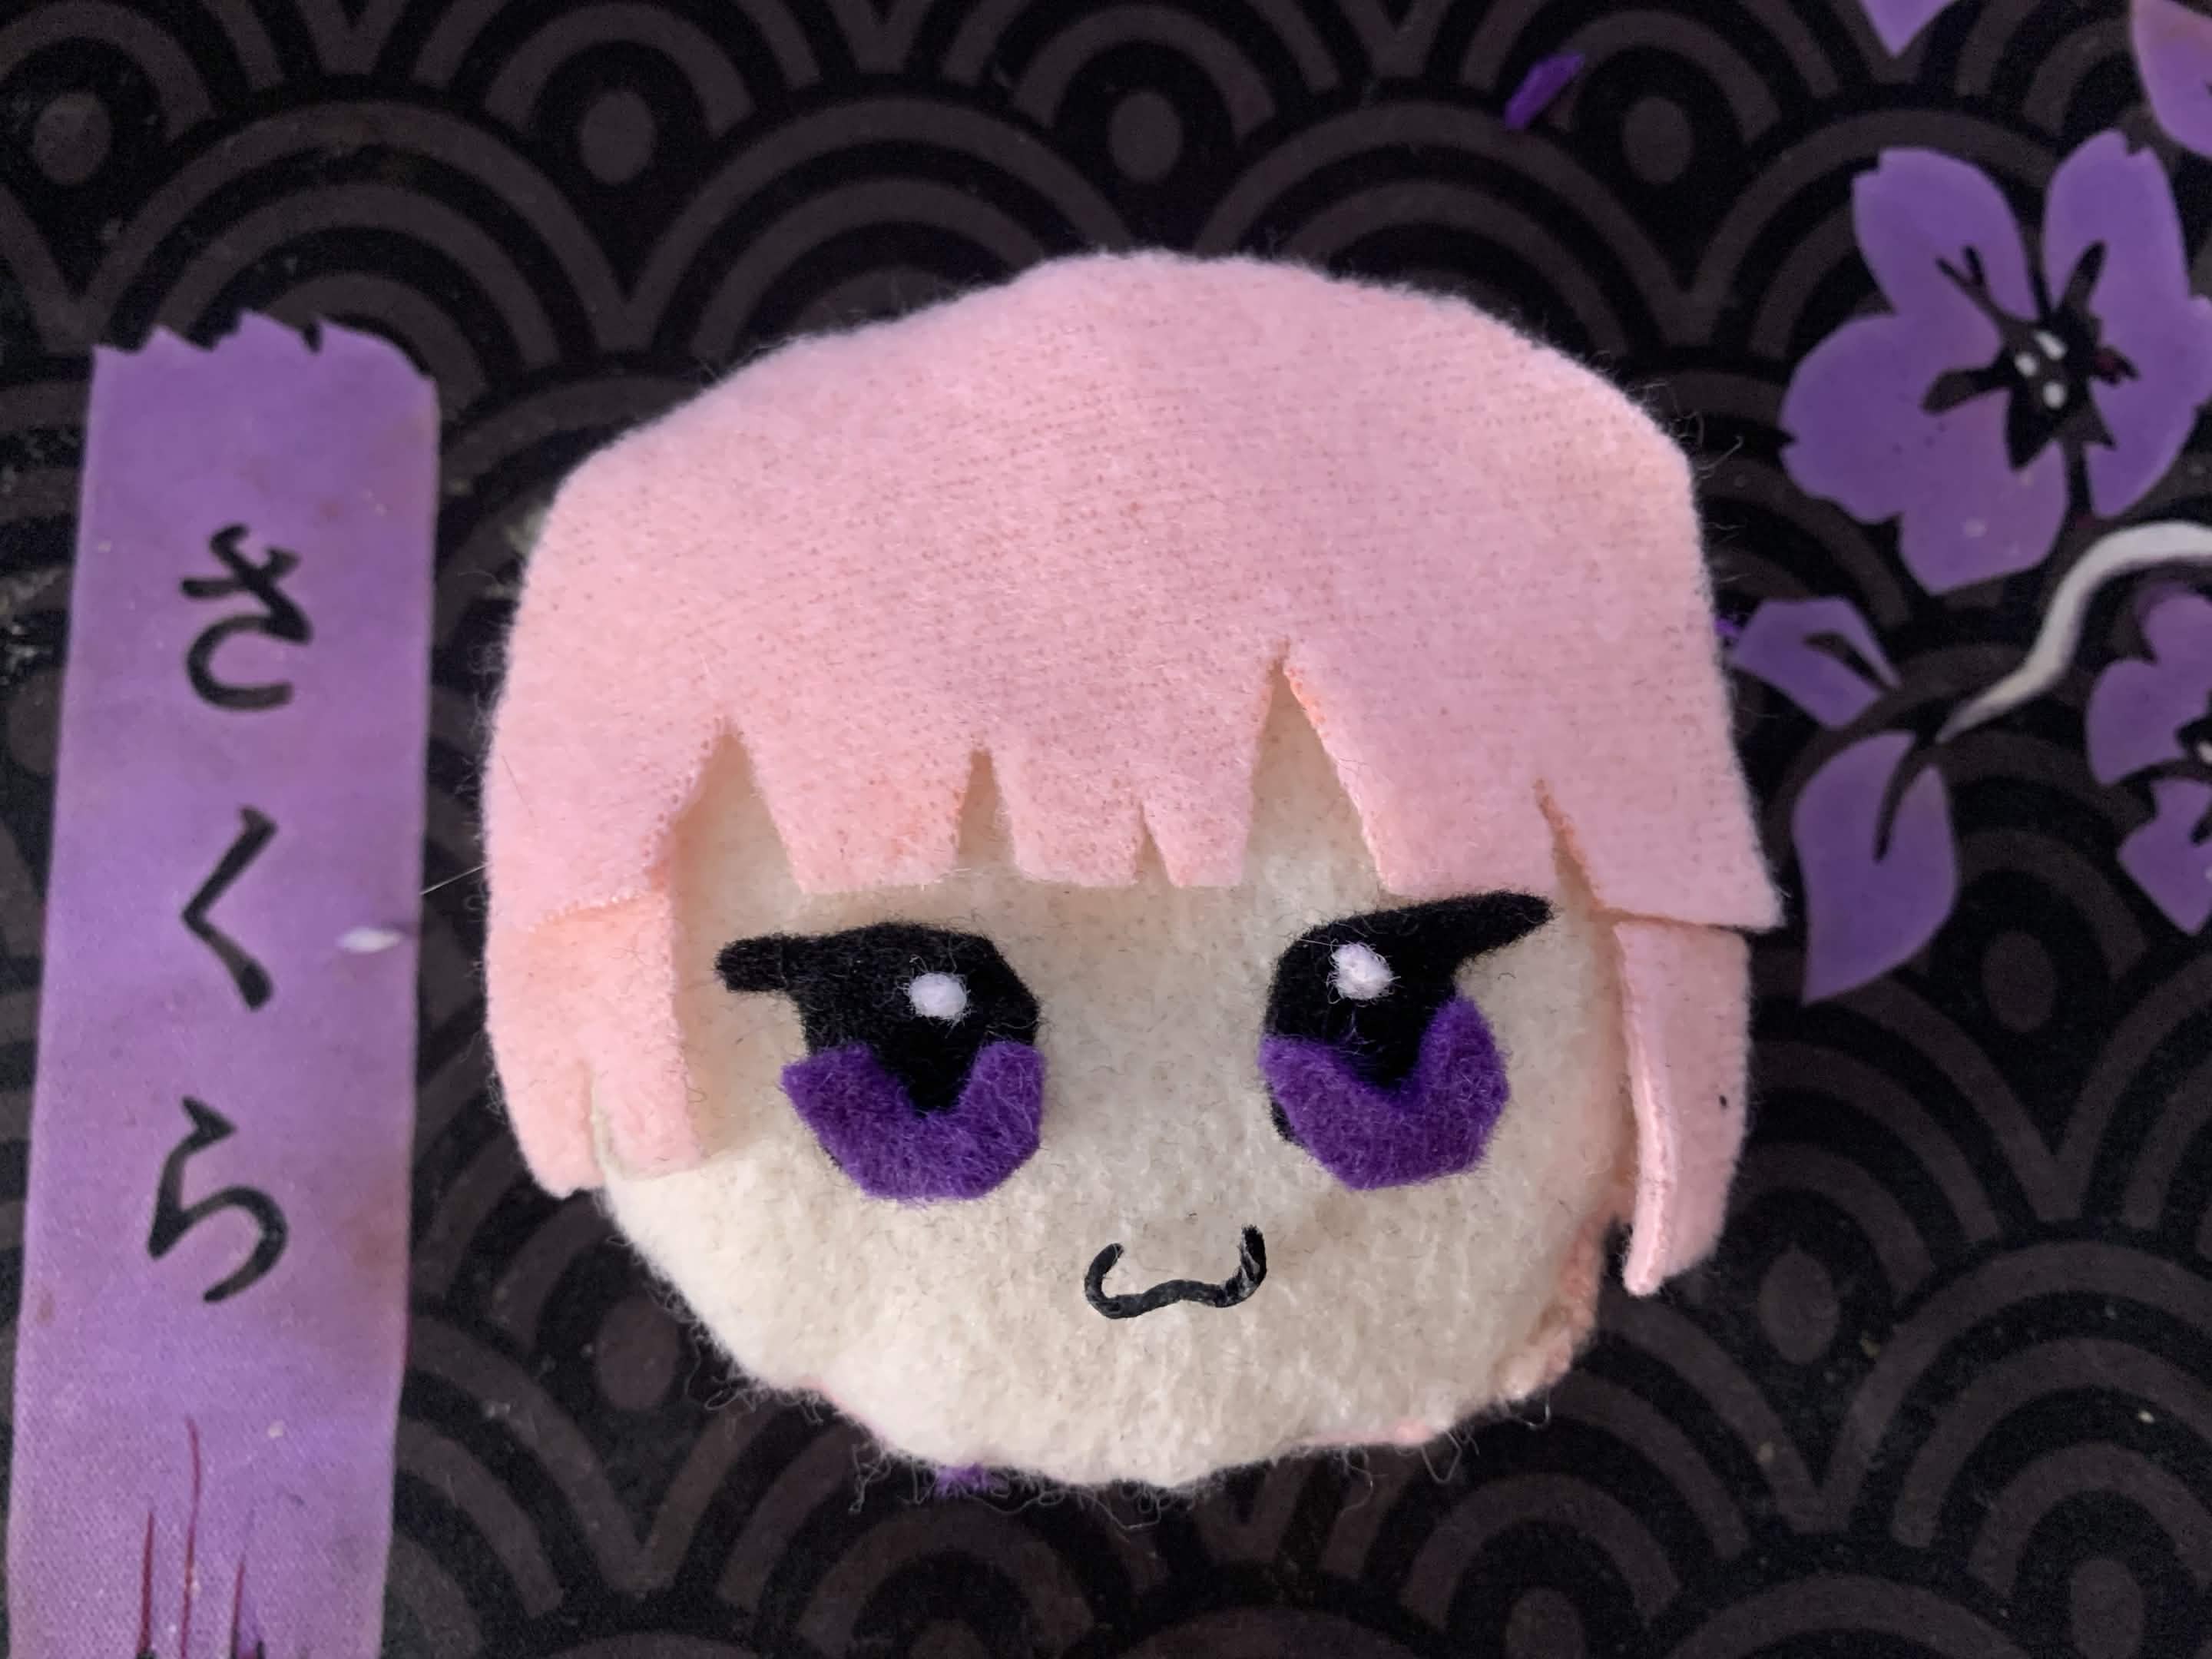
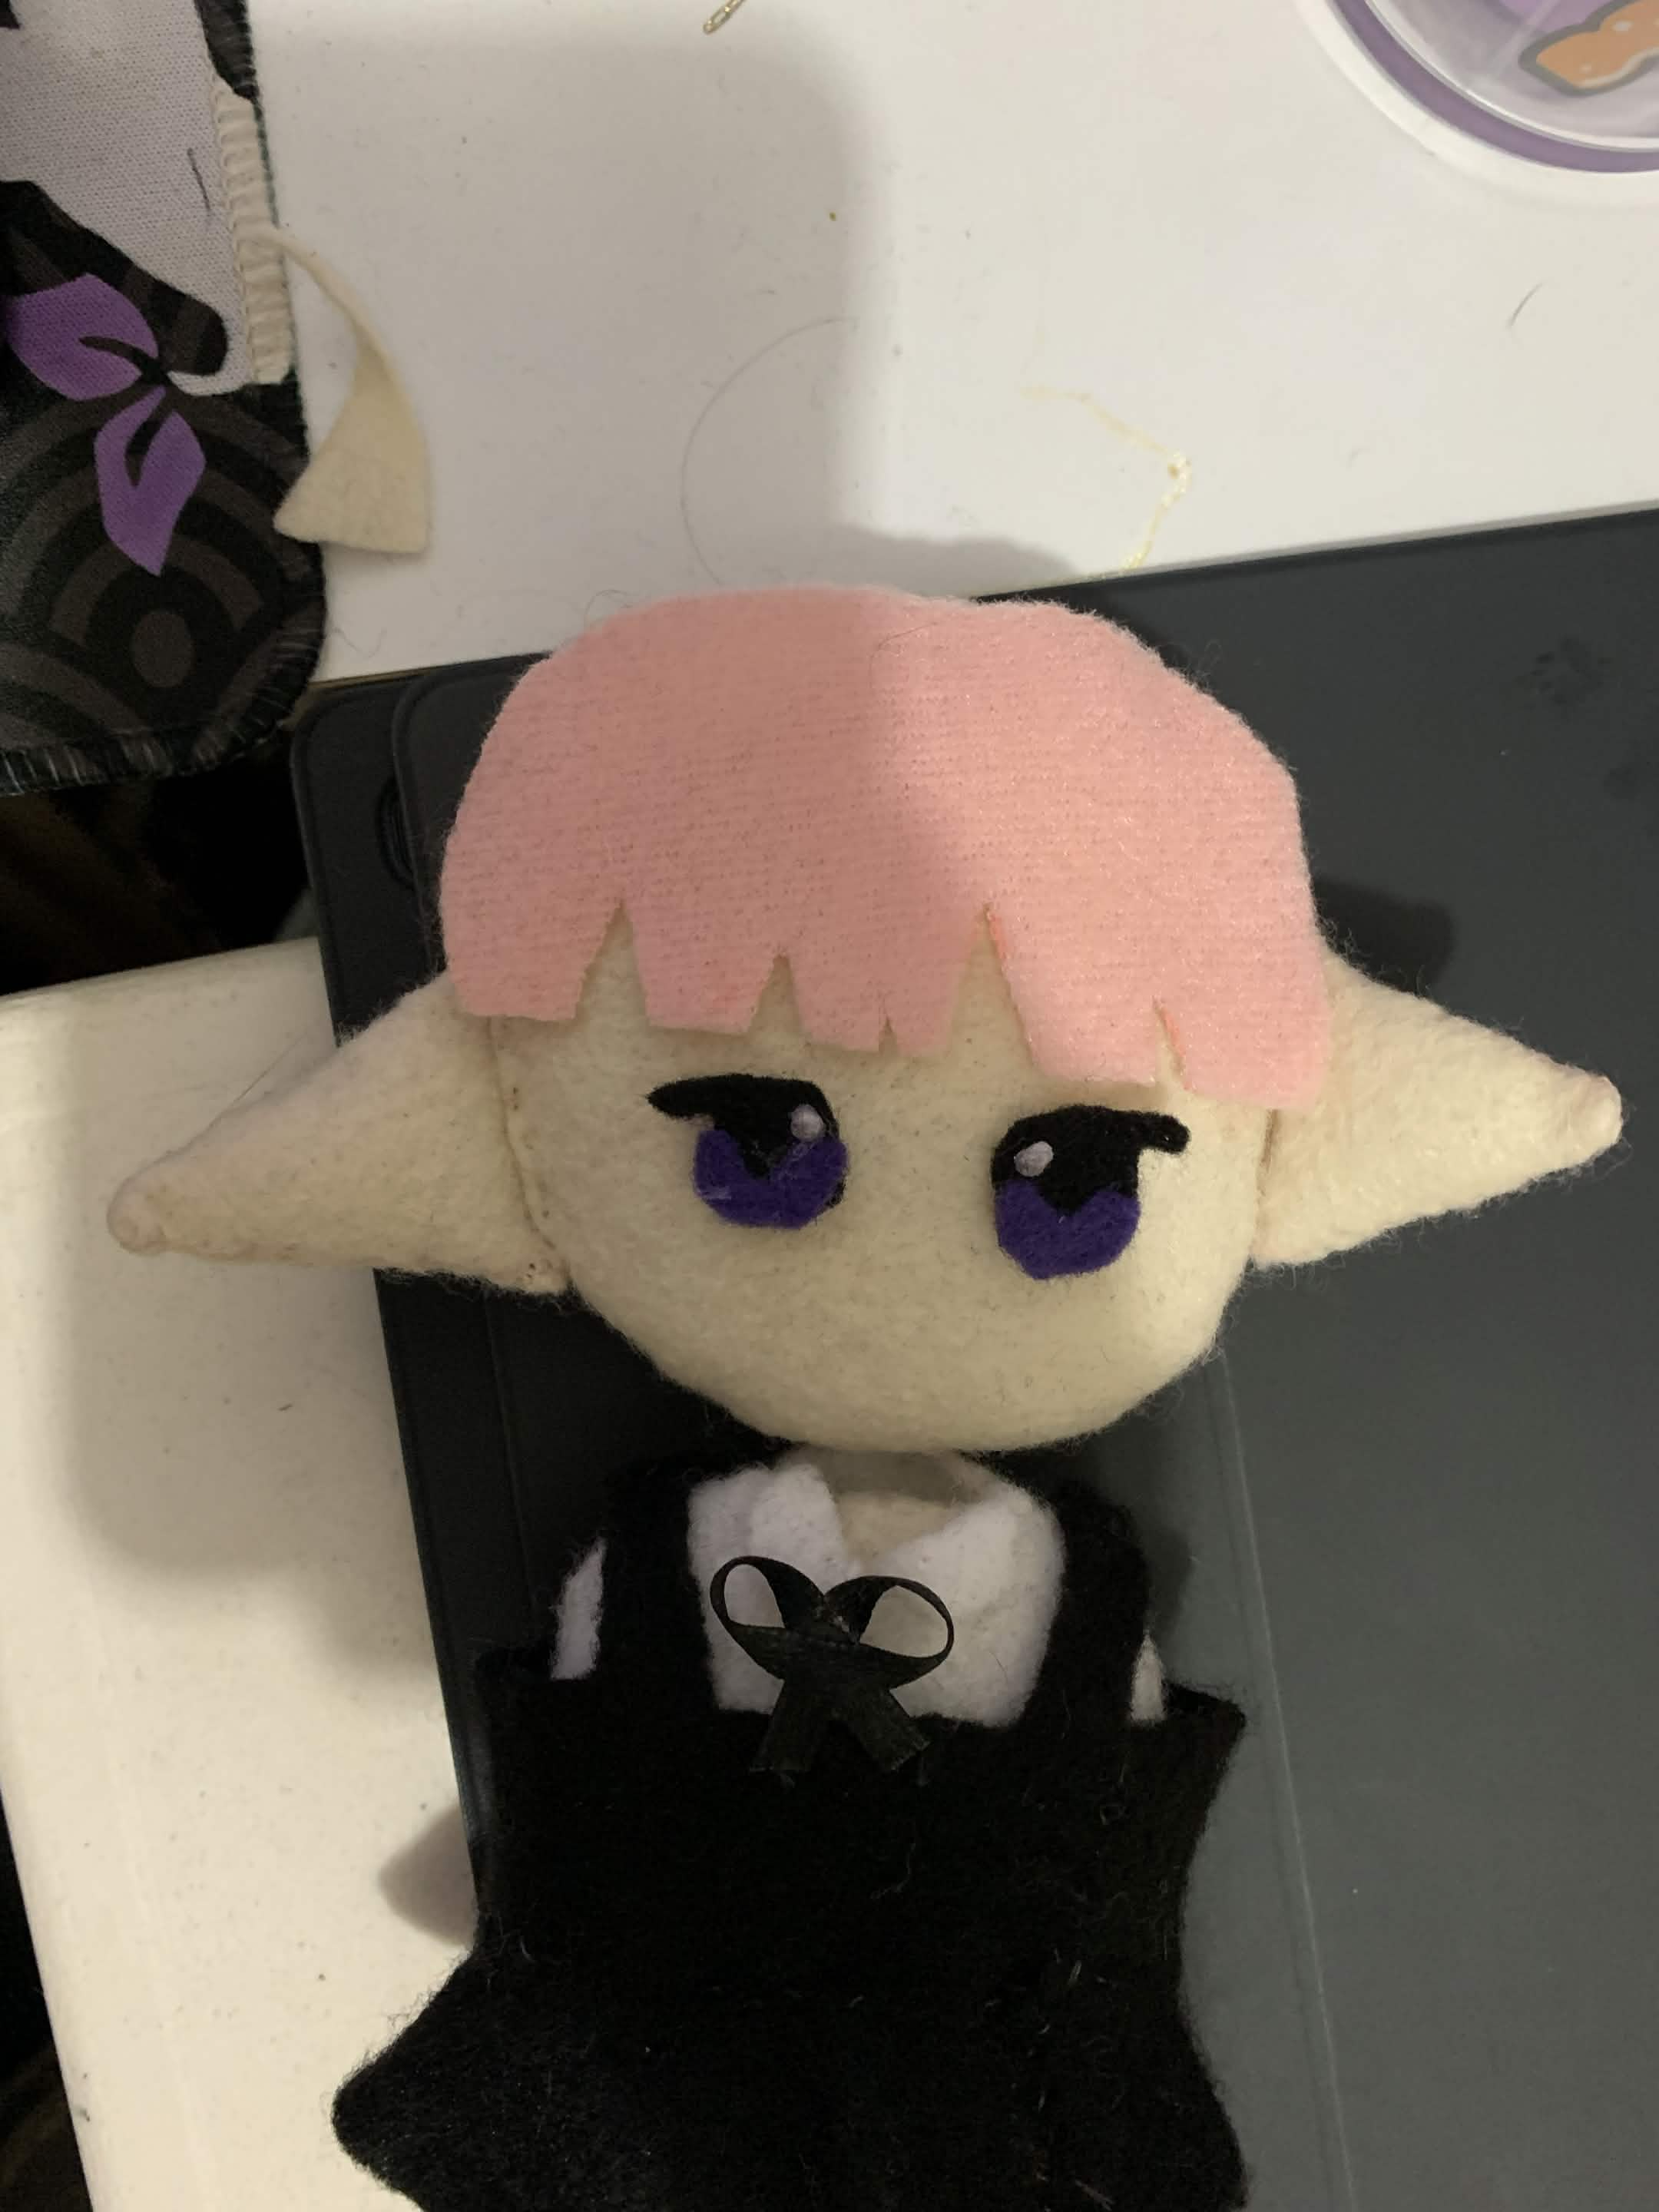
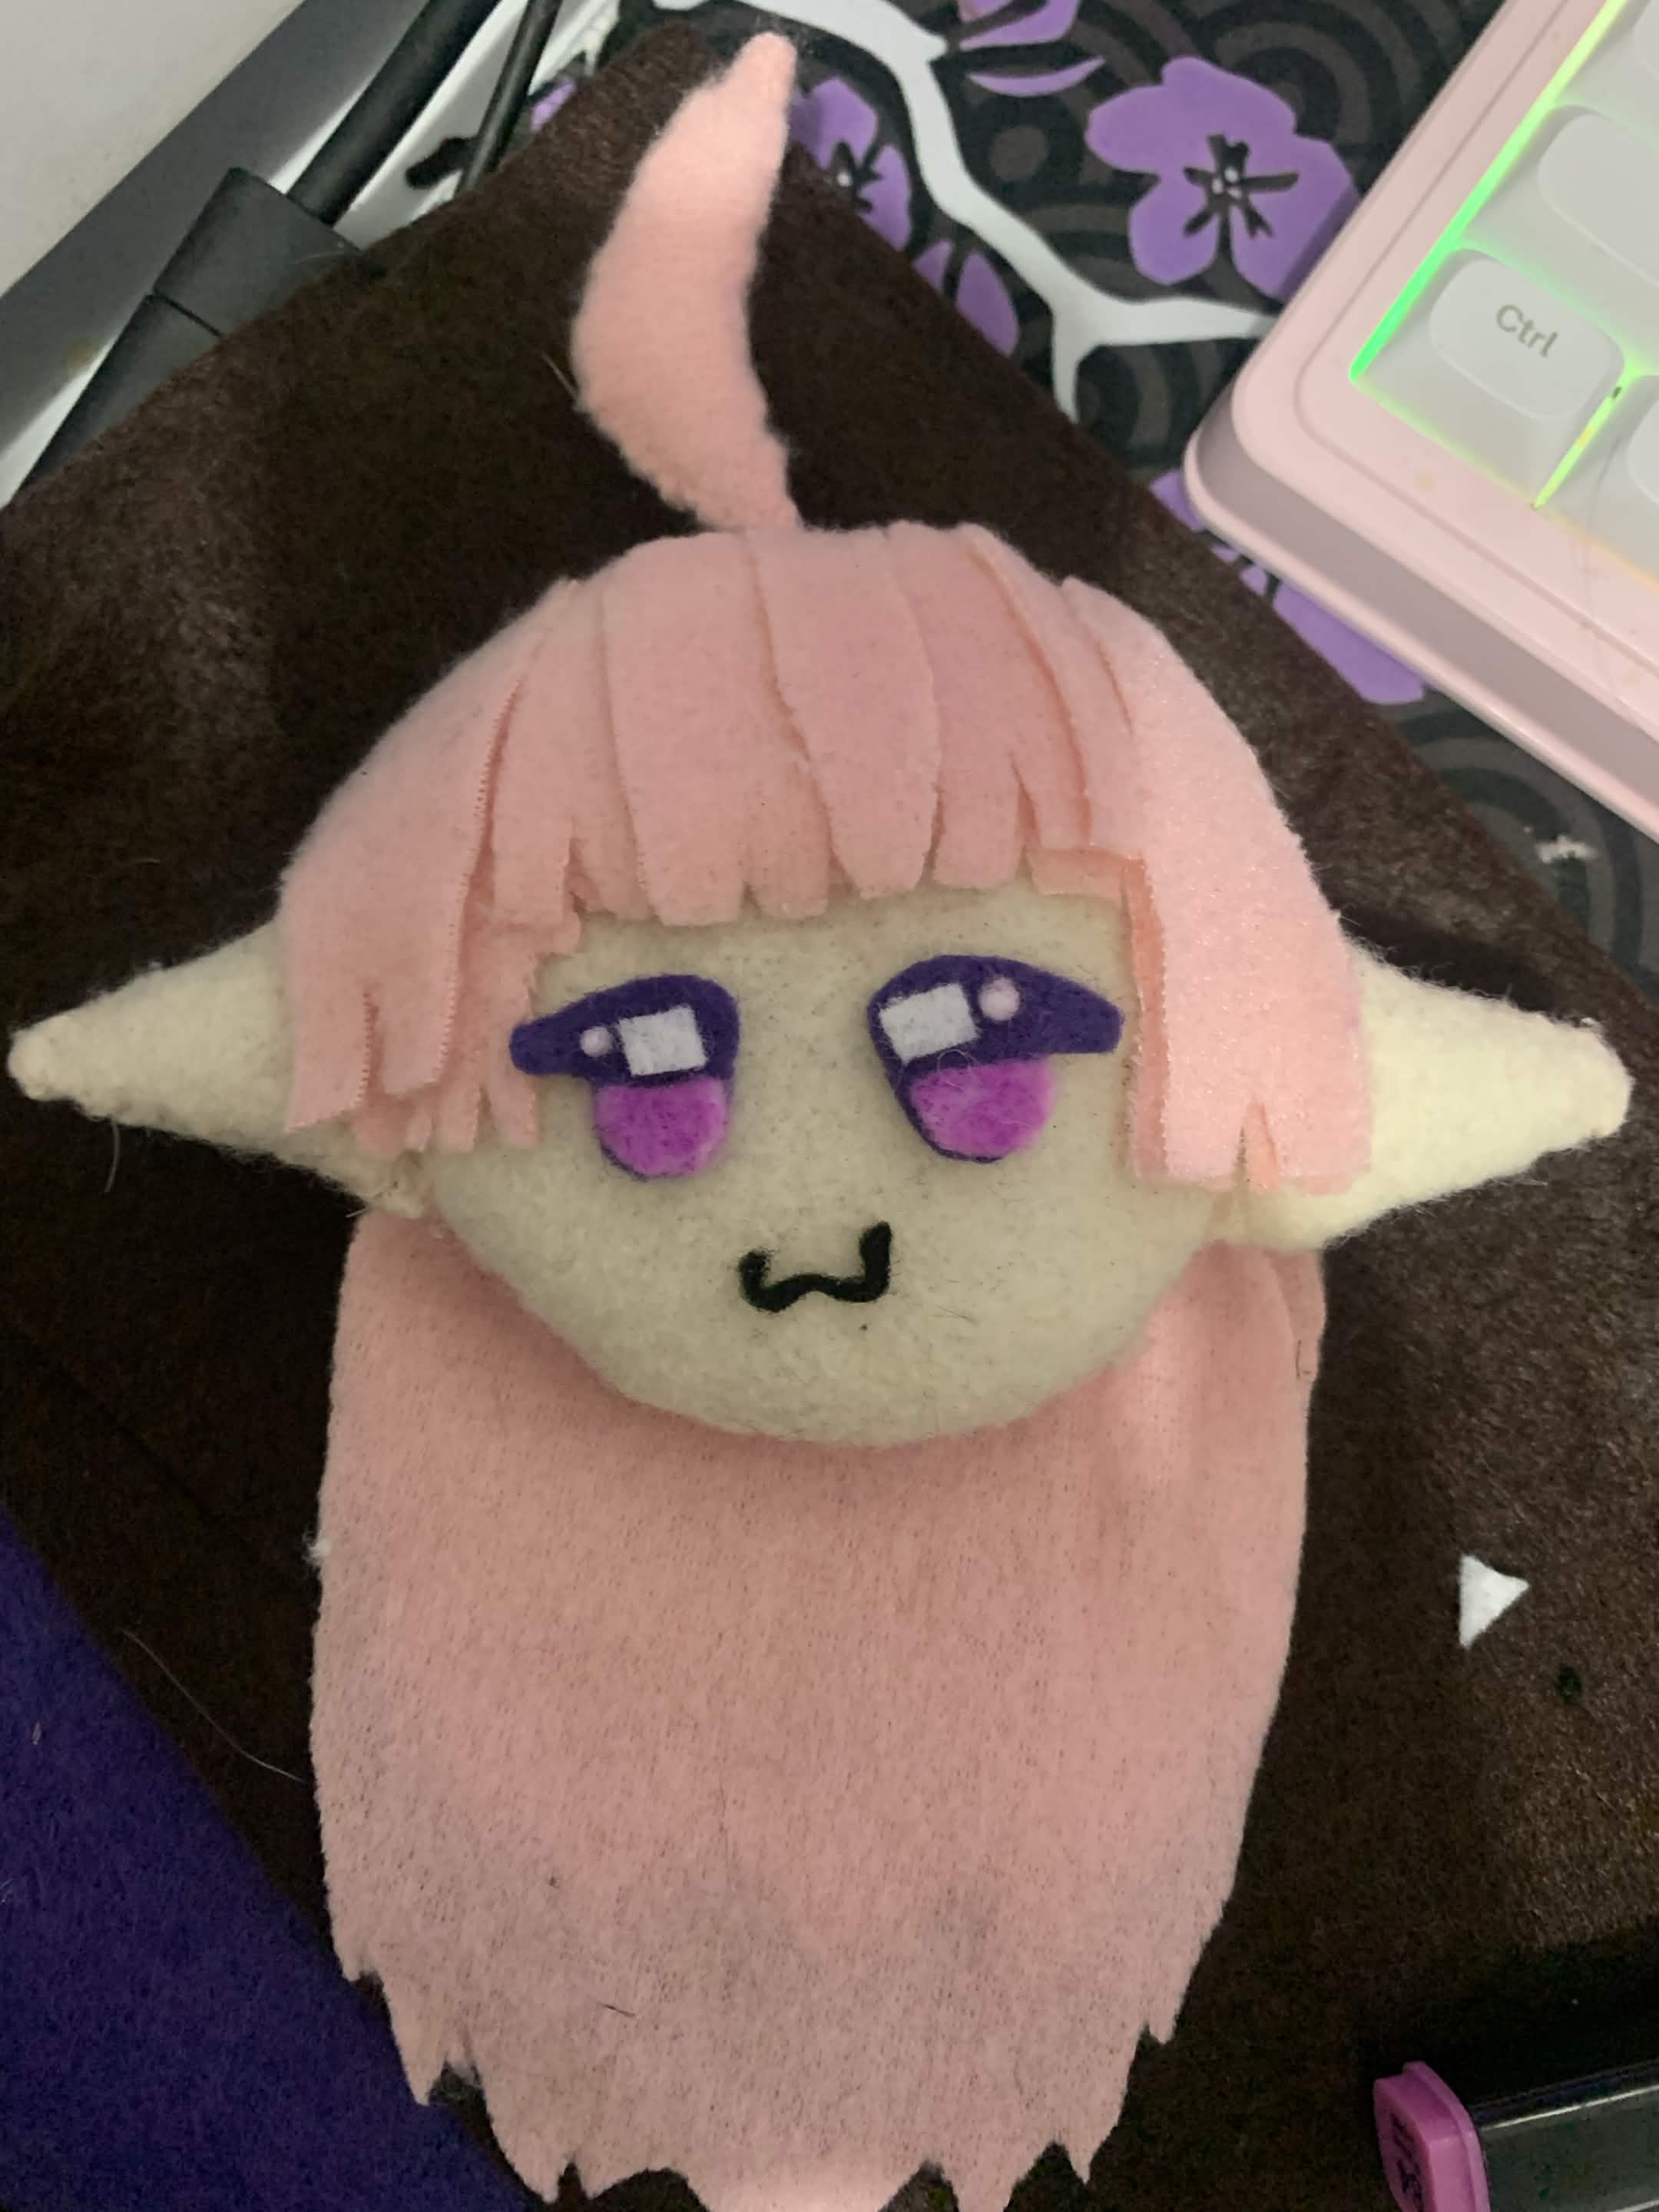
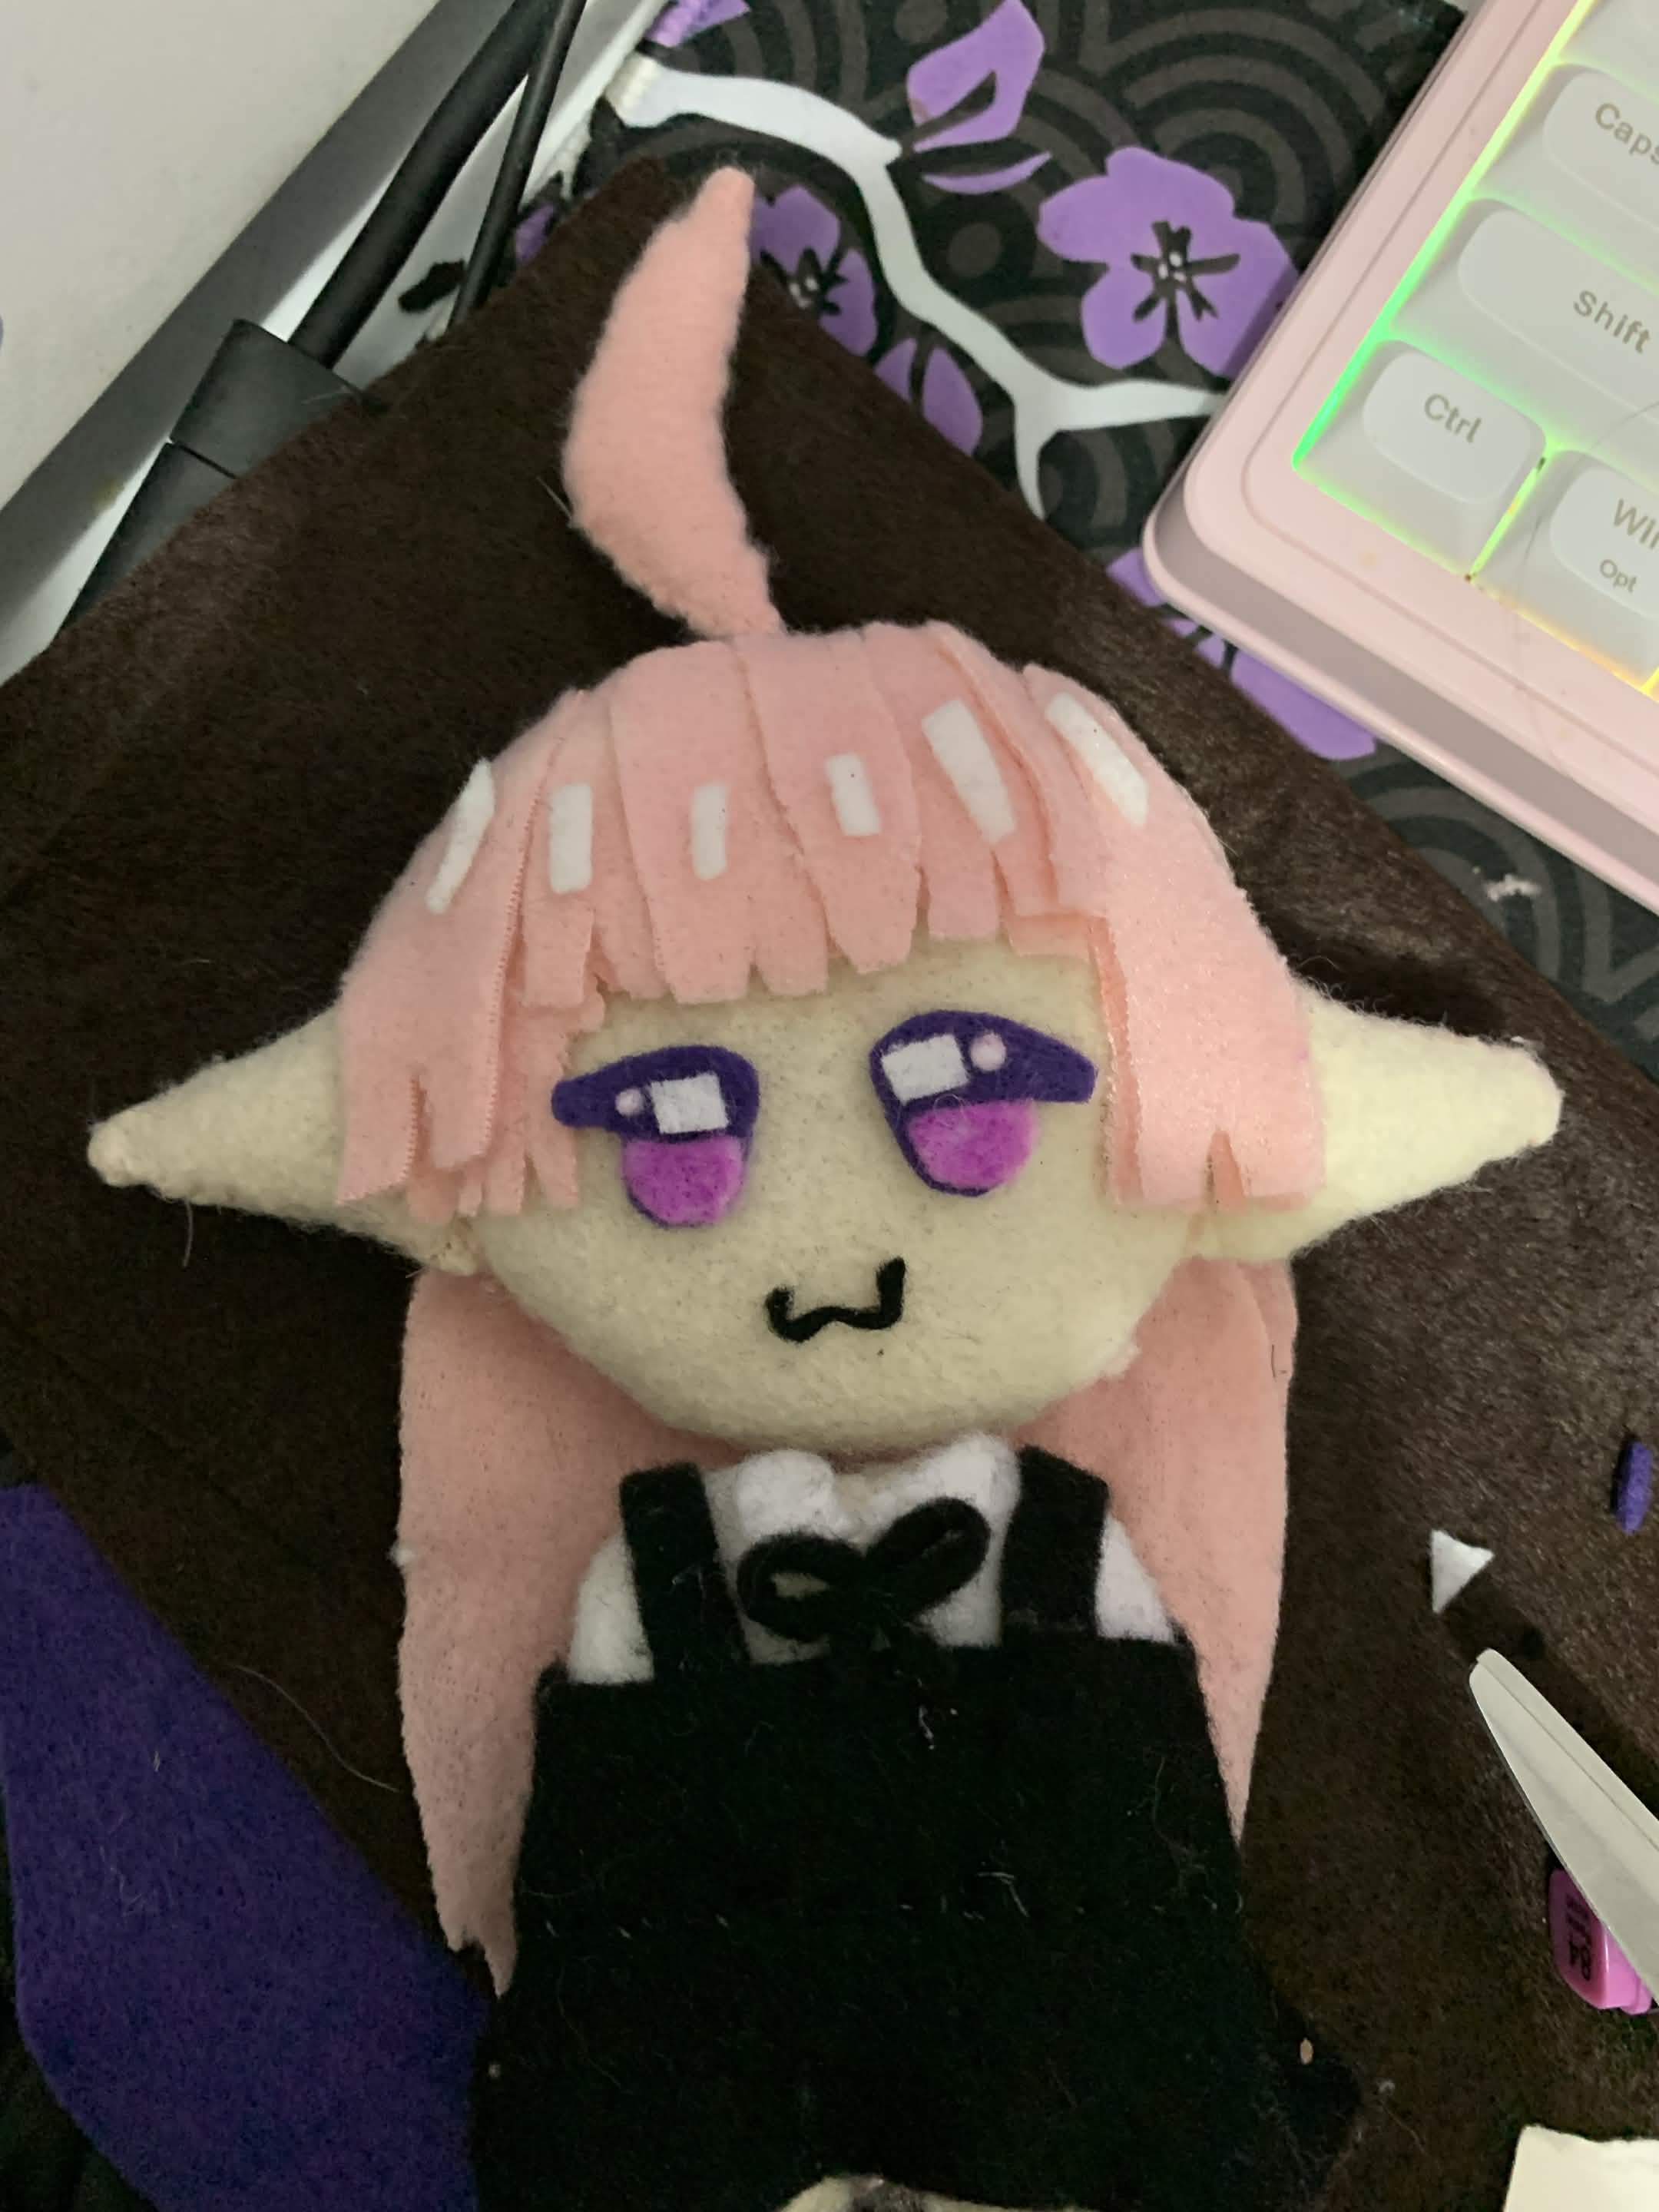
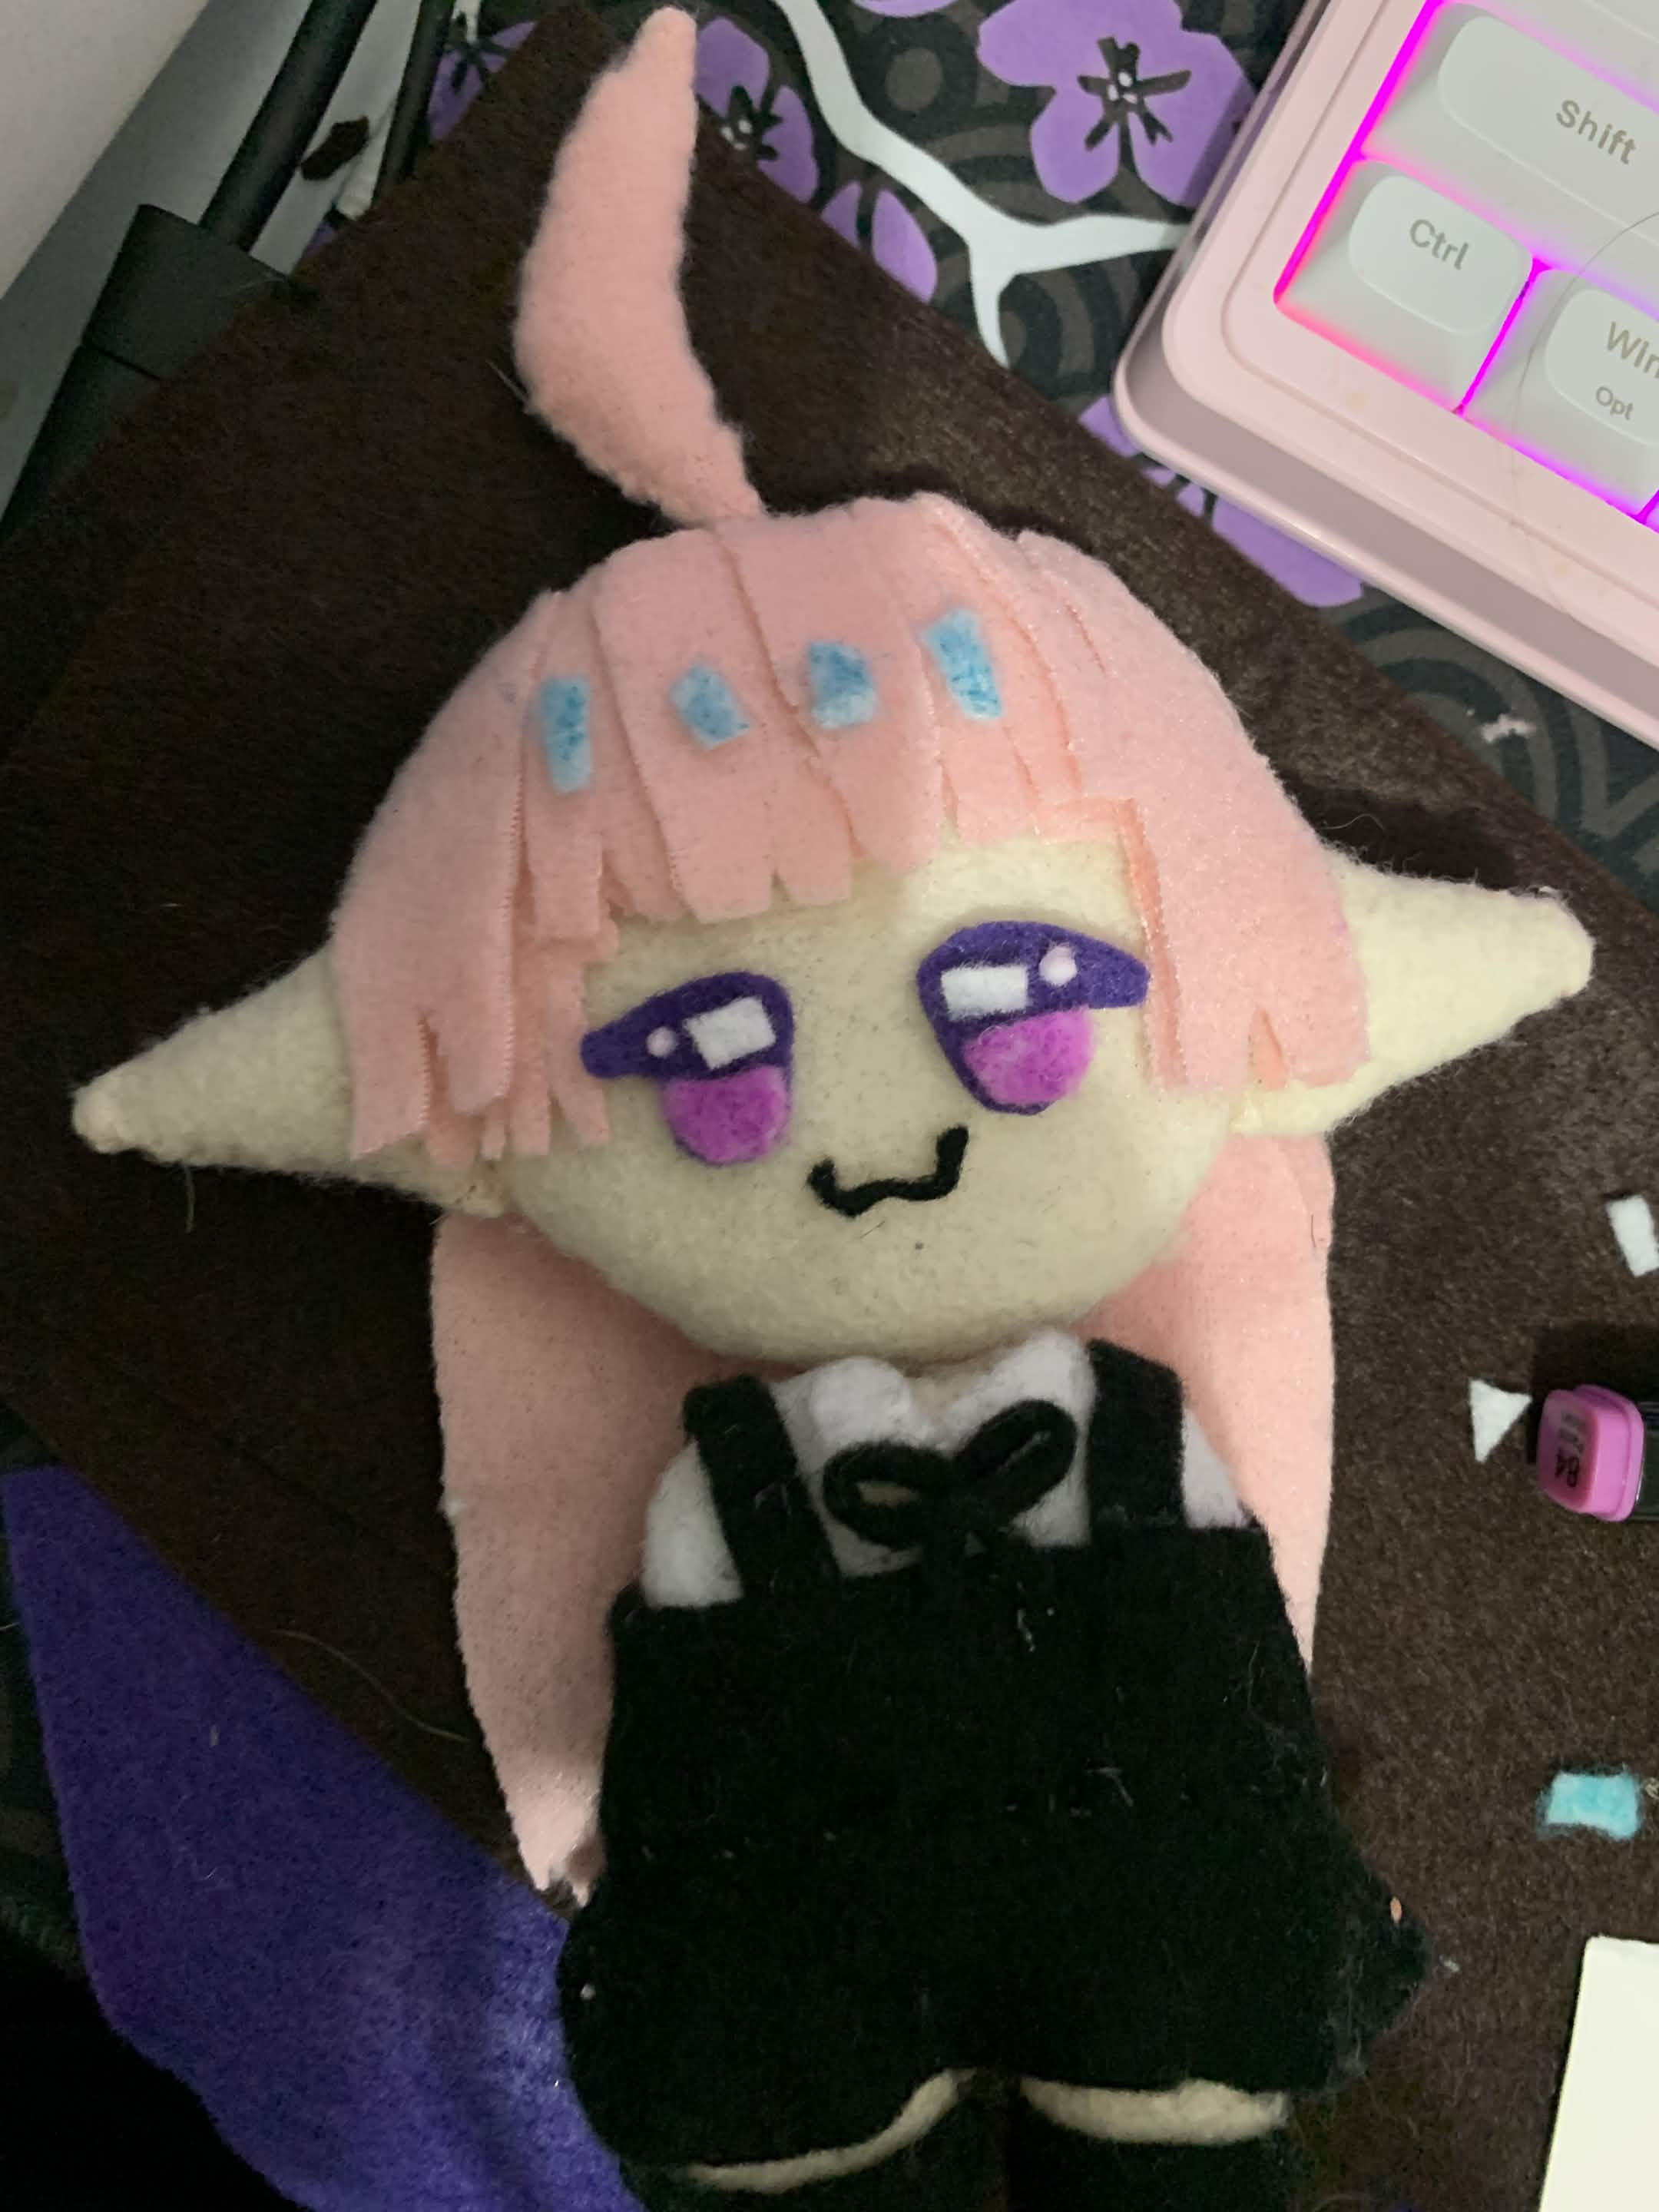
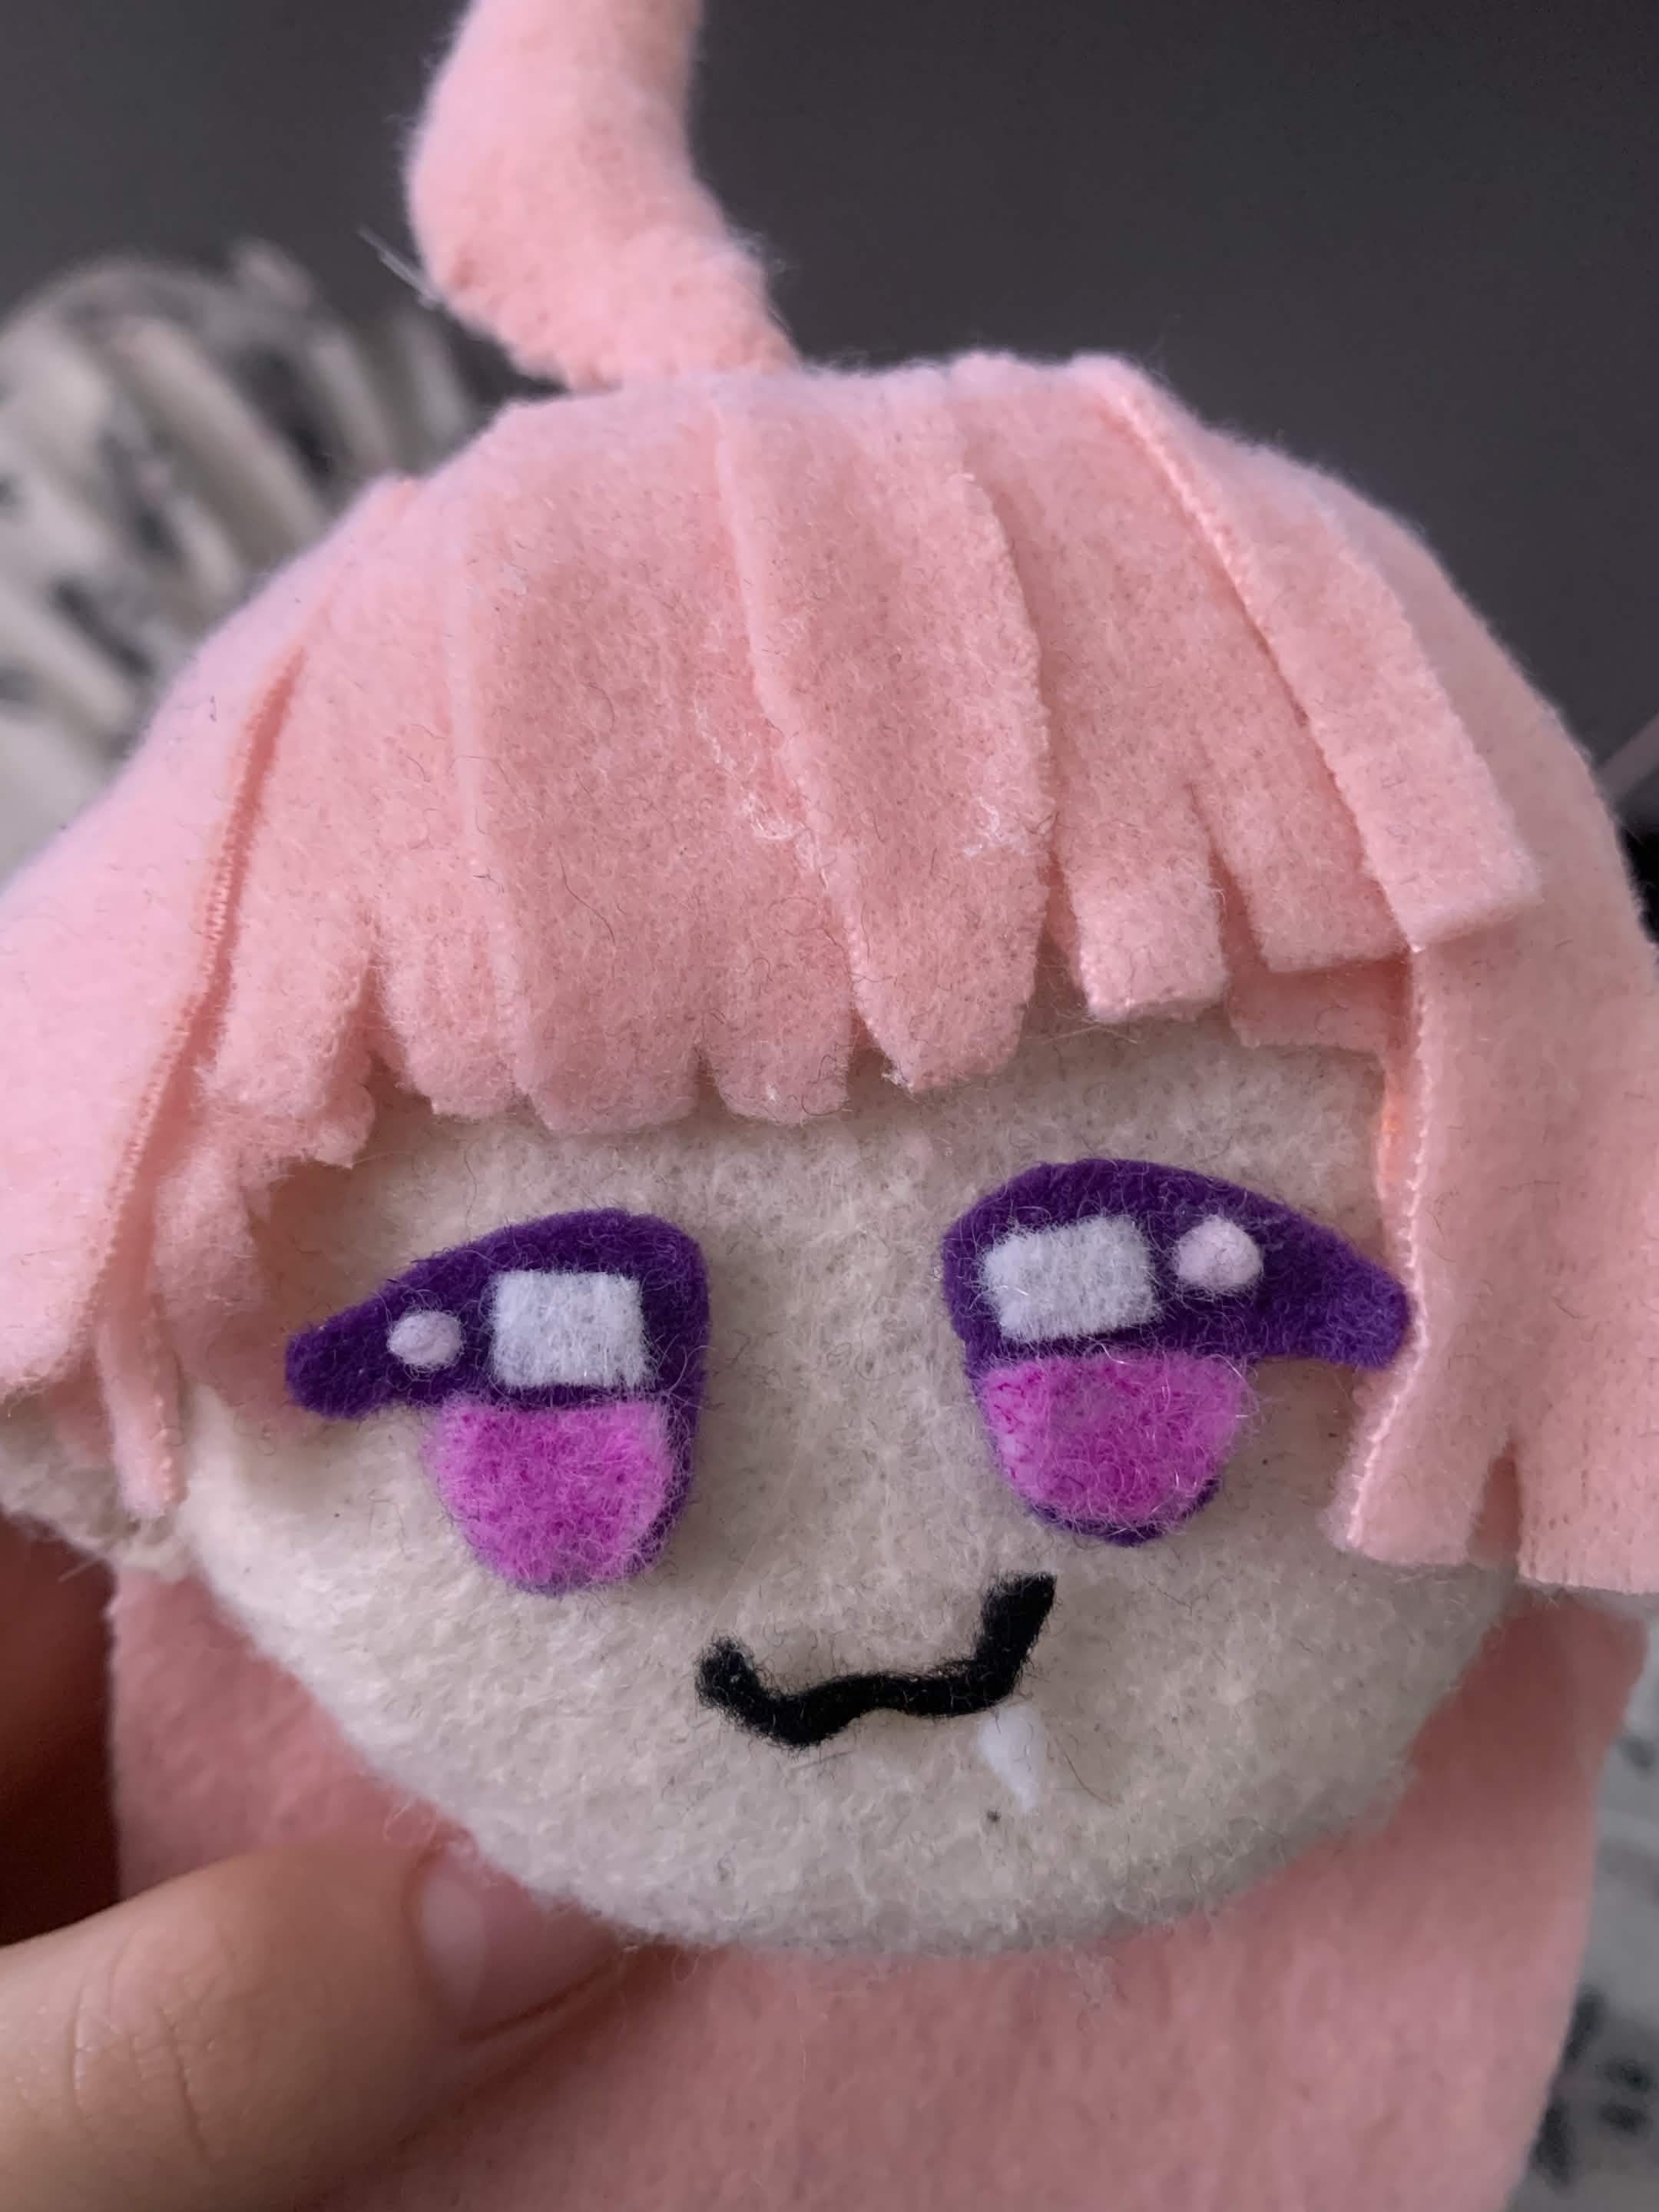
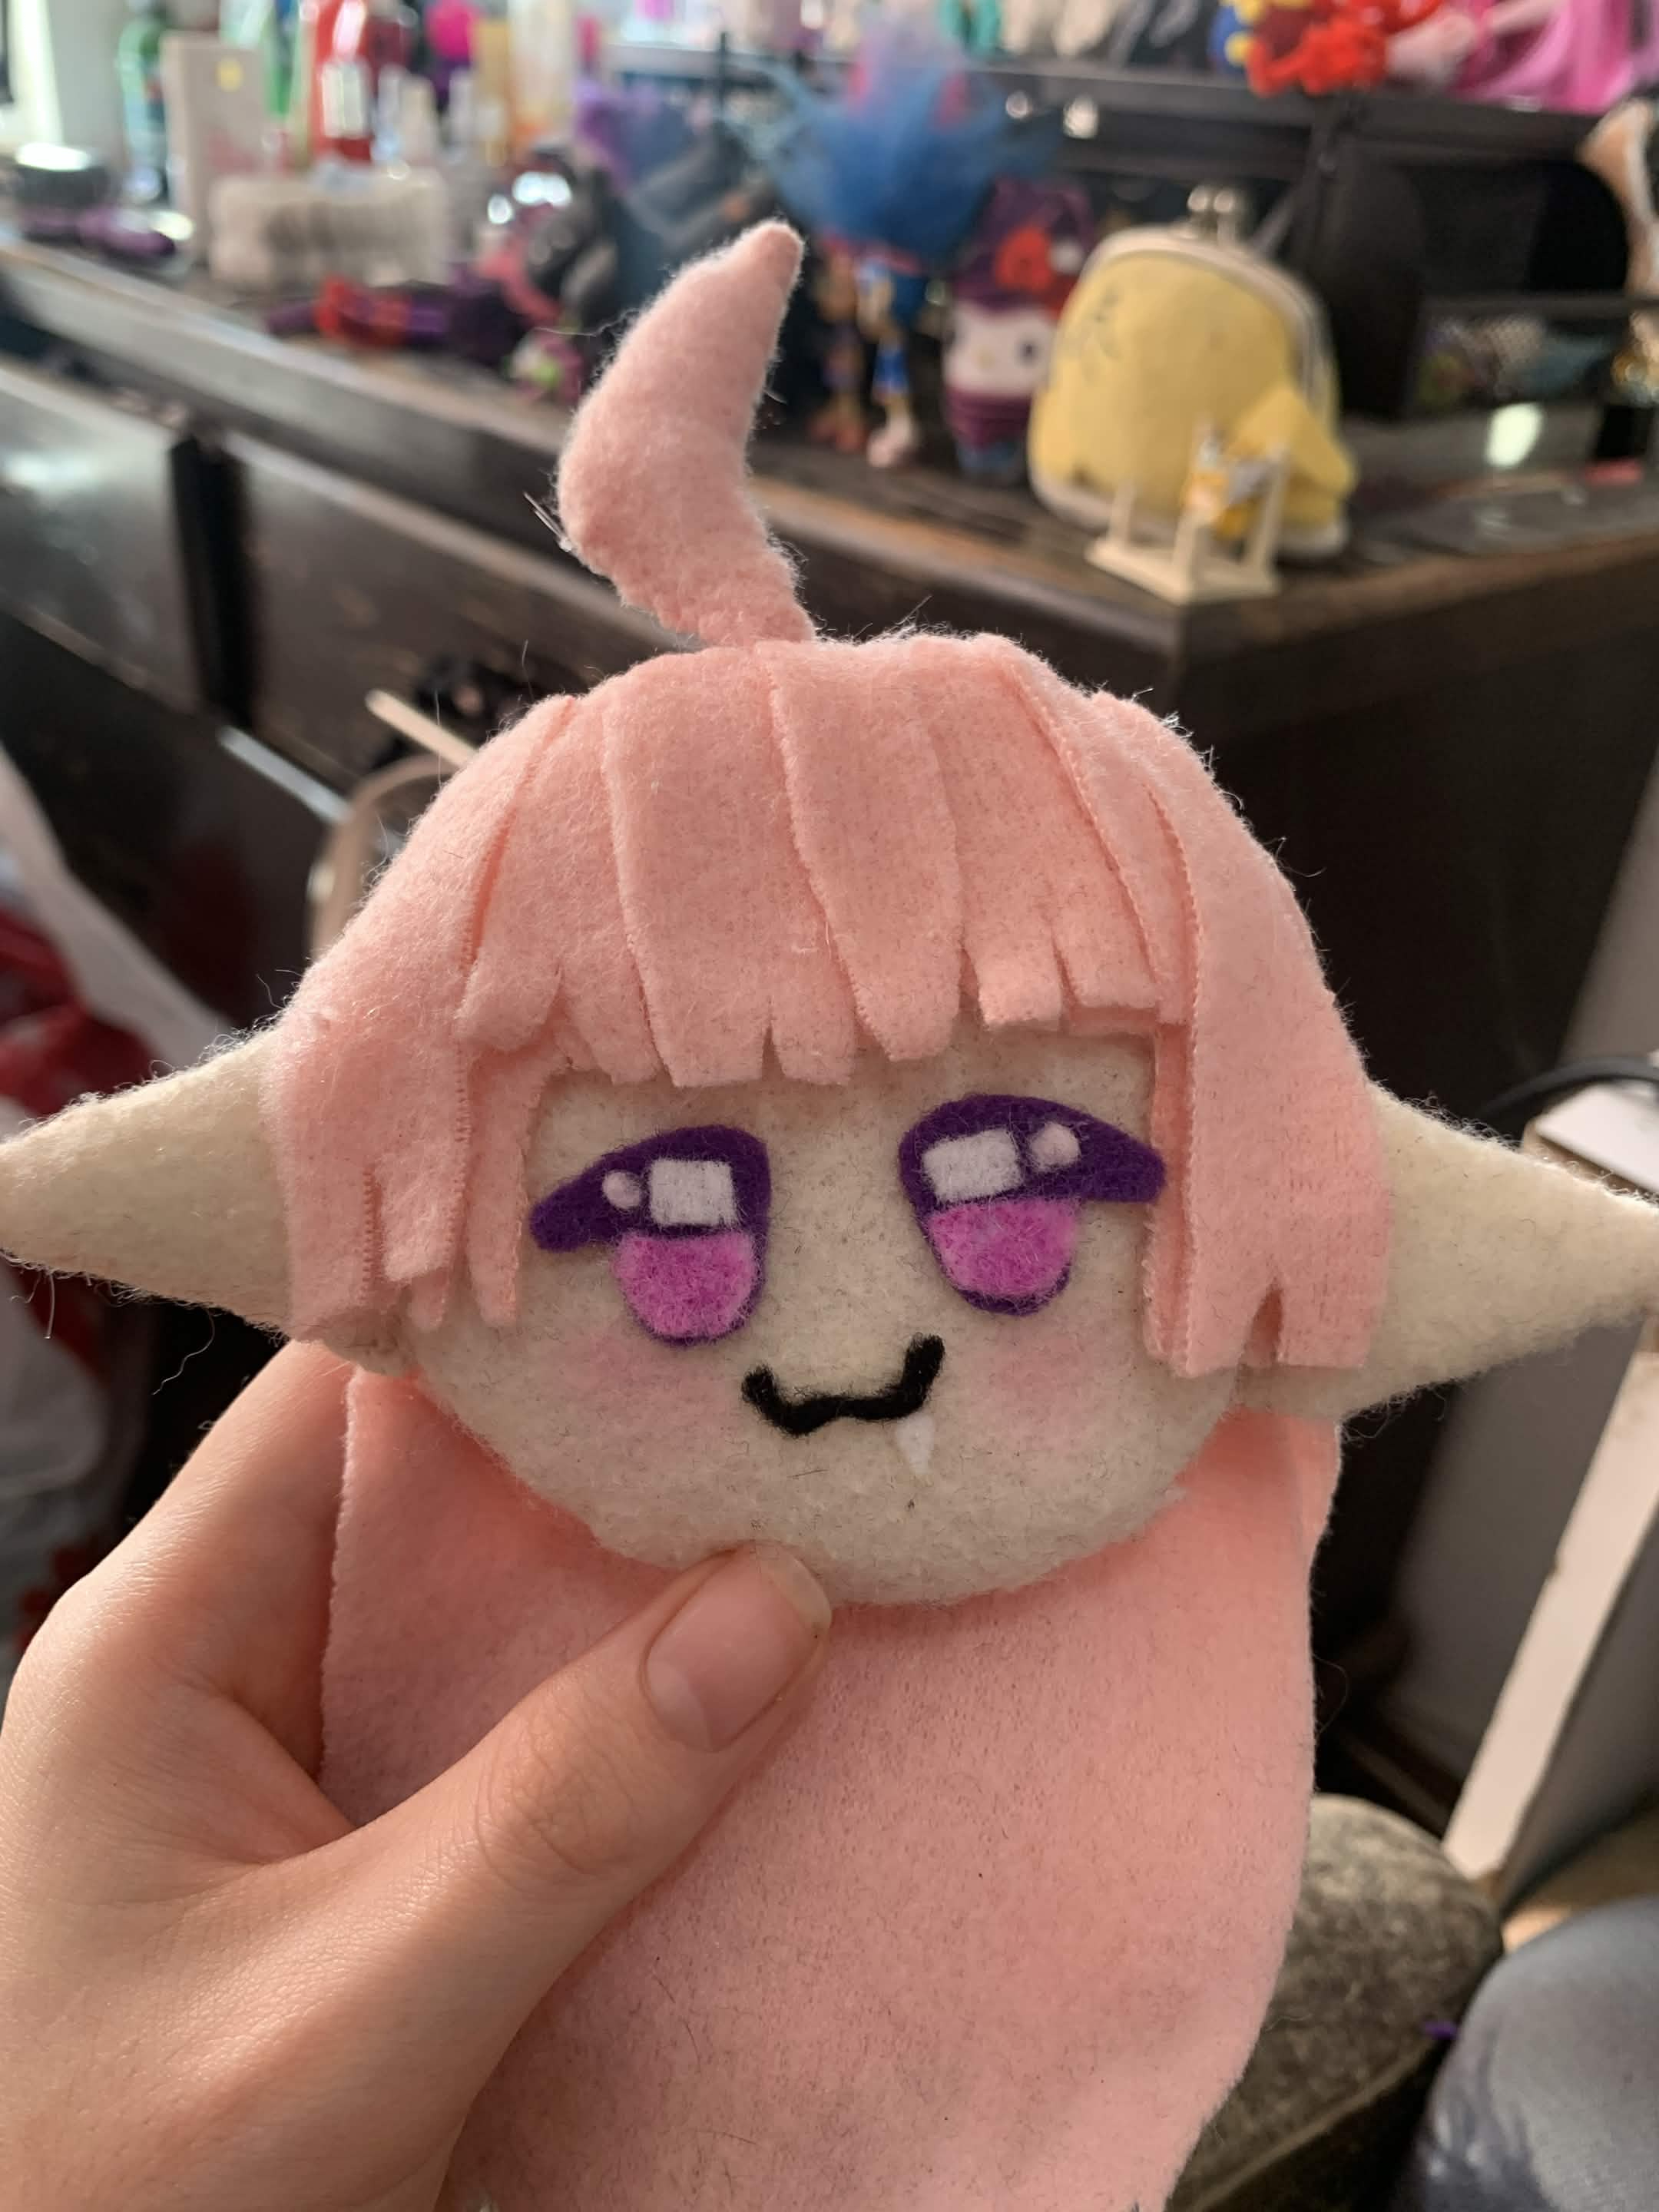
One of the biggest things I wanted to change was the eyes. I wanted them to have more detail, and since I wasn’t completely happy with the way I made them the first time, I decided to steal another trick from other plushie makers :p
Felt!
(I also used this for Becky.)
This time, I used it not only for the eyes, but for the face details in general: the mouth, and finally, her cute little fang!
Just the way I wanted to from the very first Catto plushie.
Working with tiny details on felt is pretty difficult, but I think they turned out really nice!
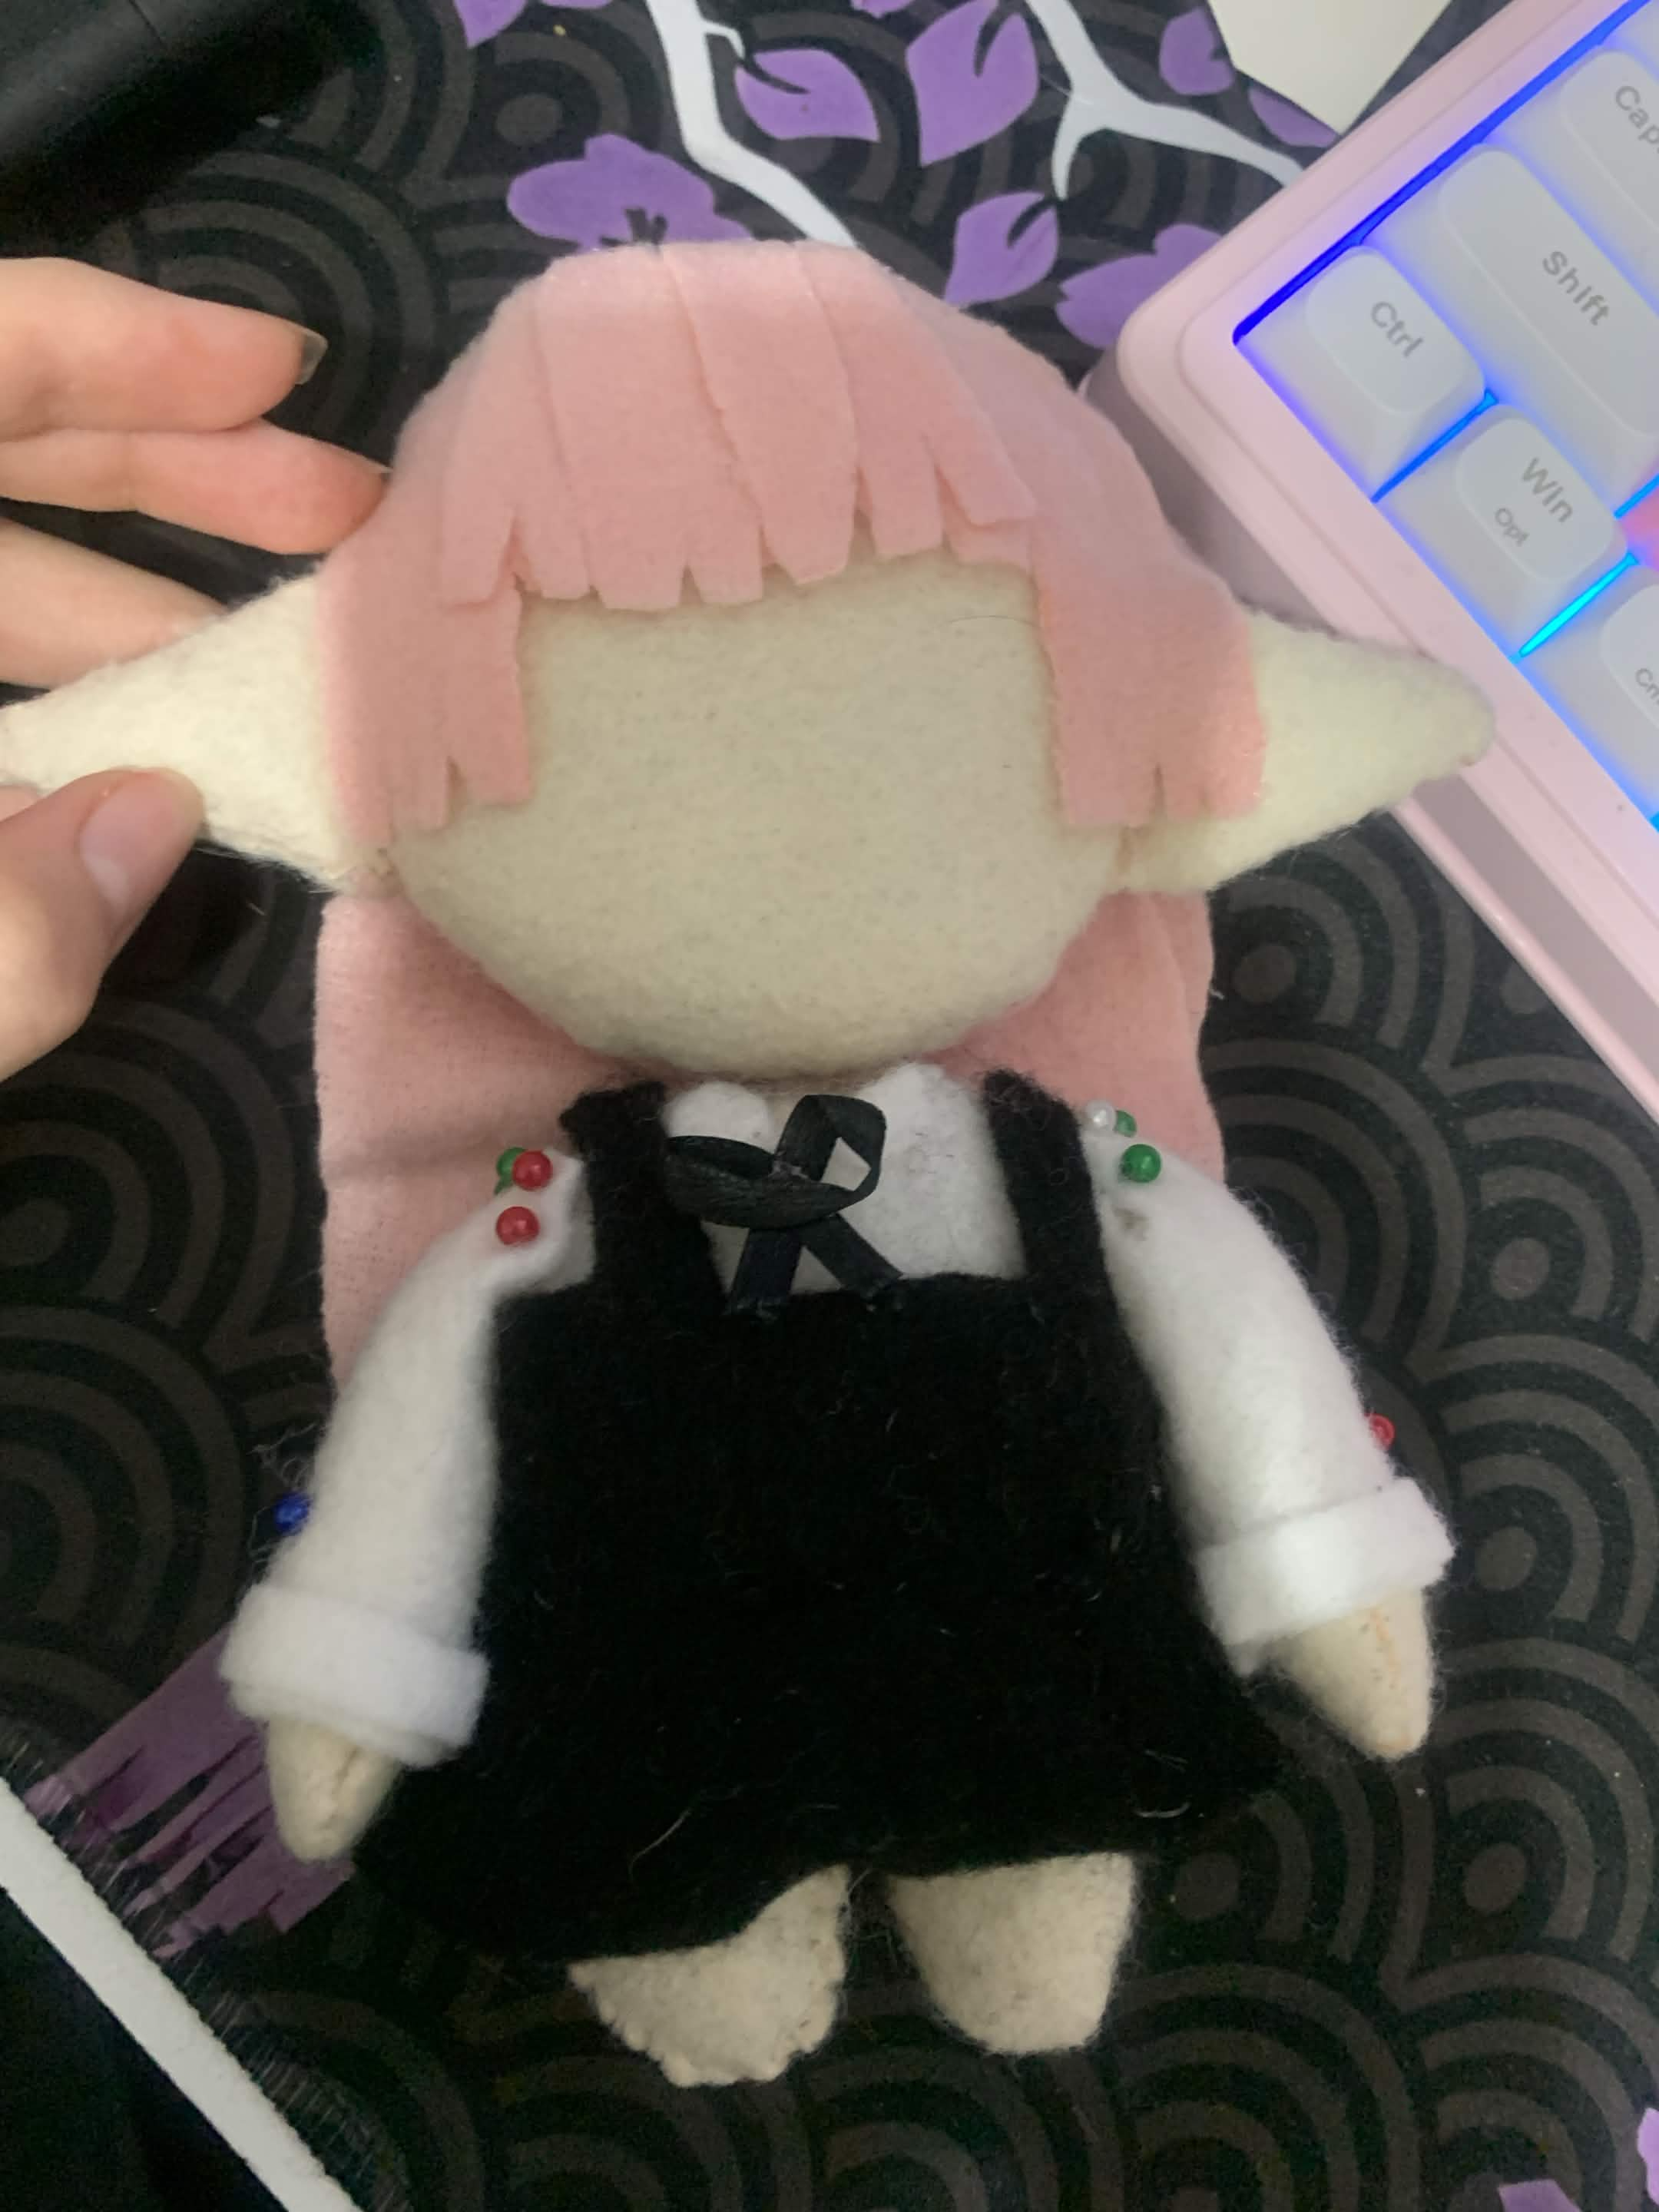
The clothes were also pretty straightforward this time around.
I tried making another pleated skirt...
It was okay, I think LOL.
The REALLY difficult part was the sleeves.
I really wanted to make the puffy sleeves, but I just couldn’t get them to look right, even after following tutorials.
Again, most of those tutorials were for real clothes, so translating those techniques into something this tiny was... not easy.
In the end, I went with plain sleeves, which I think is completely fine!
I also experimented with adding highlights to her hair, but I wasn’t convinced by how they looked. That’s probably something I’ll try to polish for the next one!
And yeah! Just like with Becky, I used eyeshadow for some of the details. This time, I used pink for Catto’s blush.
I also changed the way I made her shoes. Instead of painting the fabric, I made them out of felt.
Once again, this was mostly because the paint makes the fabric too stiff.
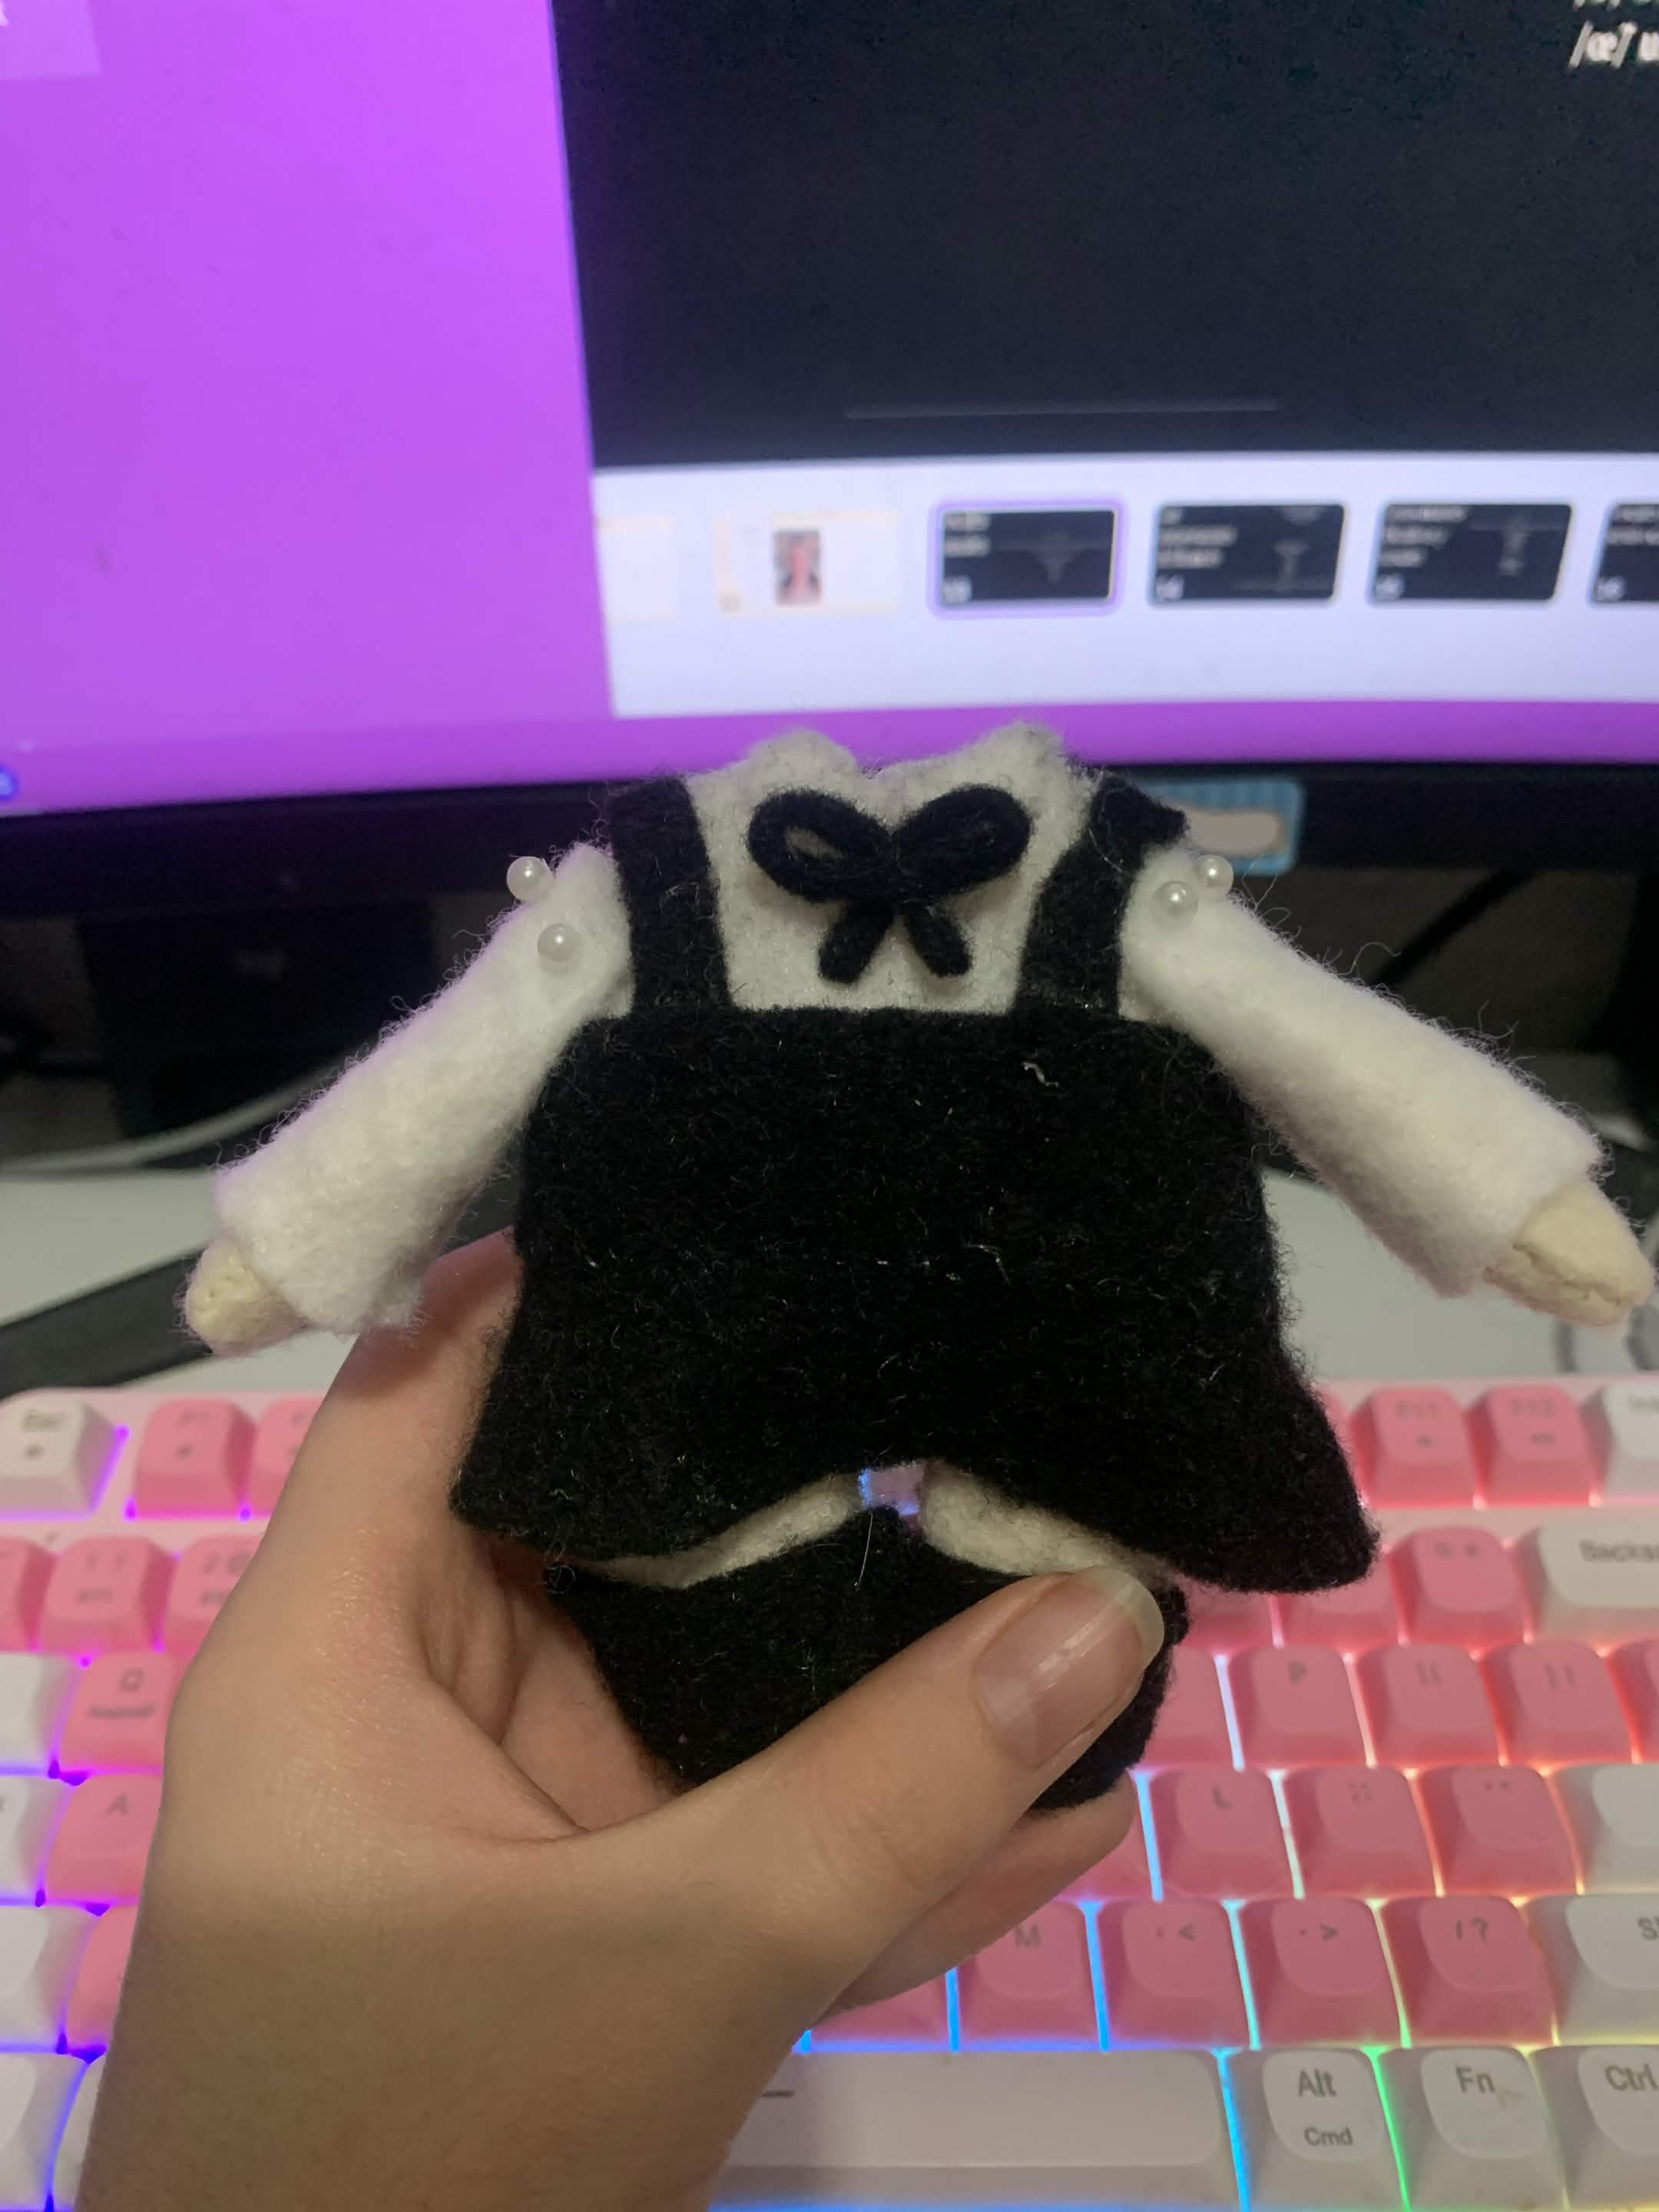
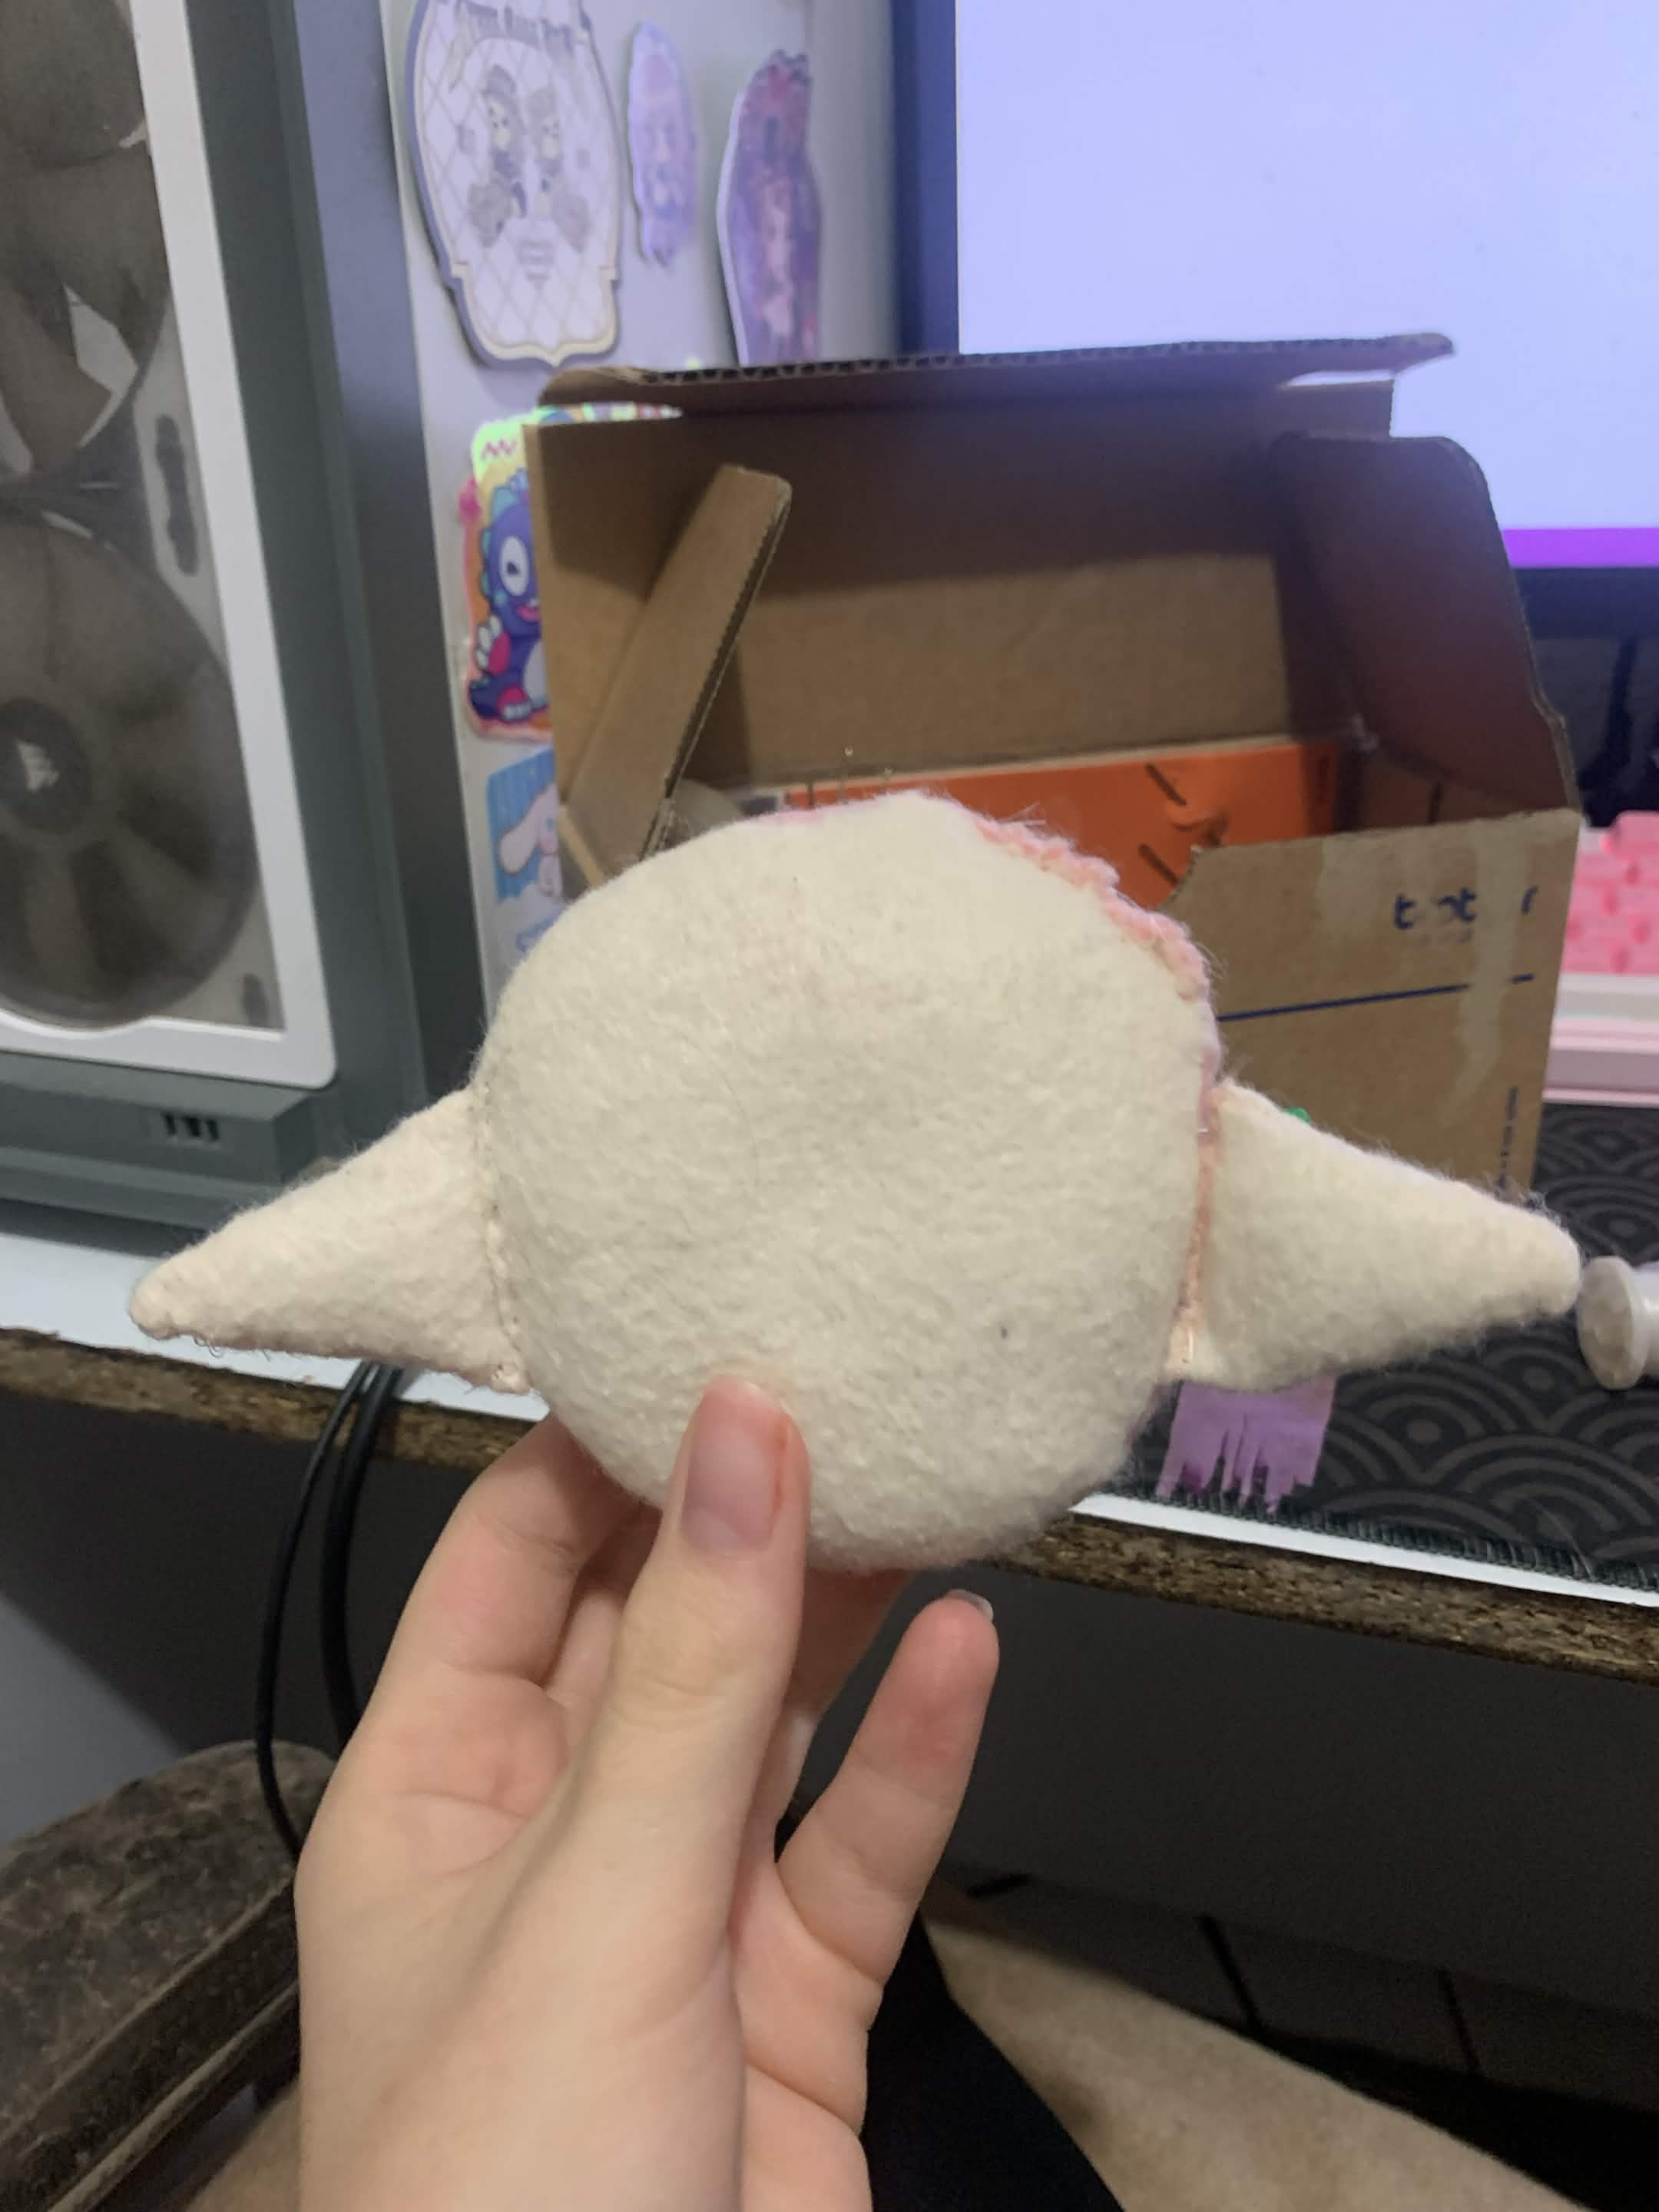
AND...
I think that’s it!!!!!
Take a look at the final result!
Last comments
I’m really proud of what I made. I feel like I improved a lot compared to my previous plushies.
I especially liked making the clothes and experimenting with new techniques. Even when something didn’t work, I usually learned something from trying it.
And like I said at the beginning, working on these was just a great time. Even if my room ends up looking like a complete warzone with a million microscopic pieces of felt on the floor and materials EVERYWHERE lol.
If there’s one thing I learned from all of this, it’s not to be afraid of trying something, realizing it doesn’t work, and starting over.
For real, I had to redo most of the Catto plushie at least once before getting the result I wanted.
And honestly, I think that’s part of the fun.
Thank u for reading this, and see you on the next one!!
The phrase today is: Tiny clothes are harder than they look.
LOVE YOU ALL!